

Choosing Your Character
Your first task in Sea of Stars is to choose the leader of your party. You can pick one of two characters:
- Valere is a monk who walks the path of the Guardian Goddess Luana. She uses Blunt and Moon attacks, and is arguably your strongest attacker at this point in the game.
- Zale is a blade dancer who walks the path of the Guardian God Solen. He uses Sword and Sun attacks, and can heal your party members.
Both characters will be in your party regardless, and you can change your party leader on in the game, so ultimately this choice is not that consequential. (Said with the caveat that I haven't played through the whole game yet.) Go with the character design you like more.
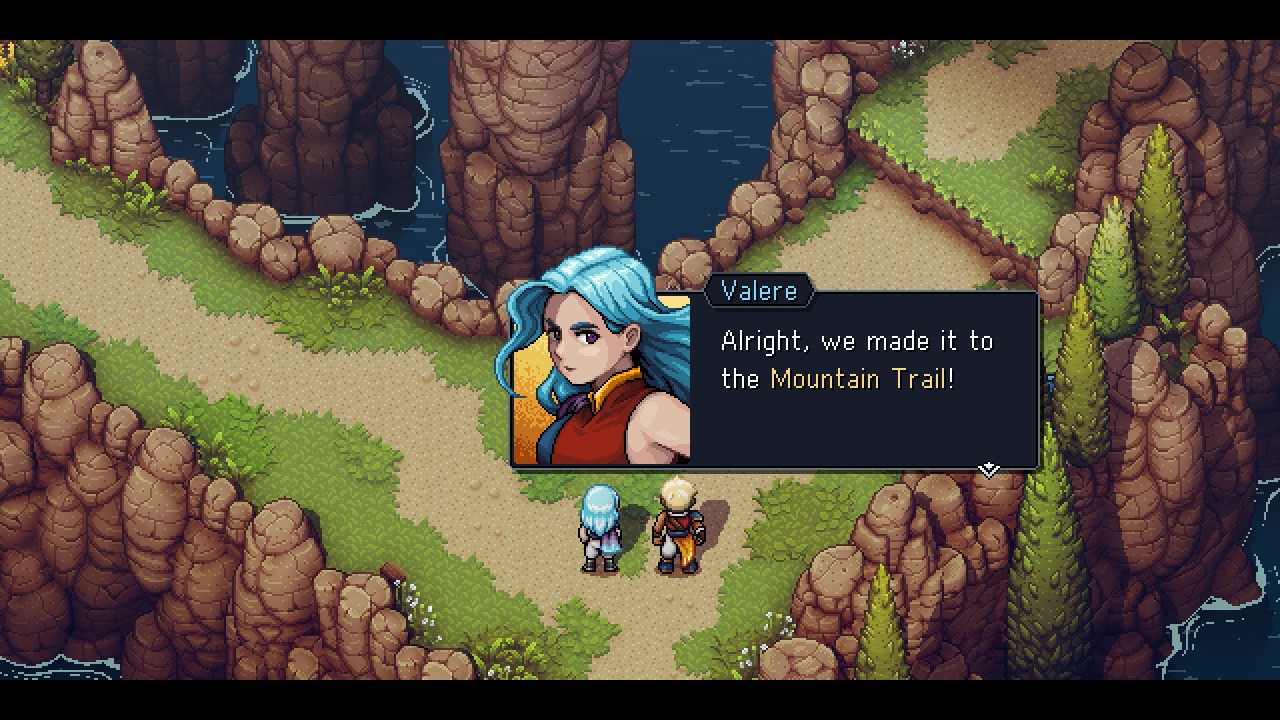
Mountain Trail - Enemies
- Luslug
- Rochèvre
- Wanderer
After an introduction from a mysterious figure, the tale that is Sea of Stars will pick up on the Mountain Trail. Valere and Zale will gab for a bit, and once they part ways your main character will get into the first battle of the game, against a Wanderer. Time for a little combat tutorial.

Combat
Combat in Sea of Stars is turn-based. Your team faces off against teams of monsters in the field - usually by physically running into them - and you need to reduce their HP before they reduce yours. Win and you'll gain experience and levels. Lose, and... well, Game Over. Try not to lose.
We'll discuss combat in greater detail in another, more dedicated guide. For now, here are a few of the differences you need to know between Sea of Stars and other RPGs:
- You can choose which party member goes when your turn comes up. You can tell how many rounds there are before an enemy guys via the small clock icon that floats by their sprite.
- You can perform Timed Hits. Press the confirm button just before your character strikes an opponent with their weapon and you'll get in a second attack.
- You can also perform Timed Blocks. Press the confirm button just before an opponent strikes to reduce the amount of damage dealt by their attack.
- All attacks have types, denoted by a small icon. Target an enemy's type weakness to deal extra damage. You can also use types to break Locks on incoming enemy attacks, which deadens the effects of said attacks when they go off. Break every Lock and the attack is stopped completely.
- Soon you'll gain access to Skills, which are more advanced combat abilities. Skills cost MP, which can be replenished by hitting enemies with normal melee attacks. Once you have more party members you'll be able to combine Skills into Combos.
- If a party member gets knocked out they will return to half life once all the stars floating over their head disappear. This will take a few rounds.
There's more to combat, but we'll get into the rest as it comes up. For now, beat the Wanderer senseless with your melee attacks. Once the creature is out of the way you can have a look around.

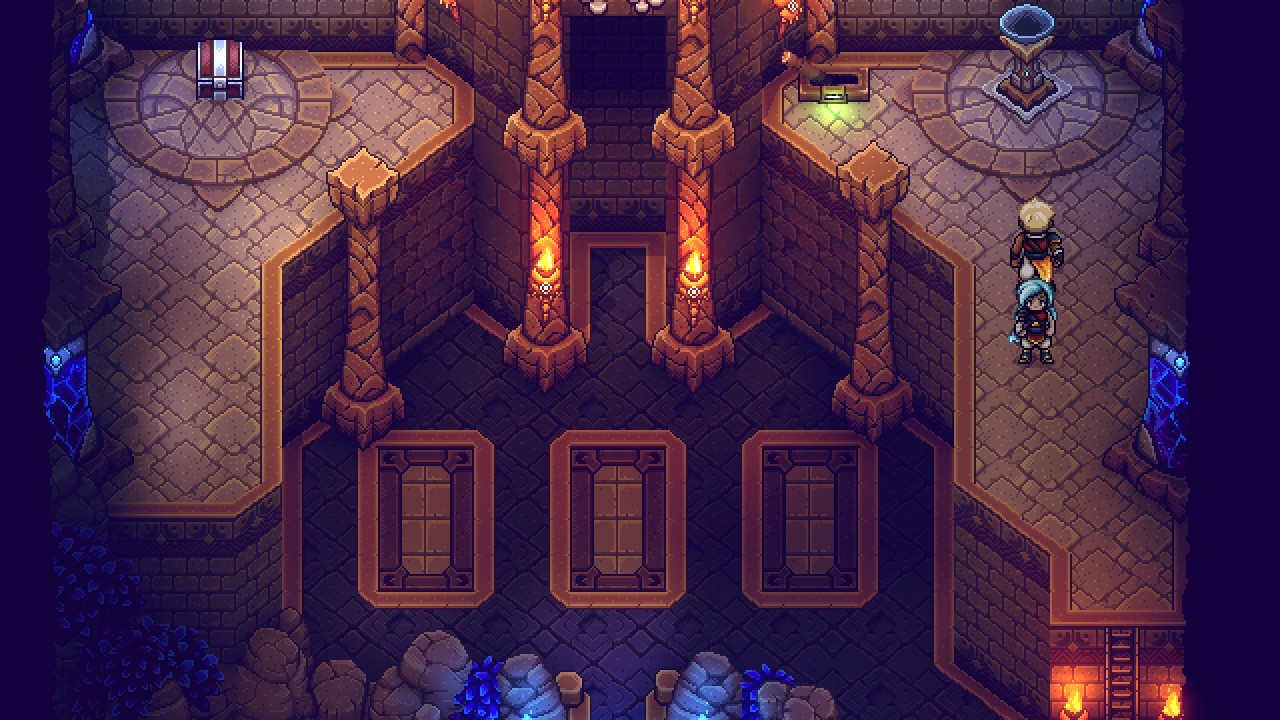
Exploration
Sea of Stars is a little fancier in its in-map exploration than other RPGs. You aren't totally free to explore every nook and cranny of the world, but you can climb, jump, and grapple around a surprising amount of each map. Interact with a gap or ledge to see if you can use it to get around. You'll be shocked how often an otherwise-innocuous detail winds up being navigable.
Your partner has the northwestern path covered already, so your only choice is to head northeast. Walk up to the first little ledge and interact with it to climb up. This will take you on a path full of bridges and ledges, and eventually you'll be attacked by a Rochèvre. The fight will introduce you to Skills, and you can use your character's highlighted Skill to take the monster down. Note that Timed Hits also augment your Skills.

Your character's partner will appear on the other side of a gap after the fight. Unroll the nearby rope ladder by interacting with it and it will take you back to the entrance of the Mountain Trail. Clamber down and take the northwestern path this time. It will take you into a cave, and you'll need to navigate some hairy - but ultimately harmless - shimmy points to reach the top.
On the cave's upper level you'll run into a Luslug, and you can use the skills you've accumulated up to this point to deal with the fiend. (If you're playing as Valere I recommend getting some practice with her Moonerang attack. It is quite handy, but requires precision button-tapping.) Exit the cave and you'll find a series of jump points to the north, leading east. This leads to a camp, and the two main characters will reminisce a bit...

Mooncradle / Forbidden Cavern / Zenith Academy
... then leap into a flashback. The first thing you should note is the save point in the cave where the flashback begins. It's a floating book, and you'll find many more of them throughout your journey. Always use a save point when you find one, as you never know when you'll get in over your head and need to start over.
Leave the cave and you'll be in a village called Mooncradle. You can poke around a bit, but for the most part you just need to head northeast, until you hit a cut scene that introduces a few major players. Once it is done you can explore the east side of Mooncradle, though there isn't a ton to see while the team is full of kids.

Head north through the middle of Mooncradle and you'll wind up on the world map. A short walk north is the entrance to the Forbidden Cavern. Pop inside and you'll watch a lengthy series of cut scenes, which will culminate in a trip to Zenith Academy. Head to the academy's east side to find a large dorm room, and inspect the beds (western beds for Valere, eastern beds for Zale) to sleep for the night.
The next day the two recruits will receive a Training Sword and a Training Staff. Watch the training scene with Brugaves, then head to the central elevator of the academy and run south to find a terrace, where Erlina will teach the kids about magic. After that you'll wind up in the dorms again. Head west to the main hall of the academy for another cut scene, which, again, will shunt you to the dorms. Return to the terrace after this and you'll find a Cookie Jar.
The kids will grow up after this. Speak to Moraine, in the main hall of the academy, and he'll bring Brugaves and Erlina in to review some combat basics before you push onward with the game:
- For Brugaves' test you'll need to cycle through your characters and perform Timed Hits and Time Blocks. Press the button just before the attack connects to get in an extra hit, or to deaden the damage. This will require a bit of practice and observation. You'll also learn about characters getting KOed.
- For Erlina's test you need to break the Locks she puts up. Melee attacks and then Skills will do. Finish up with Solstice Strike, a Combo attack between Valere and Zale.
Speak to Moraine after you've brushed up on the basics and he'll take you to the academy's lookout, give you three Tomato Clubs, and tell you to jump in the hole in the platform.
Zenith Academy Final Exam - Enemies
- Training Croube
The two Solstice Warriors will drop into an exam area far below Zenith Academy, and they need to survive the experience to graduate. Head north to start, checking on your right. There's a ladder leading up to a lever, and if you pull the lever you'll raise three platforms in the middle of the room. Use them to hop west, where you'll find a chest containing an Ornate Stone.
Hop back to the east and place the Ornate Stone in the brazier standing to the right of the lever. This will release two Training Croubes on the lower level. Hop down and take them out. (Valere's Moonerang is the fastest way to get this done.) Defeating them will reveal a climbing wall to the north, and you'll need to clamber to the top.
Hop your way north and you'll see a tightrope on your left. Walk across it and you'll find a chest containing another Ornate Stone in the northwest. Grabbing it will spawn three more Training Croubes, and by this point you'll probably want to keep an eye on the pair's HP. Zale can heal using Healing Light if need be. Use the Ornate Stone on the brazier in the northeast to activate an elevator, then climb aboard.
At the top of the elevator you'll find a device sticking out of the ground, with a white diamond on top. Inspect it to begin the final trial.

Wyrd
Weakness: Varies
A semi-robotic training buddy, Wyrd is the final step between would-be Solstice Warriors and the beginning of their careers. Most of the time Wyrd will use normal karate chops, though it will bust out a stronger attack with Locks as the battle drags on.
Head south out of Wyrd's chamber and you'll return to Zenith Academy. This will lead to a lengthy farewell ceremony as the two Solstice Warriors set off on their first journey. You'll receive two more Tomato Clubs, as well as a pair of Relics:
- The Amulet of Storytelling, which adds 100% more HP to each character's total and fully restores everyone's health after battles
- The Sequent Flare, which releases sparks whenever you successfully time a hit or a block
Relics can change the difficulty of Sea of Stars, making it easier or far harder. You'll find more Relics as you progress.
That's all for training. The flashback continues! Onward, to the Forbidden Cavern!