Part 13: Nimbus Land and Nimbus Castle
Barrel Volcano
Enemies
- Armored Ant - 230 HP - Weak to Ice
- Chained Kong - 355 HP - Weak to Ice
- Corkpedite - 200 HP / 300 HP (body) - Weak to Ice
- Magmus - 50 HP - Weak to Ice
- Oerlikon - 85 HP - Weak to Ice
- Psyrosphere - 167 HP - Weak to Ice
- Stumpet - 500 HP - Weak to Ice
- Vomer - ? HP - Weak to Special Moves
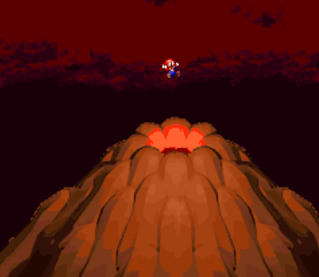
The resting place of the sixth Star Piece, Barrel Volcano is located beyond Nimbus Land's hot springs. Once you've defeated Valentina you can access the entrance by dropping down the hole from the town area of Nimbus Land, going down the right hole on the next cloud, and speaking to the two guards blocking the path. The drop down to Barrel Volcano is on the east side of the springs.
(Unsurprisingly, given the nature of the volcano, Mallow is a good person to have in your party for Barrel Volcano. His Snowy attack is excellent against mobs.)
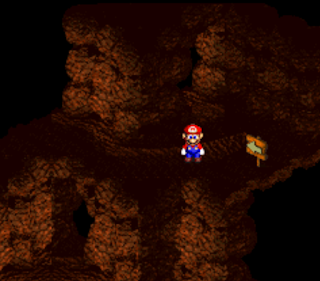
Leave the small entrance room and you'll begin a trek through a series of burning chambers. Much of the floor consists of lava, and if you touch it you'll be shot back to the entrance of the room. Start by checking the lava floe in the south, where you'll see a series of small platforms in the lava. You can hop along these to reach an exit in the southeast, which leads to chests containing Flowers.
Return to the first lava chamber and check to the west to find a path onto the rocks. Northwest of the arrow sign is an exit to a rough hallway with a series of rocky steps. At the top you'll exit to a chamber with a nearby chest, which you can check to receive another Flower. Northeast of here is a chest containing a bundle of Coins. The exit is near the second chest.
In the next room you'll find yet another chest, and this one will grant you a Power Star. Rush east once you've activated the star and you'll see a sort of split in the path at the east end of the room that serves as a fakeout. Take the southwest path to find an exit to a room with a huge Corkpedite and a bunch Oerlikons that you can bust up with what remains of the star's power.
Go through another narrow room of enemies and you'll wind up in a wider chamber. There's a Frog Coin floating over the lava to the north of your starting point. In rrder to get it you'll need to perform a precise jump into the lava from the northeast of the Frog Coin. If you miss - which is likely to happen a few times - you'll get blasted back to the entrance, which is annoying but unavoidable if you want the coin.
The next chamber up consists of a few hairy jumps over lava. Expect to get into a battle or two along the way. In the northeast of the chamber you'll find the exit, and there's a Frog Coin atop the archway that you can't normally get. Cross through the exit to the next room, then come back to this room and fall into the lava. Mario will get shot up onto the archway, right beside the coin. Snag it and jump back down.
The chamber beyond has a lava patch, a few donut platforms, and two Frog Coins. You'll need to perform some careful jumps onto the donut platforms to get at the Frog Coins, and you only have a few seconds on the donut platforms before they start to fall. Move quickly. The Vomers in this room will keep coming back to life, so unless your jumping skills are top-notch you'll likely have to fight them a few times.
Travel through an unremarkable little room and you'll wind up in a western chamber with chests containing a Flower and a Frog Coin. There's also a save block that you can use to rest up. Beyond here are a string of enemy-filled but otherwise somewhat unremarkable rooms, and you can avoid enemies or fight as you see fit. Keep following the road signs until they bring you to a chest containing a bunch of Coins...
... as well as to a fiery fellow named Hinopio. A Toad with a poor sense for locationing himself, Hinopio is a merchant who can cater to all of your needs. His little Hino Mart has three tables - Item Shop, Inn, and Armor Shop - that you can use to prep yourself for the remainder of the trip through Barrel Volcano. The armor alone is worth getting, as the boss coming up is one of the tougher enemies you'll face in Super Mario RPG. Exit out the other end of the Hino Mart and you'll even find a save block.
Your final obstacle before the boss of Barrel Volcano is a bridge made entirely of donut blocks. The poor durability of these blocks coupled with the sheer number of Pyrospheres jumping out of the lava makes this area a pain to navigate, and you may wind up getting into a lot more battles than you might like before you reach the other end of the bridge. Running jumps are recommended. Make sure you heal before you exit into the next area, as well, because something nasty awaits.
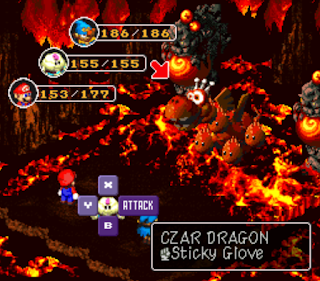
Czar Dragon / Zombone
HP:
- 1,400 (Czar Dragon)
- 1,800 (Zombone)
- 10 (Helio)
- Ice (Czar Dragon, Helios)
- Jump, Lightning Pure Water (Zombone)
- A normal melee strike
- A stomp that summons four Helios to slam into your party (Czar Dragon)
- Iron Maiden, a single-target attack that can inflict Fear (Czar Dragon)
- Fire Wall, a Fire attack against your entire party (Czar Dragon)
- Water Blast, a heavy magic attack against your entire party (Czar Dragon)
- Scream, a single-target attack that can inflict Fear (Zombone)
- Blast, a single-target magic attack (Zombone)
- Storm, a single-target magic attack (Zombone)
- Boulder, a heavy magic attack against your entire party (Zombone)
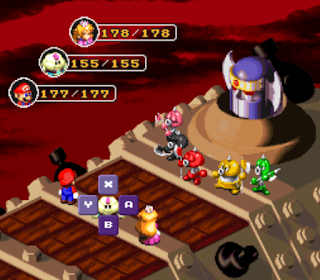
- 800 (Axem Red)
- 400 (Axem Pink)
- 550 (Axem Black)
- 600 (Axem Yellow)
- 450 (Axem Green)
- 999 (Axem Rangers)
- Ice (Axem Red, Axem Green)
- Fire (Axem Pink)
- Lightning (Axem Black)
- Jump (Axem Yellow)
- Axem Red buffs himself and uses relatively normal attack
- Axem Pink heals her buddies, and can turn your characters into Mushrooms or put them to Sleep
- Axem Black lobs some painful bombs, and often attacks multiple times per turn
- Axem Yellow uses physical attacks
- Axem Green uses spells, and can Mute your party members


