Orabelle Downs - Gaultand's Bales
Enemies
- Royal Osfreyr
- Silver Lobo
- Woldhound
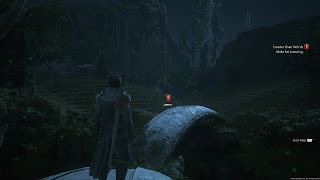
Leaving The Greatwood behind, Clive, Cid, and Torgal make their way to the Orabelle Downs, home to a village of importance to Cid - and possibly Clive. Upon arrival you'll activate your first Obelisk, a waystone of sorts that allows you to quickly teleport back to this spot from either the world map or while exploring the region. Very handy.
Unlike the last few areas, which were more or less direct routes, the Orabelle Downs are a bit more open-ended. You can run straight through to the northeast to reach your destination, or you can take your time and look around a bit. We'll do some exploration before continuing to Lostwing.
- Walk straight down the middle of the road and you'll find a few items, notably a Sharp Fang and 5 gil. Very exciting.
- Climb into the eastern fields and you'll find a small shack in the southeast. Upon approach you'll be attacked by a few Woldhounds. Check inside the shack to find two sprigs of Valley Madder.
- Climb into the western fields and you'll eventually come to a small collection of farming buildings. You'll run into a Silver Lobo and a few Woldhounds up here. Nothing serious.
- As you make your way down the central road your characters will make note of figures ahead. They're all Royal Osfreyrs, and they're looking to ambush the party. You can either attack them head-on, go around them via the western field and catch them unawares from behind, or use the fields to avoid them entirely. Your call.
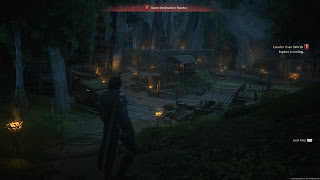
In the northeast you'll come to the outskirts of Lostwing.
Lostwing
Cid will promptly ditch Clive when you arrive in Lostwing, and you'll need to search for Cid's scout on your own for a while. Descend into the village and the Lostwing Obelisk will activate just before you hit the floorboards. Time to look around.
- If you check the map you'll see a passage in the south of Lostwing leading to something called Cutter's Gate. If you check the road just north of this passage you'll come to a dead end, though sitting beside some sheltered piles of logs is a chest. It contains five Bloody Hides.
- In roughly the center of Lostwing is a pub named The Hanged Man. If you climb through it you'll find more village on the north side, to your left as you come out of the pub. Across from a closed well, next to a house, you'll find a chest containing Black Blood.
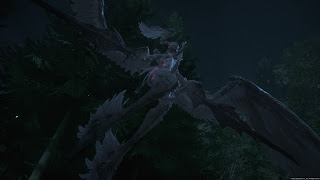
- A charging dash attack
- An arcing, medium-range slice
- An overhead kick, powered by magic, that slams into the ground beneath Chirada
- A Wind blast that travels along a line on the ground
- A small minefield of Wind charges that explode after a few seconds


