Cassette Beasts
- Burnace - Fire-type - Rare
- Carniviper - Poison-type - Common
- Faucetear - Water-type - Common
- Terracooka - Earth-type - Common
- Wingloom - Lightning-type - Only one
Another of New Wirral's train stations, Glowcester Road Station is more than initially meets the eye. Despite the similarities to Harbourtown Station, the first train stop you revealed, Glowcester Road Station is a small dungeon unto itself, with several new monsters to Record. It's also pretty easy to find, so you should absolutely stop by.
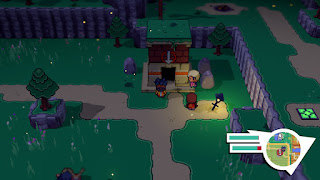
The entrance to Glowcester Road Station is initially closed to you. Head to the northeast of New Wirral Park's southern section (before going through the gate that separates its two halves) and you'll find a man looking at five stones. There's a gap in the formation on the right side that you can fill with a sixth stone, found in the middle of a pond a short ways to the southwest. Drop the stone in the gap and the entrance to Glowcester Road Station will pop right up.
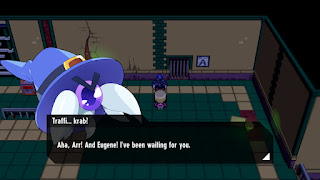
Inside you'll find Magikrab, an offshoot of the Traffikrabs found elsewhere on the island. Magikrab will unlock Glowcester Road Station as a fast travel point for you, and will send you to other stations if you don't want to use the map. Magikrab will also fill in a few gaps in the game's lore while creating many more.
The station seems otherwise empty... unless you look to the west of Magikrab. There's a stack of crates by the west wall, and if you jump up and over them you'll find a hidden passage to an adjacent chamber. Here you'll find three buttons, a crate, and a barred door. Put crates on two of the buttons (you can draw from the heap back east), and plant yourself on the third button to open the door.
Beyond the barred door you'll find a cave that is filled with monsters. Your objective here is to open the door in the north. Look to the right of the door and you'll find a hidden crate. Carry it south and put it on the button to the left of the entrance. This will raise a platform in the west. Hop onto the platform and it will carry you up to a button that will open the barred door.
Head north in the next chamber, past the locked chest in the middle of the room, and stand on the green button. This will raise a platform to the southeast. Use it to climb up to another green button, which will activate a bridge on your left. Use the bridge to reach a button atop the cliffs in the north. Press it, then hop back to the ground.
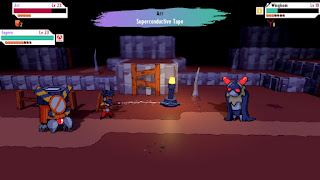
This final button opens the chest in the middle of the room, which contains a Wingloom. Wingloom is a Lightning-type monster, so Plastic- and Plant-type moves are useful for cutting it down to size a bit. Using a Superconductive Tape will make Recording this thing much easier. (Don't worry too much if you beat it up. You'll have more chances later to Record a Wingloom.)
After you defeat the Wingloom you'll also receive a Machine Part, a Plastic Knife Sticker, an Aerosol Tape, and a bundle of Plastic. Return to the entrance of Glowcester Road Station and check the small, eastern area. There's a red ticketing machine here, and if you use the Machine Part on it the ticketing machine will spit out a Train Ticket. You can use the Train Ticket to open the gate to Platform B, located just west of Magikrab. Get ready to fight when you enter, though, because...
Poppetox
Recommended Level: 25+
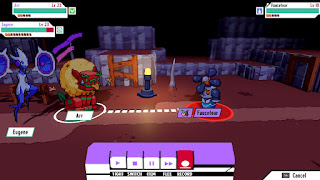
Accompanied by a pair of Effigies, Poppetox is a slippery devil. It's great at avoiding attacks aimed directly at itself, and will ignore basically all damage until you find a way to get around its inanimate buddies. Poppetox uses the following attacks:
- Wallop, a physical attack
- Clobber, a two-strike attack against a single target
- Revenge Strike, a retaliatory attack
- The Old 1-2, a two-strike attack against your whole party
- AP Steal, which steals 1 AP from one of your monsters
- Feedback, an AOE Air attack against both of your monsters that can make them flinch (full AP only)
- Trip, which lowers its target's Speed


