Danger Level: 40
One of Octopath Traveler II's more unique dungeon-delving experiences, the Decaying Temple is located in the north of the Eastern Sai Sands, on the border between Hinoeuma and the Harborlands. You'll find it by Looking along the north edge of the route until you find a sloped path up to a closed door. The door leads to the Decaying Temple.
The Decaying Temple is singular in that it will only allow a party of one character to enter. If you have more than one character in the party the door will refuse to open. If you've already characters beyond your starting character - which is likely - you can remove the excess characters by visiting the Tavern and hitting the button indicated at the bottom of the screen. If you haven't completed your starting character's storyline then they will have to be the one to enter the Decaying Temple.
Regardless of who you choose to make the journey, you'll want them to be capable of targeting a number of weaknesses, as well as sustaining themselves in times of danger. Martial Jobs such as Hunter, Warrior, and Thief are all solid choices, especially if paired with someone like Temenos or Castti who are good at healing. If your character is around the level 40 recommended threshold then you should make sure to outfit them with the best equipment you have available. This guide recommends a Warrior / Thief combination, making Hikari and Throné the best choices.
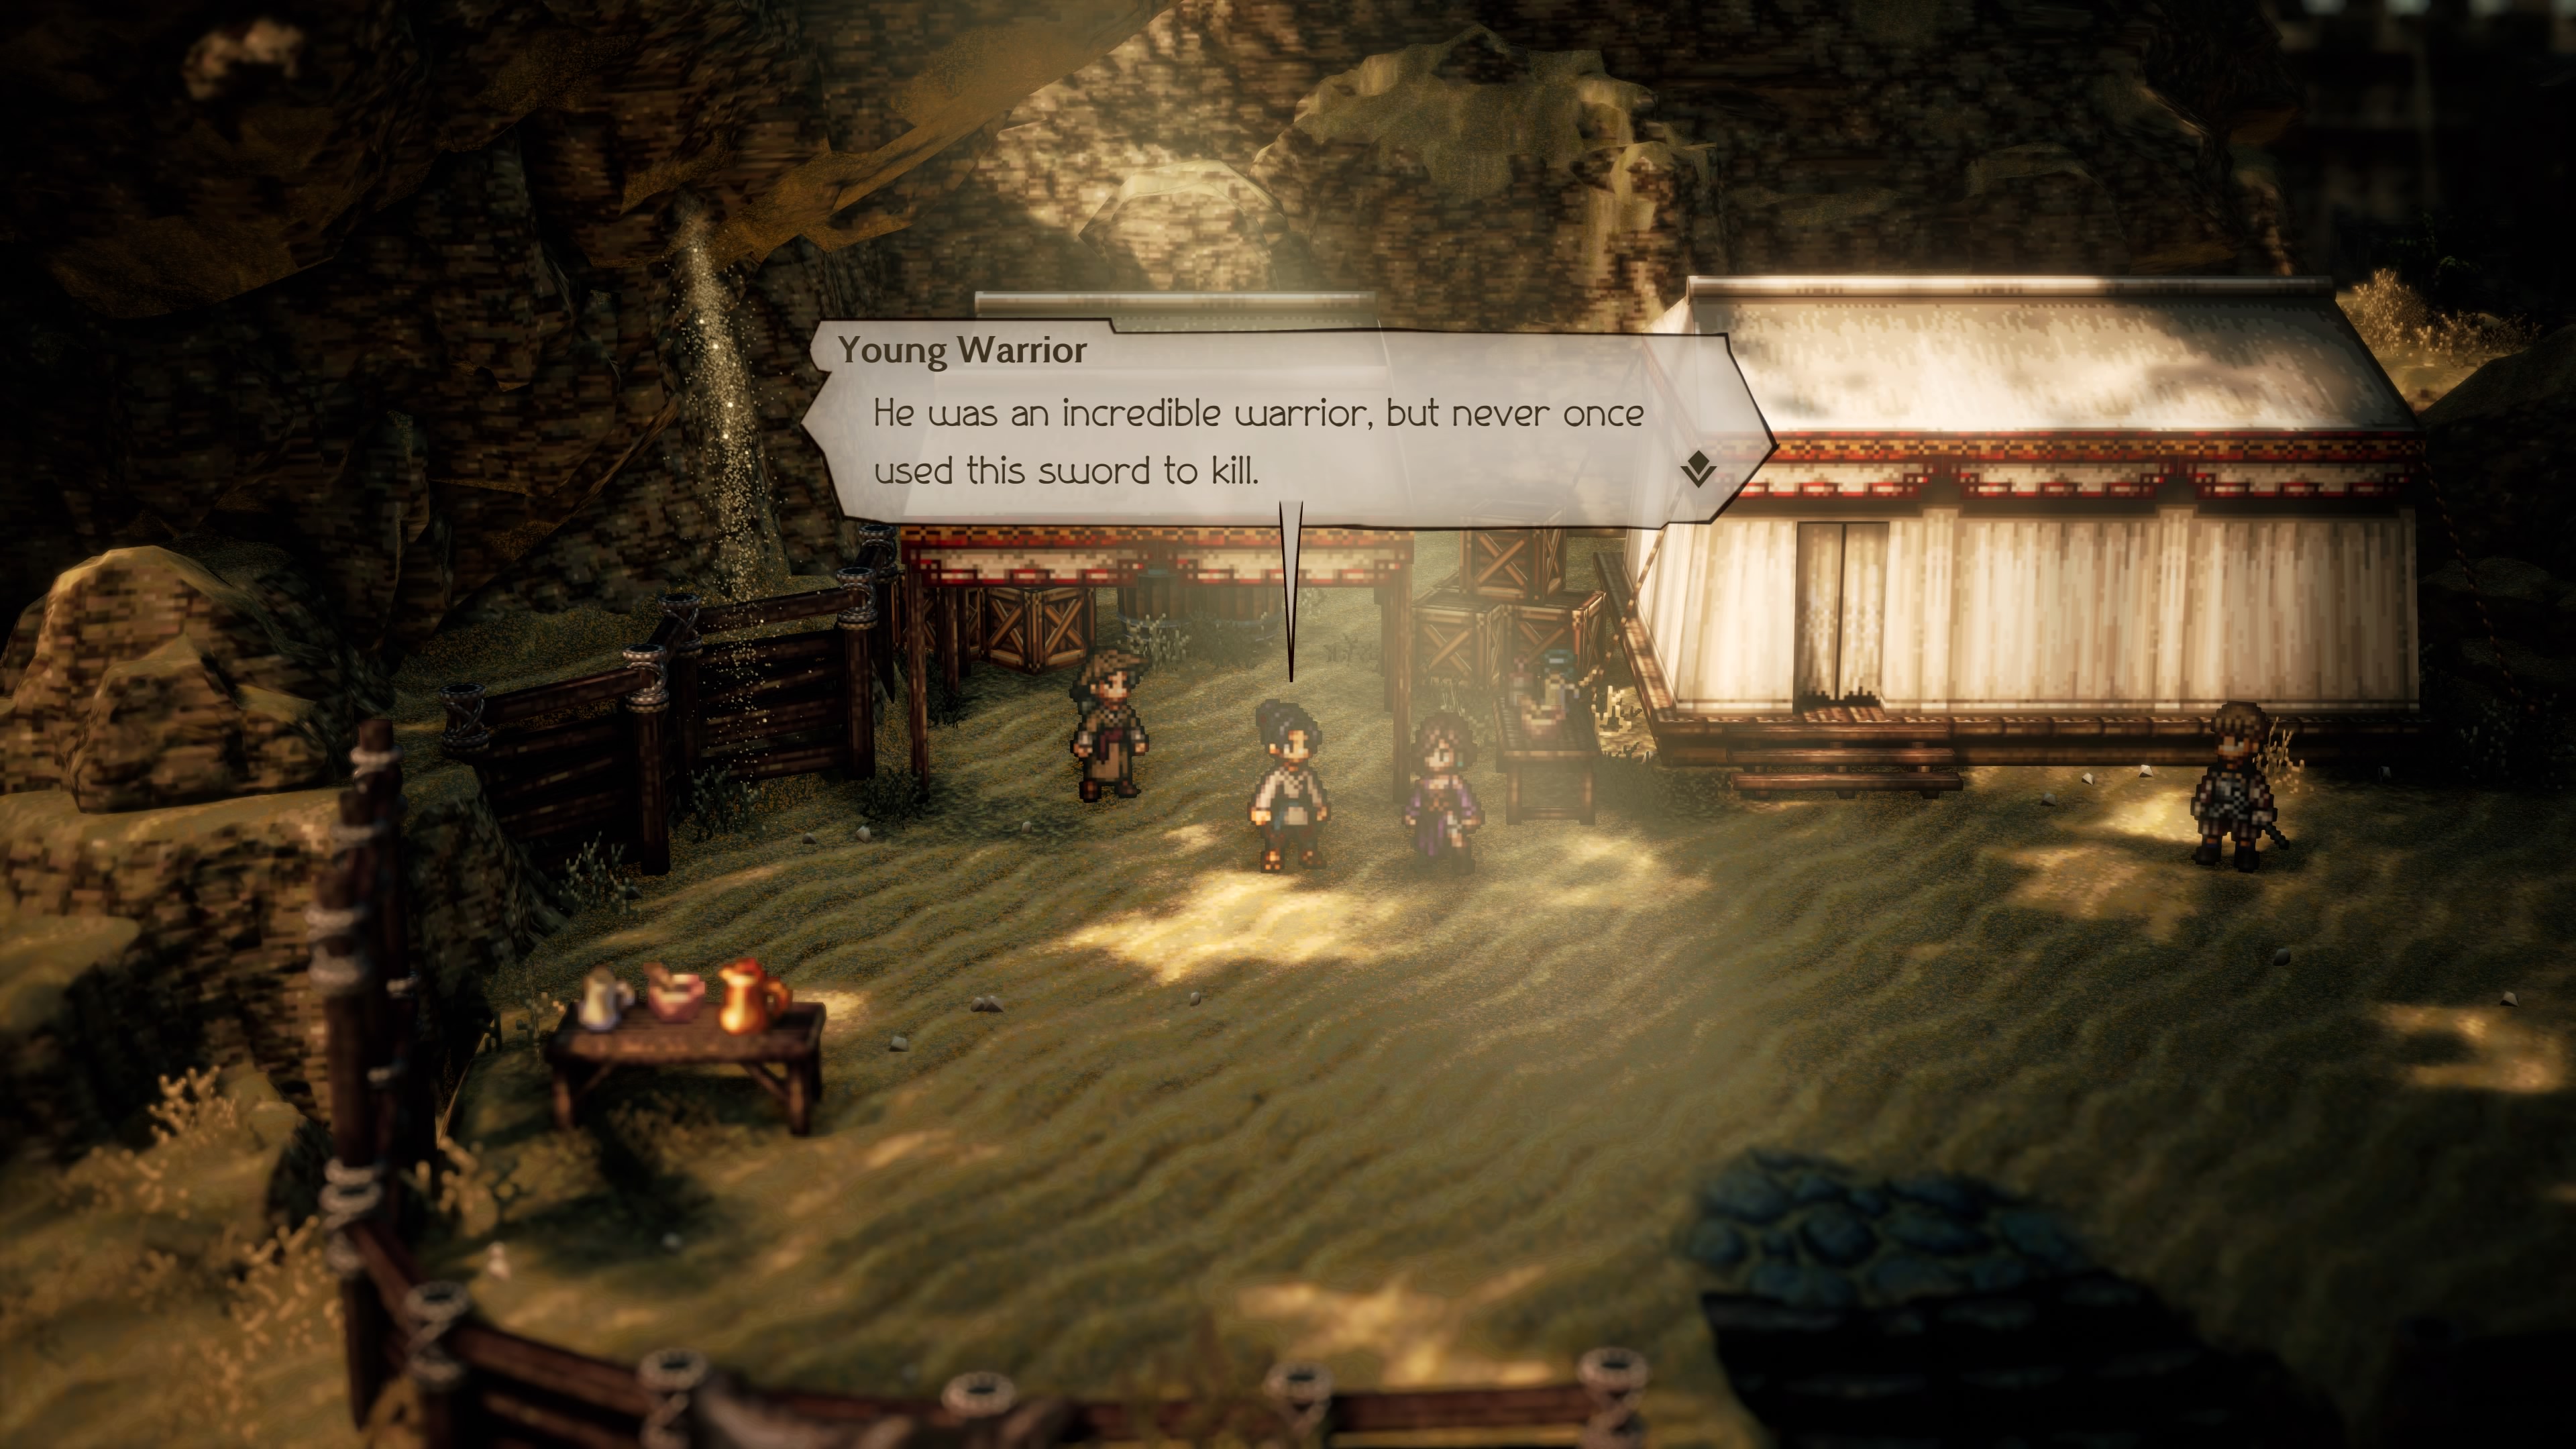
In all likelihood you'll be entering this dungeon as part of the Sword Hunter in the Decaying Temple Side Story. You can activate this quest by speaking to the Young Warrior in the northwest of Sai, near the medical tent.

Enemies
- Dire Skull Roller - Weak to Dagger, Bow, Staff, Lightning - Drop / Steal Dual Flower
- Vagrant Lizardman V - Weak to Dagger, Axe, Ice, Wind - Drop / Steal Plum Leaf
- Vagrant Lizardman VI - Weak to Polearm, Dagger, Ice, Lightning - Drop / Steal Healing Grape (M)
- Vagrant Lizardking I - Weak to Sword, Bow, Ice, Dark - Drop / Steal Healing Grape (M)
- Vagrnt Lizardking II - Weak to Sword, Bow, Ice, Dark - Drop / Steal Plum Leaf
- Vagrant Lizardking III - Weak to Dagger, Staff, Lightning, Wind - Drop / Steal Inspiriting Plum (M)
- Venomous Scorpion - Weak to Dagger, Box, Ice, Wind - Drop / Steal Healing Grape (M)
The trip through the Decaying Temple is more or less a direct trip north, though you can find a few things along the way:
- Among the rubble in the middle of the entrance area you'll find a chest containing a Bottle of Sleeping Dust.
- In a room to the northeast of the entrance area is a chest containing an Energizing Pomegranate (M).
- Look west of the save point in the second large chamber to find a chest containing 20,000 leaves. To the east of the save point is a chest containing a Sniper's Bow.
Beyond the save point you'll see a shadowed figure. Approach them and, surprise surprise, your party of one will be facing down the barrel of a boss.

Karma
Weakness:
- Polearm, Dagger, Axe, Staff, Ice, Lightning (first phase)
- Sword, Dagger, Bow, Fire, Ice, Lightning (second phase)
- Nothing (third phase)
- Everything (fourth phase)
Steal: Nothing
- Single Slice, a melee attack
- Double Slice, a two-hit melee attack
- Triple Slice, a three-hit melee attack
- Killer Karma, an instant-kill attack
- Oblique Slash, a melee attack
- Severing Sword, a melee attack that debuffs attack
- Armor Cleaver, a melee attack that debuffs defense
- Unsheathing Stance, which triggers Karma's attack sequence
- Tiger and Wolf, which changes Karma's weaknesses, as well as effectively grants him immunity to Boosted attacks and Latent Powers
- Flawless Stance, which changes Karma's shields to 1 but removes all weaknesses
- Ready Stance, allowing Karma to automatically avoid physical attacks and changing his weaknesses
- Unbreakable Stance, which raises Karma's shields to 15 but exposes him to every weakness
- Vengeful Blade (Warrior Skill)
- Ruinous Kick (Dancer Skill)
- Almighty Soulstones (item)
- Temenos's Latent Power