

Enjoying Octopath Traveler II? Try out Octopath Traveler 0, the newest game in the franchise, available now on Amazon for the Nintendo Switch! As an Amazon Affiliate I earn from qualifying purchases, at no additional cost to you.
The final storyline quest in Octopath Traveler II, Journey for the Dawn only unlocks once you complete every other character-oriented quest in the game. This means you must recruit all eight characters, complete their storylines, and complete their Crossed Paths chapters with the other characters in the party. It's a tall order that will encompass the majority of your journey.
Once you've unlocked Journey for the Dawn you can trigger the quest by traveling to the Southern Cropdale Trail and looking for the save point. South of the save point and on your left are steps to a small campsite. Inspect the campfire and you'll receive a lengthy notice regarding the quest. As the notice mentions, this is a one-way trip of sorts. You're stuck doing it once you begin the quest, and the world won't quite go back to the way it was once you're done, so if you have any unfinished business you should attend to it first. This includes:
- Getting everyone in the party to at least around level 50ish - and that's everyone, not just the characters you prefer to use; note that getting closer to 60 is probably wiser
- Completing Side Stories you haven't finished
- Exploring dungeons and collecting items
- Unlocking all of the Jobs, including the advanced ones (Inventor, Armsmaster, Arcanist, and Conjurer)
- Using Path Actions to plunder NPCs in towns, particularly 'named' NPCs who you encountered during the game's chapters - they tend to have the best equipment

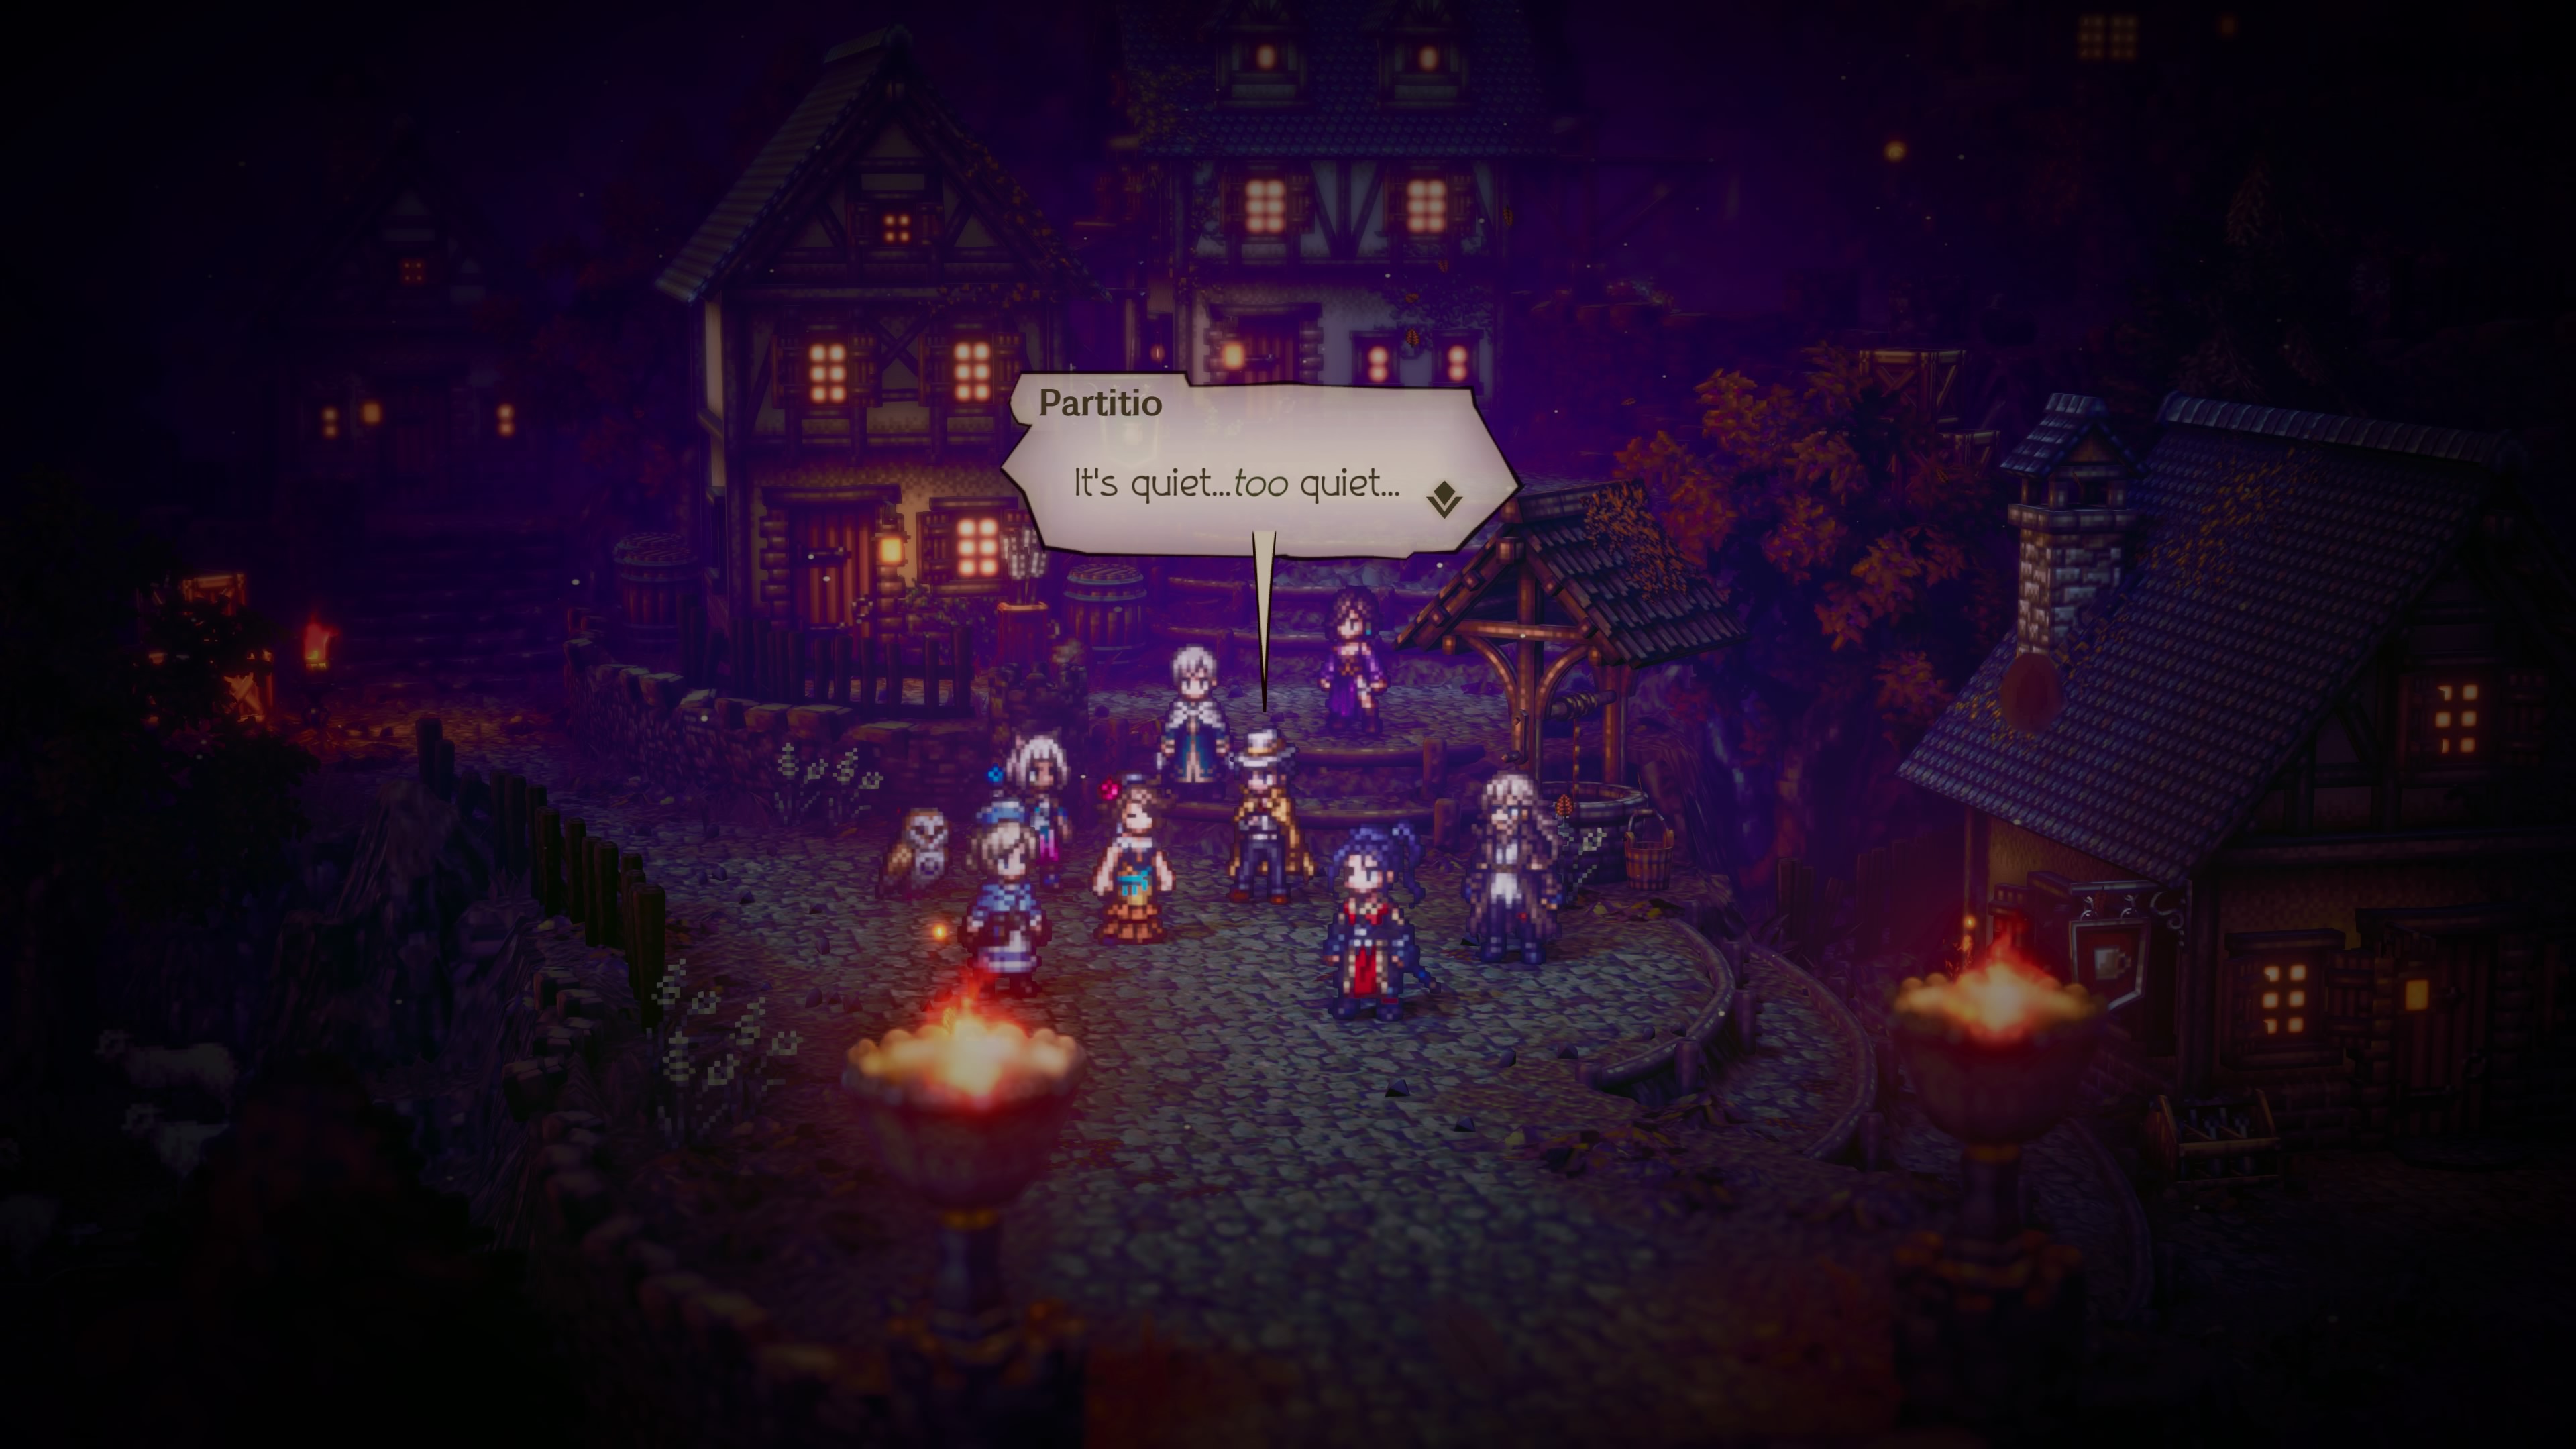
The chapter begins with Partitio and Agnea trying to light a fire. The rest of the party will show up soon after, and everybody will have a nice feast by moonlight. (Check the cover image of the game at this point. Look familiar?) All is well... at least until Sacred Flames worldwide, including the one in Flamechurch, start to go out. The team will wake up, having shared the same dream, and discover that the dawn isn't coming.
Enemies
- Shadowy Animated Armor - Weak to Axe, Staff, Light
- Shadowy Demon Deer - Weak to Staff, Lightning, Light
- Shadowy Demon Jellyfish - Weak to Axe, Staff, Lightning, Light
- Shadowy Horse Fly - Weak to Polearm, Bow, Light
- Shadowy Peek-a-Book - Weak to Dagger, Axe, Lightning, Light
- Shadowy Ratkin - Weak to Fire, Ice, Lightning, Wind, Light
- Shadowy Shaggy Aurochs - Weak to Polearm, Dagger, Axe, Light
Soon after waking up the team will be attacked by Shadowy creatures. You've run into them before, during Ochette's final chapter, and there's a slight chance that you had them temporarily invade your game at random while exploring outdoor areas. Now they've overrrun the world, and you need to figure out why. The game gives you no help in doing this - though on the plus side, you can now change your party formation via the menu, without having to visit a Tavern. That's something.
If you pull up the world map you'll see that several locations around the world are coated in a thick, purple mist. You need to travel to these spots to investigate. We'll make our way to the closest and work outward from there.

Fellsun Ruins
Travel to Crackridge, then east to the Abandoned Road, and on to the Fellsun Ruins. Inside the ruins you'll find Journal Fragment I near the entrance. Head deeper inside and you'll find Journal Fragments II through XVIII. If you take the time to read these entries you'll learn a lot about what has been happening in the background of Octopath Traveler II.
The fragments will lead you to a pair of statues in the rear of the ruins, and if you inspect them you'll receive a hint: 'Let the mirror shine and kindle a fire in your heart to chase away the darkness'. The specific gods involved also hint at what you need to do. Place Partitio and Osvald in the active party, then use the Shiny Mirror that is glowing in your inventory next to the torch dais between the statues.
That's one Sacred Flame brought back to life. On to the next.

Tranquill Grotto
Jump to Ku, then head east to the Tranquil Grotto, where Hikari and Agnea journeyed together. At the rear of the ruins you'll find two more statues flanking an extinguised Sacred Flame. Put Agnea and Hikari in the party, then, once again, use the Shiny Mirror in front of the torch dais to bring the light back to life.
Tombs of the Wardenbeasts
Jump to the Beasting Village, then head south, to the Path to the Tombs of the Wardenbeasts. Make your way into the tombs, as before, though when you approach the two statues at the end of the trip you'll be hit by a sense of danger. Make sure you heal and save before making the final approach.

Grotesque Monster
Weaknesses:
- Axe, Bow, Ice, Light (Grotesque Monster)
- Axe, Bow (Twisted Spawn)
Steal: Nothing
- Normal melee attacks
- Piercing Cry, a physical attack against one target
- Dark Breath, a Dark attack against the whole party
- Dark Wave, a Dark attack against the whole party
- Dark Spawn, which summons two more Twisted Spawn
- Oppressive Shadow, a heavy Dark attack against a single target
- Darkstorm, a charged Dark attack against the whole party

- Polearm, Axe, Ice, Lightning (Arcanette)
- Dagger, Fire, Wind, Light (Ant, Servant of the Night)
- Polearm, Dagger, Bow, Light (Howler, Servant of the Night)
- Polearm, Bow, Lightning, Light (Condor, Servant of the Night)
- Dagger, Staff, Fire, Lightning, Light (Mushroom, Servant of the Night)
- A normal melee attack
- Beckon the Night, which summons minions to aid Arcanette that will lock her weaknesses
- Power of the Night, which buffs one of Arcanette's minions
- Elusion of the Night, which grants automatic evasion to one of Arcanette's minions
- Offering of the Night, which sacrifies one of Arcanette's minions to heal her
- Moonshade, a two-part Dark / Light attack against a single target
- Deny the Dawn, a charged attack that damages the party and strips them of BP
- Heaven's Vengeance, which reduces everyone to 1 HP


- 10 (Vide)
- 4 (Wriggling Tentacle)
- 3 (Lithe Tentacle)
- 3 (Creeping Tentacle)
- 3 (Thwarting Tentacle)
- Sword, Axe, Staff, Lightning, Light (Vide, first phase)
- Dagger, Bow, Fire, Dark (Vide, second phase)
- Polearm, Axe, Bow, Ice, Light (Wriggling Tentacle)
- Fire, Ice, Lightning, Wind, Light (Lithe Tentacle)
- Sword, Dagger, Bow, Staff, Fire (Creeping Tentacle)
- Sword, Polearm, Dagger, Axe (Thwarting Tentacle)
- Pulse, a Dark attack against the whole party (Vide)
- Waves of Darkness, a Dark attack against the whole party that can inflict Blind (Vide)
- Ruinous Light, a multi-hit strike against a single target (Ruinous Tentacle)
- Rend, a physical attack against the whole party (Lithe Tentacle)
- Sweep Away, which temporarily knocks one of your party members out of the fight (Creeping Tentacle)
- Reflective Barrier, which bounces magic off of the target (Thwarting Tentacle)
- Resonant Cry, which restores health to every enemy (Thwarting Tentacle)
- All Shall Be Mine, which swaps your active party for your inactive party
- Wave of Nothingness, which removes every buff on your party
- Calamity of Night, a charged Dark attack against the whole party
- Aggressive Slash (preferably when you're just targeting Vide)
- Precise Shot
- Elemental Barrage
- Hired Help - Veteran Soldier
- EX Skills
- Hikari's Learnable Skills
- Ochette's Provokes
- Latent Powers, notably Ochette and Hikari
- Soulstones, particularly Light (L) Soulstones and Almighty Soulstones

- 10, 15 (Vide the Wicked)
- 4 (Wicked Right Arm)
- 5 (Wicked Left Arm)
- Sword, Dagger, Bow, Wind, Light (Vide, the Wicked, first phase)
- Polearm, Axe, Staff, Ice, Lightning, Light (Vide, the Wicked, second phase)
- Fire, Lightning, Light, Dark (Wicked Right Arm, first phase)
- Ice, Wind, Light, Dark (Wicked Left Arm, second phase)
- Sword, Axe, Bow, Staff (Wicked Left Arm, first phase)
- Sword, Dagger, Bow (Wicked Left Arm, second phase)
- Normal melee attacks (Vide)
- Veil of Perpetual Night, which prevents you from inflicting damage on Vide while her arms are active (Vide)
- Wicked Glint, a Dark attack against your active party (Vide)
- Deny The Dawn, a Dark attack against your active party that saps their BP (Vide)
- Arcane Sphere, a magic attack against a single target (Vide)
- Condemning Bolt, a flurry of Dark attacks against a single target (Vide)
- Twin Flames, a Dark attack against a single target (Left Arm)
- Meteor, random Dark attacks against your active party (Left Arm)
- Heat Ray, a Fire attack against your active party (Left Arm)
- Sweep, a physical strike against your active party (Right Arm)
- Spirit Thief, a physical strike against your active party's SP (Right Arm)
- Terrifying Sweep, a physical strike against your active party that can inflict Terror (Right Arm)
- A debuff applied to the active party whenever you defeat one of Vide's Arms, preventing the use of healing items
- Eternal Night, which prevents you from reviving characters while Vide remains unBroken
- Bestial Roar, a physical attack against the active party that inflicts a defensive debuff (Vide)
- Annihilation, which reduces one character's SP to zero (Vide)
- Ruthless Blow, a heavy physical attack against one target (Right Arm)
- Shake the Earth, a physical attack against the whole party (Right Arm)
- The dawn shall never come, which changes Vide's weaknesses, gives her 15 shields, and gives her an extra attack (Vide)
- Heaven's Vengeance, which reduces the active party's HP to one (Vide)
- Tenebrae Operire, a Dark attack that hits the active party three times (Vide)
- Dark Calamity, a charged Dark attack that hits all eight members of your party, whether they're active or not (Vide)
- As mentioned, healing. Whenever a party is getting weak, switch to the other one and have your healer go to work. You can keep switching back and forth like this and maintain a pair of fresh parties.
- Bring out characters with lots of BP to deploy buffs on everyone for many turns. Offensive or defensive, it is up to you. This becomes especially deadly if you bring out Conjurers to give everyone elemental attacks on top of their physical Skills.
- Put Castti to work. The hardworking Apothecary may well be your greatest asset in this fight, as she can heap HP, SP, BP, buffs, and status recovery on everybody in the fight if you use Diffusing Serum. Even just giving your characters hordes of BP makes Castti an utterly invaluable party member.
- Shift the turn order around with Stimulate. If Agnea uses her Latent Power she can bump everyone to the front of the order on a regular basis, preventing Vide from getting off many attacks.
