Recommended Level: 15
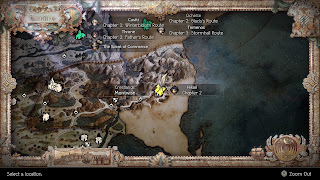
The second chapter of Hikari's takes place far from the starting point of the first, in the town of Montwise. To reach Montwise from the Ryu you'll need to guide Hikari east, to the port city of Canalbrine. From there you can sail to the islnd of Toto'haha, then immediately jump back on a boat and travel to New Delsta Harbor: Anchorage. Head south through the Brightlands, east to the Western Clockbank Road, and north to the Eastern Flamechurch Pass. Follow this road east and you'll hit Montwise after two more field areas. Phew.
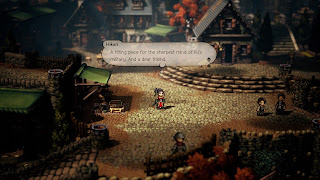
Assuming Hikari is in the party you'll be prompted to begin his next chapter as soon as you enter Montwise. If you choose not to begin right away you can trigger it by visiting the Tavern, to the north of the entrance. Choose Hear a Tale when speaking to the Tavern Keeper.
(Note: Aside from the final battle, Hikari will be facing most of this chapter on his own. Make sure that he, personally, meets the recommended level of 15, if not higher. The final boss of this chapter is probably more than a party at level 15 can handle.)
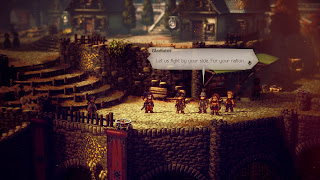
Hikari is on the search for allies, and his old friends are a good place to start. First on the list is Kazan, former strategist of Ku, who left his country to settle down in this town of scholars. He's somewhere in Montwise. Begin the search for him by heading east through town, until you reach the outskirts. There's a rounded staircase, near the exit to the Abandoned Traverse, that will take you beneath the town to an Underground Arena.
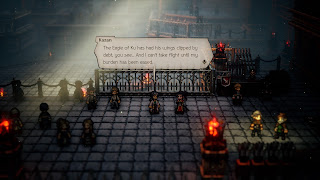
Kazan will Hikari amid the sea of cheering for blood, and he seems happy to return to Ku with his prince... in exchange for a favor. Kazan pushes Hikari into the ring, forcing a fight. Switch to day and Challenge the Gladiator as Hikari. He's vulnerable to Hikari's Polearm attacks, and should pose very little threat after everything you probably went through to travel to Montwise. He'll drop a Healing Grape (M), and you can learn his Thrash Skill, an AOE Axe move that's a solid choice if Hikari's lacking in companions with Axes.
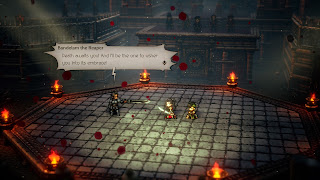
Hikari learns after the fight that Kazan is... broke. Great strategist. He wants Hikari to continue fighting for him. Fine. Shortly after their conversation a man named Bandelam the Reaper will take center stage, and the chances that he'll be Hikari's final opponent in this chapter are... high. Y
You can get started on the path towards Bandelam by speaking to the Arena Registrar, to the left of the entrance of the Underground Arena. Once you're in the arena you can leave again by speaking to the Barker. If you find Hikari lacking in hitting power or defense you can buy more weapons and armor at the Armorer on the right side of the Underground Arena. The General Store in Montwise also has equipment for purchase.
You'll face several opponents this time around, even though it's still a Challenge. Two of the three are vulnerable to Swords, making Aggressive Slash a good choice for Breaking them, and two are vulnerable to Axes, giving that Thrash Skill you may have picked up a workout. Two are also vulnerable to Polearm, if you want to finish anyone off with Piercing Thrust. Use Healing Grapes to keep Hikari's health up and this fight shouldn't be a problem. You'll earn an Herb of Valor and an Olive of Life (M) for winning.
After an introduction to Borneau, the wicked owner of the arena, you'll be back in control and ready for another fight. Use the Inn back in Montwise if Hikari needs some healing, then speak to the Arena Registrar again to begin the next battle.
This time you're up against Zeto the Butcher, and despite his Fierce Thrust attack he's not a difficult opponent. Hikari's Sword attacks will more than suffice to bring him down, particularly if you use Aggressive Slash to wipe out his shields. Once Zeto's Broken you can use Hikari's Latent Power and Tenretsuzan to wipe out most, if not all, of Zeto's health. You'll receive an Inspiriting Plum for winning this fight, and can learn Slowing Sweep, a Polearm attack.
Despite nearly giving in to his inner bloodlust Hikari holds back, and saves Zeto from death by Bandelam. More cut scenes follow, and the challenge is issued. All that's left, once you heal Hikari...
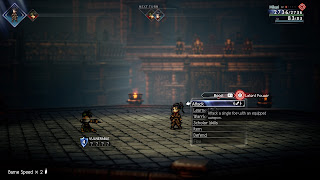
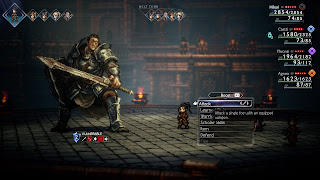
... is Bandelam himself. He's pretty straightforward, and aside from an ability to debuff Hikari Bandelam's attacks consist of heavy sword slashes. Unless Hikari has a Secondary Job of some kind you'll need to exploit Bandelam's weakness to Polearm attacks, which makes Slowing Sweep a good choice for this battle. If you didn't learn it from Zeto Hikari can use Piercing Thrust or normal Polearm attacks instead. You'll earn an Energizing Pomegranate for defeating Bandelam the Reaper.
A revolt will begin immediately after you defeat Bandelam, and Borneau will order the big gladiator to save him. Now begins the real battle against the champion of the arena.
Bandelam the Reaper
Weakness: Polearm, Dagger, Axe, Fire, Light
Drops: Energizing Pomegranate (M)
Steal: Energizing Pomegranate (M)
- A normal melee slice
- Shield Slam, which hits two members of the party and can knock them Unconscious
- The Reaper, a charged AOE attack that can inflict Terror on your party members
- Warrior's Blade, which heavily damages one character and buffs Bandelam's melee attacks
- Behead, a heavy melee strike against one character
- Sweep, an AOE attack against your whole party
- Downward Strike, which debuffs a character's physical attack
- Double Cut, which slices two characters for melee damage
- Bandelam stands ready, swapping his weaknesses
- Now the real fun begins, which grants Bandelam an additional move per round

