Vide the Wicked God
Shields: 99
Weakness: Light
Drops: Nothing
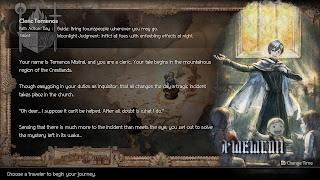
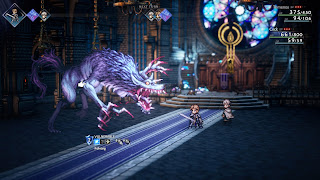
Yep, this scenario begins with you controlling a character who is not named Temenos. Battling a vengeful god with a man named Aelfric, you're facing quite a foe from the very beginning. Aelfric's Skills don't cost any SP, so use Aelfric's Blessings to give him an array of buffs, then just keep using Aelfric's Wrath. Eventually he'll gain access to his special attack, and... at that point the ruse sort of drops.
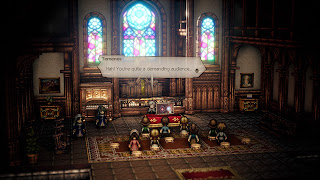
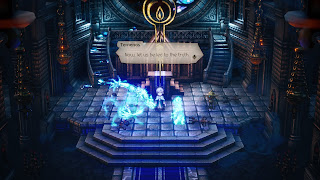
Jump to Temenos, who is putting on a little one-man paper play for some kids. He can't remember his lines, but everyone seems happy with his performance anyway. You'll be introduced to a few more members of the church, including the pontiff, who wants to speak to Temenos in private. After this Temenos has some free time.
Before you look around too much, head west through the town a bit. You'll find a cut scene just south of the item shop. Some insurgents insist that the 'truth' will be exposed, and when cornered by a knight they take Temenos hostage... only to get zapped by Temenos's magic. The knight will introduce himself as Crick, take exception to some of Temenos's more flippant remarks, and admit that he's lost. This brings us to Temenos's first Path Action.
Guide
Temenos's daytime Path Action is Guide. He can use Guide to coax NPCs into following him around. Followers can be Summoned into battle for short periods of time, and they will attack enemies, use one special Skill in particular, and occasionally take damage for Temenos. Guided characters will return to their original spots in the world after they're Summoned a certain number of times. Temenos can only Guide one NPC at a time.
Guide Crick and he will be added as a Summonable character for Temenos. You now need to lead him to the cathedral to meet the pontiff. First, though, shall we look around town a bit?
Flamechurch
- There's a save point down the stairs from the little church where you start the scenario. No time like the present.
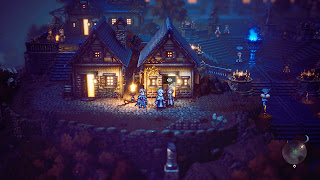
- West of the church is an all-purpose shop. Temenos can heal himself, so restorative items are less of a priority here than in other scenarios. Buying him some better equipment, along with a Charm Rod, is a wise investment for the future.
- Down a road to the northwest of the item shop is a little house. Inside is a chest containing 400 leaves.
- There's a tavern and an inn in the southeast of Flamechurch. They will come in handy eventually.
That's all for now. Guide Crick to the north end of Flamechurch.
Flamechurch Pilgrims' Way
Enemies
- Crimson Ammonite (water only) - Weak to Sword, Light - Drops Inspiriting Plum
- Giant Falcon - Weak to Sword, Light
- Mountain Ape I - Weak to Sword, Staff, Light - Drops Inspiriting Plum
- Rockadillo - Weak to Staff
- Shadow Wisp - Weak to Light
Your first taste of combat with Temenos takes place on this short path. Now is a good time for it, as well, since after a few battles of Crick being a Summon he will just join the party. (Alas, the only person who can take his place as a Summonable guest requires Temenos to be level 10. Not worth the effort.)
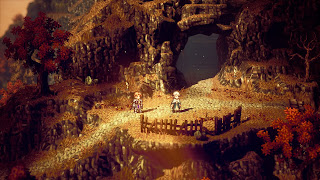
There are two chests to open in this first section, both in plain sight. The first is overlooking a valley in the west, and contains an Inpiriting Plum, while the second, on the east side of the main path before it crosses into a cave, contains a Healing Grape.
In the north you'll enter a cave. Take a left at the first intersection and you'll cross back outside briefly to find a chest. Inside the chest is a Tough Nut. Take a right at the intersection and you'll find stairs down to an underground spring, complete with a little dock. You can debark from the dock in a canoe and sail northeast, where another dock waits. Climb out to find a chest containing a Stimulating Ring.
Continue north through the cave and you'll soon come to your next destination, the cathedral. Alas, the front door is locked, and Crick refuses to cut through the door like some barbarian. Temenos decides to ask around, introducing his second Path Action.
Coerce
An inquisitor by trade and nature, Temenos can use Coerce at night to coax information out of NPCs. Coerce can earn you information ranging from important plot details to the daily life of a farmer, depending on whom Temenos Coerces. Folks will not give up their secrets easily, and Temenos will need to fight them (it's likely a sort of mental battle) to earn what he wants. Breaking Temenos's target once will do. Temenos fights these battles alone, so be careful whom you try to Coerce.
There are a number of people around the entrance to the cathedral that Temenos can Coerce for the information he wants, but the only one who's useful is Vados the Architect. He's standing outside two homes in the southwest of the area. Check the house behind Vados for a chest containing a Shadow Soulstone, then Coerce the man. Two blasts of Holy Light will get Temenos what he wants...
... namely, that there's a building in the east which will lead Temenos and Crick into the cathedral via an underground path. Sounds like a plan. There's a save point near the Sacred Flame, and a Peddler standing a little ways to the right of the flame, and you should use both. Enter the mausoleum-esque building in the northeast to begin your journey into the cathedral.
Cathedral Cellars
Enemies
- Ambling Bones - Weak to Staff, Light
- Black Bat - Weak to Sword, Light
- Crimson Ammonite (water only) - Weak to Sword, Light - Drops Inspiriting Plum
- Giant Slug - Weak to Staff
- Scaled Viper - Weak to Sword, Light
- Shadow Wisp - Weak to Light
Ahh, a dungeon. How quaint. There's a save point right by the entrance if you want it. To the west of the entrance you'll find a dock and a set of stairs. Go up the stairs to find a chest containing a Light Soulstone, then backtrack to the dock and sail west. While exploring you'll learn of one of Moonlight Judgment, an automatic ability from Temenos that Blinds and debuffs enemies if he fights at night. Very handy.
There are two docks in the west. The first, at the bottom of the screen, will take you to a chest containing an Inspiriting Plum. The second will bring you to stairs leading up to a torchlit statue. Look behind the statue and you'll find a hidden path leading west, at the end of which is a chest containing a Pilgrim Rod.
West of the statue you'll find a Peddler, waiting near a ladder. Never a good sign of things to come in Octopath Traveler. Purchase what you need from the Peddler, then head up the ladder and into the cathedral. The next room over from where you emerge has a chest containing an Olive of Life, and further east down the corridor is a save point. Head as far east as you can and you'll find a room with a chest containing a Light Soulstone.
Use the save point, then head north through the cathedral. Temenos and Crick will find the pontiff... and something else will find them.
Felvarg
Shields: 5
Weakness: Sword, Holy Light
Drops: Healig Grape Bunch
Well that is certainly an ugly beast. Generally a melee-oriented opponent, Felvarg will bombard Temenos and Crick with slashes from its claws. It's a fairly straightforward opponent, as far as bosses go, though still dangerous. Felvarg uses the following attacks:
- A normal melee swipe
- Dismember, which inflicts heavy melee damage on one character
- Wild Claw, which randomly hits both of your characters with melee swipes
- Tear to Pieces, which inflicts damage on one character and restores some of Felvarg's health
- Stain Black, which inflicts Dark damage on your whole team
- Fatal Claw, a charge attack against Temenos that does heavy damage
Unlike many Octopath Traveler II boss battles this one doesn't change a whole lot as you progress. Felvarg uses a variety of melee attacks on your characters, throwing in the occasional Stain Black for flavor. Break the beast enough times and Felvarg will begin to use Tear to Pieces to restore some of its health.
If Temenos is at a lower level you may want to have Crick use Godsblade's Shield and Cover to take the occasional hit for Temenos, who doesn't have nearly as much HP. Temenos can heal both characters with Otherwise, let Crick whittle down Felvarg's shields until it Breaks, then Boost Temenos's Holy Light and bombard Felvarg for heavy damage. Crick can pitch in with Sacred Slash, as well.
Eventually Temenos will unlock his Latent Power, Judgment, which allows all of his attacks to chip away at an enemy's shields regardless of its weaknesses. This is a sign that Felvarg is about to charge up, and when it's done it will use Fatal Claw to inflict 250+ damage on Temenos. While charging Felvarg will lock away its weaknesses. Conserve Temenos's BP at this point in the battle, then use Judgment and batter the Felvarg with Staff attacks. Break it to stop Fatal Claw from going off. The battle is almost over at this point, so carry on as normal.
After the fight Temenos will pull a Sherlock Holmes and investigate the crime scene. Examine the two glowing spots on the ground to find a Lingering Scent of Incense and a Shattered Cathedral Window. A third light, Toppled Candlesticks, will appear after you inspect the first two. Temenos will come to conclusions... and then be interrupted by more members of the church, the Sacred Guard, who take over the investigation.
Once you regain control of the party, head to the library. It's west of the entrance to the cathedral. Inspect the bookshelves to trigger a lengthy series of cut scenes, culminating in Crick's reassignment and Temenos's departure from Flamechurch to investigate the pontiff's untimely demise. Chapter complete!
At this point you can explore Flamechurch a little more freely, and if you bring any other party members back this way they can collect a ton of items. This guide details the ins and outs of Flamechurch's many treasures.

