Part 40: Myria Station - Worker's Area, Laboratory
Get your own copy of Breath of Fire III on Amazon! As an Amazon Associate I earn from qualifying purchases, at no extra cost to you.
Eden
Monsters
- Eye Goo - Steal Healing Herb, Drop Vitamin
- FoulWeed - Steal Power Food, Drop Protein
- Goo King - Steal Green Apple, Drop Goo King Sword, Learn Charge / Burn
- Goo Titan - Steal Life Shard, Drop Detectors, Learn Burn
- Plant 42 - Steal Mandrake, Drop Vitamins, Learn Snap
- Wraith - Steal Soul Gem, Drop Divine Helm
The trek through Myria Station continues, and with Card Key B in hand the team can now access the western sections of the station. What awaits in the areas beyond is... well, you'll see soon enough. Make sure you put Rei and Momo in your party before you set out this direction, as you'll need them both to progress into the inner areas of Myria Station.
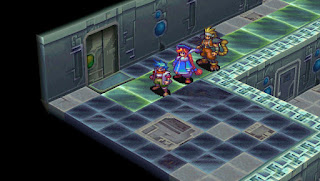
Follow the green floor path to the northwestern door in Myria Station's gate area. Beyond an escalator and a healing room you'll find a corridor with a door that's blocked by writhing vines. Equip the HE Shells on Momo (they're in the room beneath the spot where you fought the Chimera in Laboratory, if you didn't pick them up earlier) and she can blow away the vines with her Field Action.
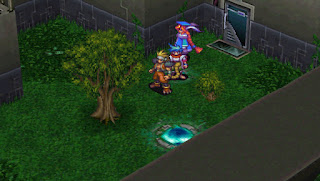
The next area is overgrown with plants and trees. As you explore this section of Myria Station you may run into Goo Kings, a slime enemy that is absolutely packed with powerful spells, though you'll need to steal its Green Apple to keep the Goo King from immediately fleeing. It's not unreasonable to transform Ryu into a dragon to win these fights. Goo Kings have a very small chance to drop Goo King Swords, which are Ryu's best weapon in the game. Unless you get extremely lucky you will need to hunt these things for quite a while to acquire the sword. (Though there's a better spot to find them a bit later.)
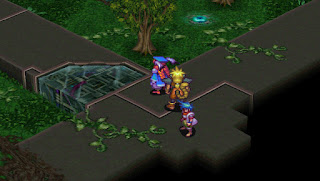
Head northwest from the entrance and you'll find a dead end with a chest containing a Protein. To the northeast of the entrance you'll find a path leading west, through the grass and trees. Along the way you can open a chest containing a Magic Shard. In the west you'll find a grassy field. Head south through the field to reach a platform running around the outer edge of the area.
Follow the pathway and it will eventually bring you to a locked door that Rei can open. This door always resets itself, so any time you want to travel through this area you'll need to bring Rei along. Inside the door you'll find a laboratory, and if you walk on any of the vines draped along the floor your leader party member will be Poisoned. Avoid 'em. Check the bookshelf on the right for Ginseng, and the shelf furthest to the west for a Wisdom Fruit.
In the west of this grassy area you'll find stairs that will take you to a door, and in the corridor beyond you'll find a lift. Hop aboard and the team will arrive in the actual Eden for which this guide is named, an open, blissful area that closely resembles a grassy meadow in the outside world. Most of the enemies here are weaklings, though there are a few foes that can give you trouble.
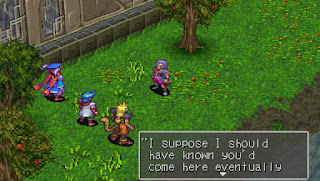
Look southeast of the lift for a chest containing Force Armor, then check to the north of the lift for a chest containing a Soul Gem. Once you're done looking around - and if you're certain you're ready, as you're about to be stuck here for a bit - head to the bridge across the water in the northwest. You'll run into someone terribly familiar... in more ways than one...
... and when the not-so-stranger is done speaking, Ryu will be cast - alone - into a dream-like world.
Ryu's Dream
Monsters
- Gong Head - Steal Ginseng, Drop Vodka Shot, Learn Charge
- Thanotos - Steal Clothing, Drop Panacea
- Vile Weed - Steal Rice Ball
Yikes. Teepo has changed. In his attempt to convince Ryu to join Myria's side the purple-haired fiend has trapped Ryu inside his own mind. Ryu will need to battle through his dream and find a way back to the real world. The enemies here aren't too difficult, but you should proceed with caution all the same.
You need to proceed through this area in a specific order:
- Walk northwest of your starting point to hear from Nina
- Walk back southeast once she's done talking to hear from Rei - this will unlock a save / rest point, though be sure not to save over your original file, in case you have trouble leaving this place
- Walk northwest to find a statue with two plaques on either side - activate both, then walk southwest to fall into a pit
- Speak to the next statue - and say you want the chest - to get at a Shaman's Ring - Avoid the spikes on the floor or they will poison you
- Walk northeast and enter the swirling field to return to the previous area
- Stand still in front of the statue between the two plaques until it reveals a path to the northwest
- Walk northwest to listen to Momo
- Proceed northwest to the next pool of light, then go northeast and southeast to open a chest containing Gems, and southwest and southeast to open a chest containing an Hourglass
- Return to the central path and continue northwest to find the exit
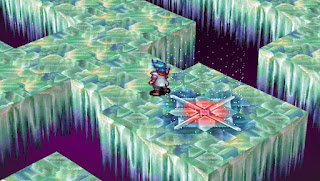
- Step on the white floor panel to the northwest of the entrance to teleport yourself elsewhere in the maze
- Walk southeast until you hit an intersection, then follow the path on your left until you find a red floor panel
- Walk northeast until you see Garr on the path - once he's gone, step on the violet floor panel to the north
- Head north to an intersection, then walk northwest until you find a green floor panel
- Normal melee attacks
- Sleep, which can put Ryu to sleep
- Chill, which hits Ryu for Frost damage and lowers his Spd
- Blizzard, which hits Ryu for more Frost damage
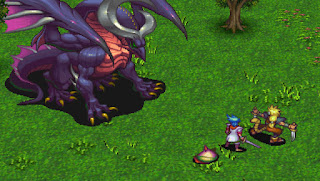
- A normal melee strike
- Triple Blow, which hits a single target three times
- Howling, which can Confuse the whole party
- Inferno, a Flame attack against the whole party
- Sirocco, a Flame and Wind attack against the whole party
- Blizzard, a Frost attack against the whole party
- Momo is a strong contender, as she can buff your party and provide healing while Ryu attacks.
- Rei is handy since he can generally outrun the Dragon Lord, and hopefully get in EX turns. He's also a strong candidate since he can Pilfer the Dragon Blade, which is only available during this fight.
- Garr isn't a bad choice, as he can use the Dragon Spear you (hopefully) picked up earlier in Eden to inflict extra damage. He's also naturally resistant to Flame attacks.
- If Peco has a ton of HP and high defenses he's a decent choice for this battle, so long as you equip a Dragon Fang on him for increased damage output. Keep in mind that Peco will take more damage from Flame attacks, since he's a plant, so if you choose him you should give him a Ring of Fire.
- Nina is the weakest choice for this battle, as her spells just can't inflict enough damage on the Dragon Lord to keep up with the rest of the party. If you do include Nina she should spend most of the fight healing Ryu and your third party member with items.

