

Need some quality headphones to connect to your PC? Try the JBL Tune 720BT, now available on Amazon! As an Amazon Associate I earn from qualifying purchases, at no additional cost to you.
Despite some useful revelations, the visit to the Grave of Reina did not go terribly well. The Grand Grimoire appears to be MIA once again, and the party has been forcibly detained aboard Marylea, a city in the sky that serves as the home of the Church. You're back in Glenn's shoes, and you need to track down Lenne.
There's nothing much in the hotel where Glenn starts out, so head downstairs and into Marylea proper. You can now explore to your heart's content before proceeding with the story. Let's see what there is to see:
- East of the hotel and to the north you'll find a sort of storehouse that's filled to the brim with crates. If you weave through the crates you'll find chests containing three Colossus Hides, Nectar, and two Monster Fangs.
- West of the hotel is a building you can enter. Walk straight through it to the other side and you'll appear on a balcony. A nearby red chest contains Parade Armor.
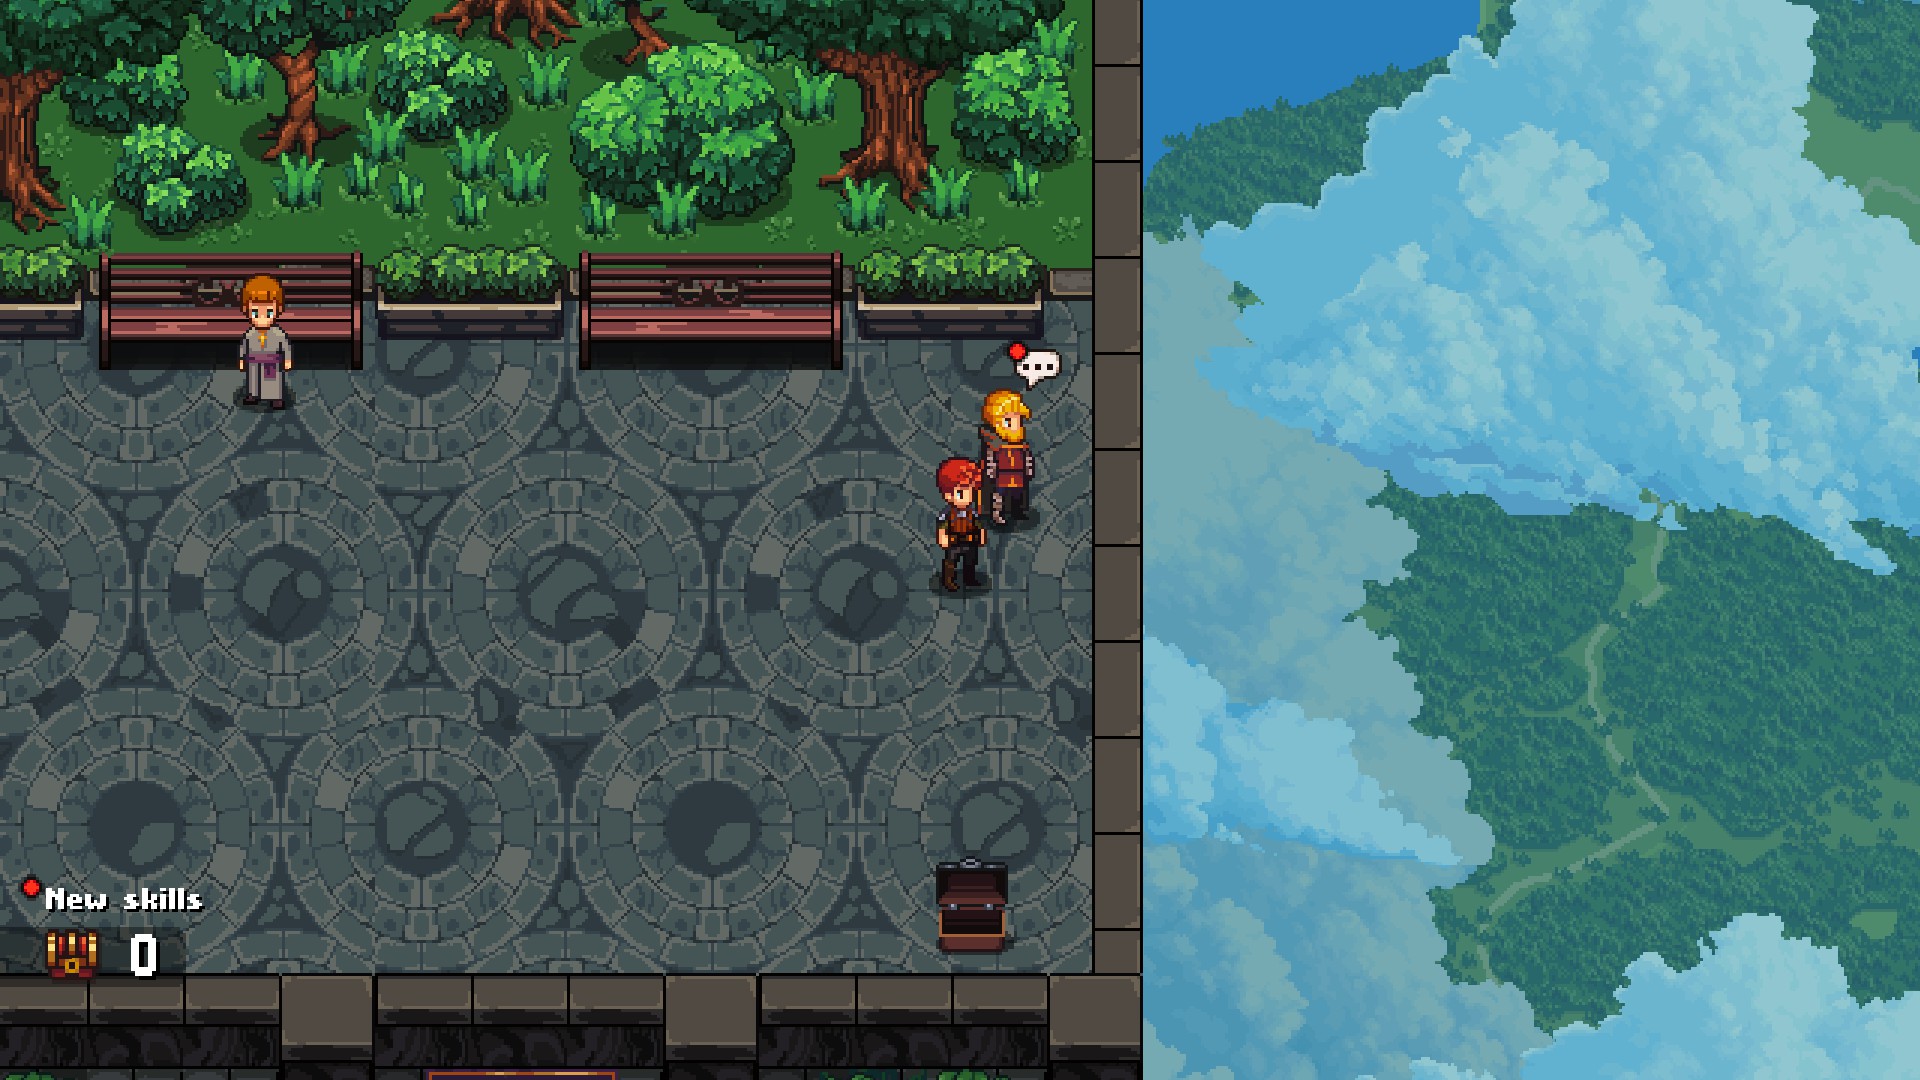
- South of the hotel and on your left is another building. Pop inside, then climb to the second floor and go out the door in the southwest. This will bring you to a small park where you'll find Victor. Near him is a chest containing four Rayon Fibers.
- In the north of Marylea you'll find a cut scene between Amalia and Ba'Thraz. It will explain a few things about Amalia in particular. Past them you'll find an elevator that will take you to Marylea's upper and lower floors. The upper floor is largely inaccessible at this point, so unless you just want to talk to people it's not worth the trip.
- On the lower floor you'll find a Sky Armor dock. To the east of the Sky Armor, accessible by heading north, you'll find a series of bedrooms. In here is a chest containing 1a. To the west is an eating area, and in the kitchen you'll find a chest containing a Decorated Vest.
- Head back to the City Floor. On the east side of Marylea, as you approach the storyline trigger, you'll find a merchant. He has some fairly up-to-date weapons and armor if you've been slacking.

... and, by the end, Marylea will come under attack by Taryn. Always a pleasure. The party, minus Lenne, will wind up in the hangar areas, and there will be security doors to bypass.

Enemies
- Beast Tamer - Strong to Light, weak to Dark - Drops Gold Nugget, Meal
- Priest - Strong to Light, weak to Dark - Drops Meal
- Tamed Beast - Strong to Light, weak to Dark - Drops Angel Wing
Start by checking to the northwest. You'll find a room with a Key Card A sitting on the table, as well as your merchant buddy. West of the starting point you'll run into Priests, and on top of normal magic attacks they can summon Vines to incapacitate your characters. You'll need to cut any entwined party members free before they can act again. The Priests are guarding a Pacifist's Charm.
The Key Card A will get you past a security door to the north, but you'll need another Key Card to get past the next two doors in your way. To the northwest you'll find stairs leading up one level, where you'll run into a Tamed Beast and a Beast Tamer. The Beast Tamer can heal the enemy party, making him a tempting target, but the Tamed Beast becomes stronger when its Tamer is defeated, so... maybe take it out first. They're guarding a red chest that contains a Ley Line Coat. The stairs on the north end of this small area lead back downstairs, past the security doors.

Head back west and check the security door leading south. It blocks a kitchen, within which you'll find a chest containing two Meals, a red chest containing a Tachi, and, on one of the tables, Key Card D. Grab everything, then head as far west as you can go through the corridors. Your key cards will get you through a security door at the end of the hall, and up the stairs you'll find a red chest containing a Stylish Accessory.

Head back east and use your key cards to access the kitchen in the northeast. There's a garbage chute that you can use to leap deeper into Marylea, where they toss all the trash. Use the anvil sitting among the trash heaps if you need to upgrade anything, then head south. The group will see some monsters attacking civilians, and Robb will have an unexpected moment of conscience. Head west if you need to use your merchant friend's services, then enter the pit to the south and defeat the three Tamed Beasts.
Further south are four more Tamed Beasts menacing civilians. Take them out, watch some cut scenes, then head back north. Down the eastern corridor are two sets of stairs, though you're forced to take the right set. They'll take you to the lower decks of Marylea. Head east and south, then go west when you reach an intersection to find a chest containing two Wyrm Carapaces.

To the east you'll find an airship dock. Check to the southeast to find a chest containing three Colossus Hides, then head north. Along the eastbound path you'll run into two Priests and a Beast Tamer. South of these enemies you'll cross two docked airships, and you can enter the hold of the lower airship to find a chest containing 1,278a, as well as an anvil. South of the airships and back on the deck you'll find a red chest to your left containing a Colichemarde.
Head east. You'll need to cross two more airships, and on the deck of one you'll fight a Tamed Beast, two Beast Tamers, and a Priest. To the east is the end of your journey... and a nasty, rather personal fight.

Raphael and Eva
Weakness: Water (Raphael) / Wind (Eva)
Steal: Platinum Nugget (Raphael)
- Normal physical melee strikes (both)
- Souls Crush, a debuffing physical strike (Raphael)
- Blinding Light, an AOE Light spell (Raphael)
- Raging Boar, an AOE Earth spell (Eva)