

Need some quality headphones to connect to your PC? Try the JBL Tune 720BT, now available on Amazon! As an Amazon Associate I earn from qualifying purchases, at no additional cost to you.
Amalia Doppelganger
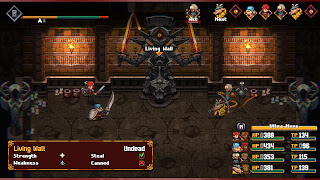
Living Wall
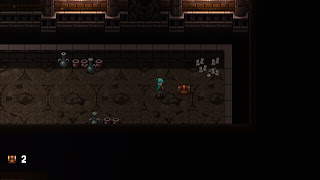
The party has business with the dead. Spoken of often during the plot and hunted by the Church, the Grave of Reina turns out to be a hidden mausoleum to the north of Farnsport. After some conversation - including a bit of flavor text, where you can learn why this place is located so far from the city - the way forward will open.
Go down the stairs on the east side of the mausoleum. You'll find a northbound path, complete with a red chest containing a Ley Line Coat. At the end of the path you'll hit a teleporter, and not long after using said teleporter Amalia and Ba'Thraz will be thrown into a side area by themselves... and then Amalia will be left alone with her dog, Cres. Erm.

Head north and take a right to find a red chest containing a Musket, then carry on north. Another chest past the split will contain a Meal. The items you've been acquiring are a sign that Amalia will need to do some fighting, so be sure to equip the Ley Line Coat and the Musket if you've neglected her in the past.
There's another teleporter waiting, and what lays beyond will force Amalia to confront her own past.

Strength: Dark
Weakness: Light
Steal: Nothing
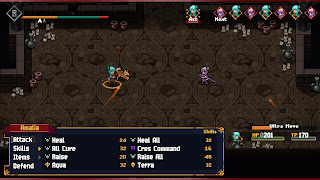
Fake princess! The Amalia Doppelganger is very similar to the real deal, though it lacks Cres as backup. Still, it has a few attacks that can prove annoying:
- A normal physical strike
- Regen, which grants the Doppelganger Regen status
- Shield, which boosts the Doppelganger's defenses
- Reraise, which will revive the Doppelganger if it's defeated
The Doppelganger doesn't have much health, and though its normal attack does damage Amalia is more than equipped to heal away any damage. If you have trouble inflicting enough damage with Amalia's normal moveset you may want to give her a Class Emblem with offensive spells. Otherwise, not a big deal.

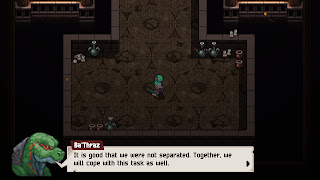
Defeat the Doppelganger and you'll get a taste of Amalia's horrible history. Once that's done it'll be Ba'Thraz's turn. Head north and you'll find an Opal Amulet on your left and two Meals further up the corridor. He, too, has demons to face.

Ba'Thraz Doppelganger
Strength: Dark
Weakness: Light
Steal: Nothing
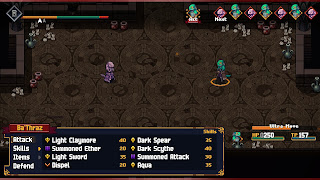
Another Doppelganger. Ba'Thraz's duplicate is weighted heavily towards offensive combat, and all of its moves will look familiar if you have Ba'Thraz in your party on a regular basis. Fortunately, this thing just can't hit as hard as the real deal. Expect the following attacks:
- Dark Spear, which inflicts Dark damage
- Light Claymore, which inflicts Light damage
- Metal Dagger, which inflicts physical damage
- Full Attack, which hits Ba'Thraz with all of the weapons summoned by the Doppelganger
Ba'Thraz comes equipped with the perfect weapon for dealing with the Doppelganger: Light Sword. Use this Skill a few times and the copy is toast. The Meals you picked up earlier will more than suffice for healing Ba'Thraz if his health gets low.
Defeat this second Doppelganger and the two errant party members will be reunited - however, they're now in trouble. The rest of the team needs to jump in and save the day. Reorganize your party (the order will be all messed up with Amalia and Ba'Thraz missing), then head north and face your next challenge.

Strength: Light
Weakness: Water
Steal: Platinum Nugget
Pulled from the finest boss-based traditions of the Final Fantasy series, the Living Wall is not that big a deal. It sticks to physical attacks only, and seems a bit slow delivering them. You can expect the following moves from this thing:
- Left Swing, which hits everyone on the right side of the Living Wall
- Right Swing, which hits everyone on the left side of the Living Wall
- Cross Slash, which hits everyone in the party
Since the Living Wall only uses physical strikes you can debuff its Attack and buff your team's Defense. After that, you just need to whack away at the creature until it crumbles, healing when necessary. Egyl is great at soaking up damage for the party with his Skills in this fight, though he's hardly necessary. Make sure you Pilfer the Platinum Nugget from the Living Wall so you can sell it for a hefty amount of Arc.
You'll receive a Grimoire Shard for defeating the Living Wall. Cut scenes will follow, and when all is said and done the party will be ferried to a surprising new location: Marylea, the floating home of the Church.