Part 24: Three Months Later - Flandern
Need some quality headphones to connect to your PC? Try the JBL Tune 720BT, now available on Amazon! As an Amazon Associate I earn from qualifying purchases, at no additional cost to you.
Mount Rydell
Monsters
- Bighead - Strong to Earth, weak to Fire - Drops Bushy Eyelashes
- Ice Devil - Strong to Water, weak to Light - Drops Demon Leather, Mini Trident - Can steal Mini Trident
- Skadi Elemental - Strong to Water, weak to Fire - Drops Ice Core - Can steal Ice Core
Glenn has been removed from his post-explosion funk, and the party is reunited. Now they need to climb Mount Rydell, and despite their new Sky Armors the going won't be easy. Rearrange your party to your liking, then begin the trek through the snowy climes of the mountain.
(This article covers all of the sections of Mount Rydell where there's snow. If you're still exploring the earlier areas of the mountain, check the Three Months Later - Flandern guide instead.)
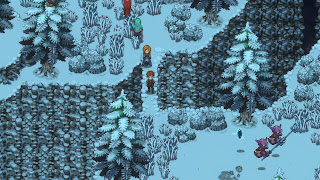
Fly your way to the south of this area. In the southwest corner you'll find a small, lonely plateau with a red chest. The chest contains a Spatha for Glenn. Land back on the main path, then head east. The path will branch off to the north just past a waterfall, and if you go down this way you'll find a chest containing Demon Leather.
Further east of here you'll come to three Bigheads. The fact that there's three makes a fair difference to the fight's difficulty, so make sure you leave Victor on the defensive so he can heal the group with Repair all, and consider using Glenn's Poison Salvo to Poison the Bigheads.
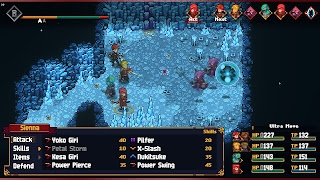
Beyond the Bigheads is a cave. You'll find two Ice Devils and a Skadi Elemental to the west of the entrance. The elemental is a powerful magic foe, and will batter your whole party with icy attacks. To the north of the entrance and to the north of the enemies you'll find stairs, and they connect in a single room that contains a chest. Inside it is an Ancient Skull.
Further west of the enemies is a chest containing a Repair Kit, and on the far west end of the cave you'll find an Amber Crystal next to an exit. You're back outside. Hop over the stream to the south and look for a clearing in the east. You can use it to take off in your Sky Armor. Hover down the stream back west, then go north to find a waterfall with a cave.
Inside the cave you'll find two more Ice Devils and a Skadi Elemental, and they're guarding a chest that contains Exchange Parts. Climb the handholds near them and you'll wind up outdoors once again. There are a few things you can do out here:
- If you take off in your Sky Armor and fly more or less directly south of the entrance to this area you'll find a cave, off on a ledge by itself. Inside you'll find four Amber Crystals to farm, a red chest containing an Attack Gorget, and, down a one-way drop, a chest containing two Giant's Hides. The exit at the bottom of the cave will take you back to a familiar area, and you'll need to trek up the mountain again.
- Southeast of the entrance to this area, partway down a waterfall, you'll find a clearing two Bigheads. They're guarding a chest that contains an Ancient Skull.
- On the east side of the area you'll find a field that's festooned with weeds and shrubbery. At the end of the field is a chest containing two Fine Wools.
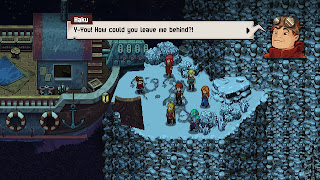
Beyond the Bigheads is a cave. Pop inside to fight, you guessed it, two Ice Devils and a Skadi Elemental. They're guarding an Amber Crystal. One more set of handholds will take you to the peak of the mountain, and you can use your Sky Armor to fly to the top. The pilot of your airship has been cornered by something big and nasty, and you need to save him.
Kortara Condor
Strength: Earth
Weakness: Fire
Steal: Nothing
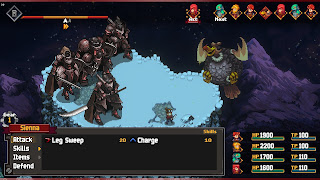
The first truly nasty enemy you'll face in Sky Armor, the Kortara Condor can flip the battle on you in an instant if you're not careful. It has a few attacks:
- Act Twice, which it uses on its first turn - allws the Condor to use two moves per turn
- A normal physical attack
- Blizzard, which hits everyone for Water damage
- Shifting Sky, which hits everyone for Water damage - though more than Blizzard

