Part 13: Crossing Mountains - Glenn and Lenne
Main Walkthrough
Need some quality headphones to connect to your PC? Try the JBL Tune 720BT, now available on Amazon! As an Amazon Associate I earn from qualifying purchases, at no additional cost to you.
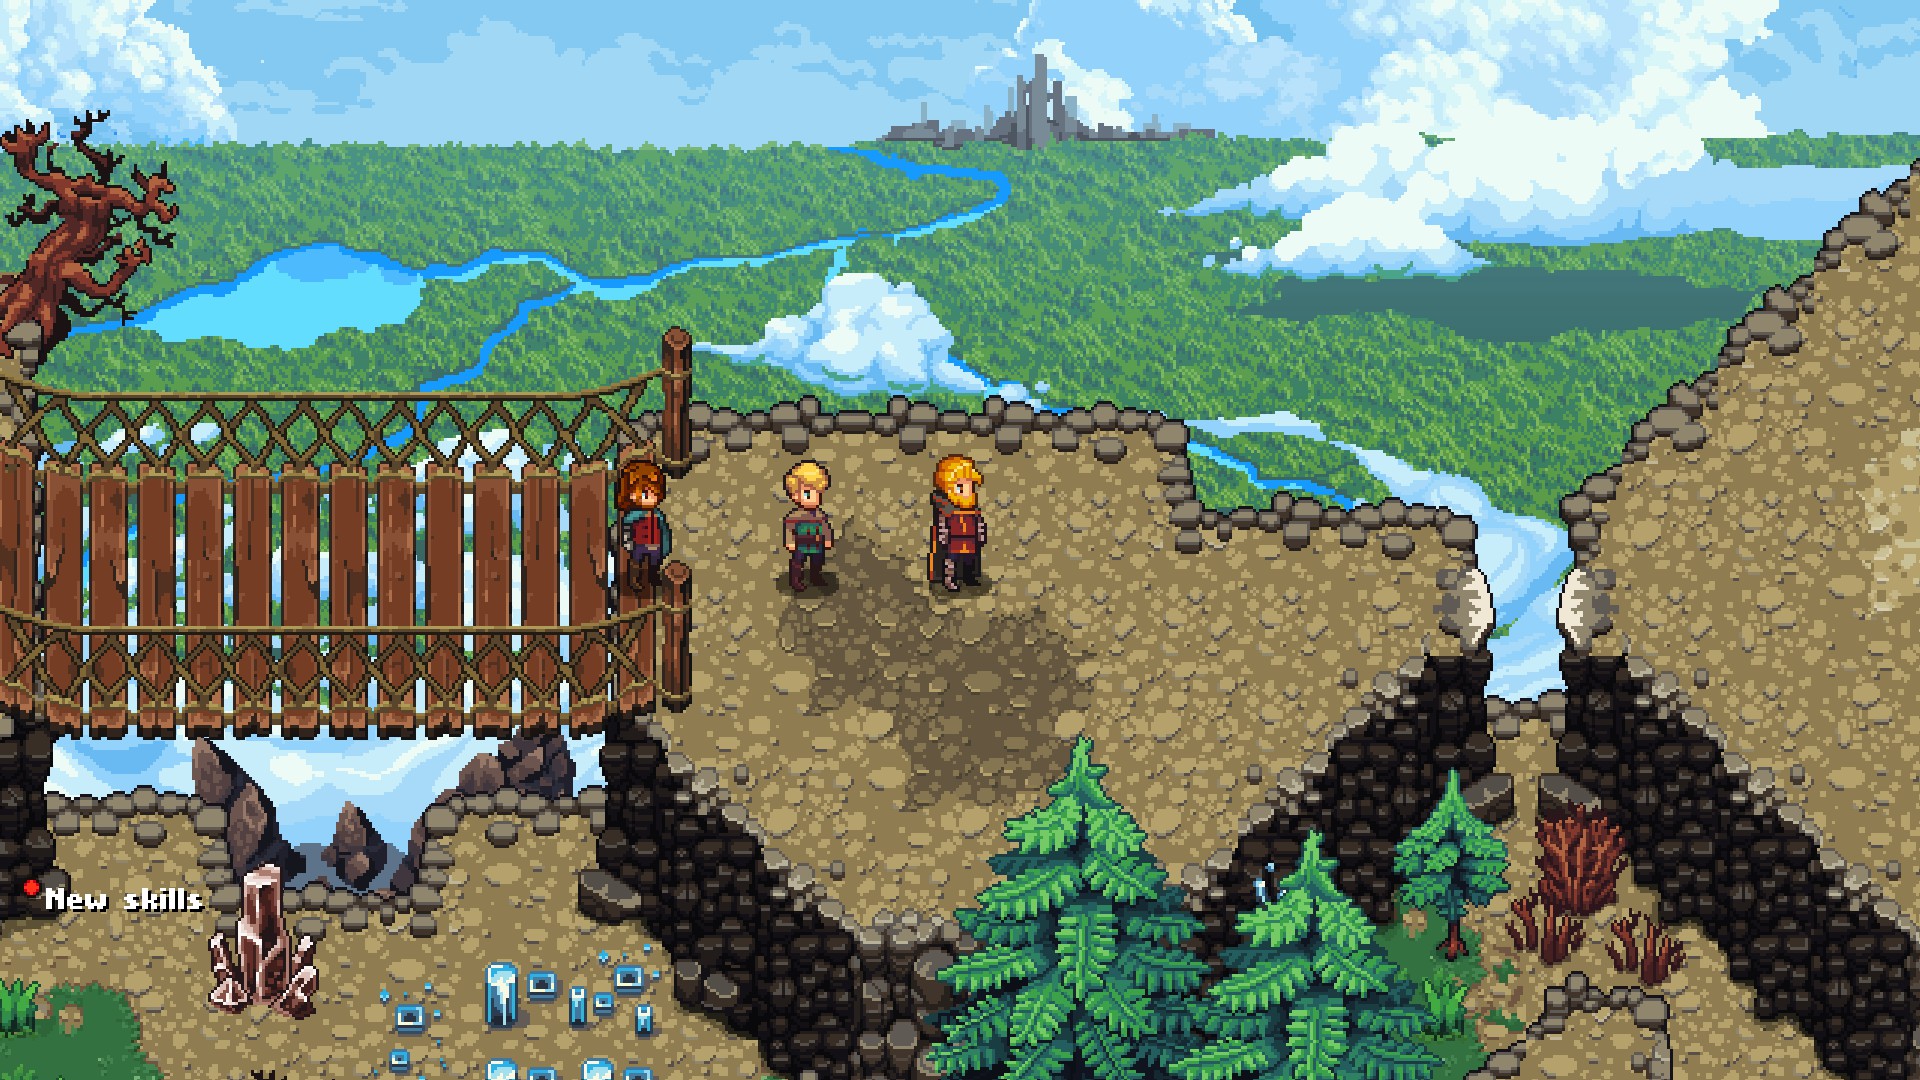
While Glenn and Lenne are busy treking through a forest, and Sienna is... MIA... Victor, Kylian, and Robb are on the cliffs in the southwest of the Kortara Mountain Range. Unsure of what to do, they decide to head to an inn and hope the other members of the party meet them there.
As with Glenn and Lenne's scenario, there are two things you should do before setting out with the trio:
- Spend any outstanding GSes. You should have at least one upgrade after the previous boss battle.
- Reallocate equipment. The missing party members won't need any of their gear right now. Emblems, in particular, should go to Victor, Kylian, or Robb. Victor is your best candidate for the Cleric Emblem, as his Mind stat is nice and high, making him a solid healer.
All done? Then start climbing north. You'll find a merchant, an anvil, and a mineshaft. The merchant sells weapons and armor that will get your team up to speed if you've been ignoring their equipment, though the chances are good you have as-good - or better - items than what this guy is selling. Upgrade anything you feel like upgrading, then head into the mineshaft.
Wygrand Mines
Monsters
- Ashen Will - Strong to Earth, weak to Fire - Drops Coal
- Common Egg
- Gazer - Strong to Earth, weak to Water - Drops Gazing Eye
- Mountain Bibi - Strong to Wind, weak to Earth - Drops Bamboo Fiber, Magician's Hat, Silver Ore
- Roagrim - Strong to Light, weak to Dark - Drops Life's Light
Unsurprisingly, the scenario with three characters is also going to be the most combat-heavy, and you'll need to guide Victor, Kylian, and Robb through a dungeon before you can continue with the story. Follow the tracks north, grabbing goodies from the Amber Crystal on your right as you run, until you come to a split. Both northbound paths lead to the same spot, though if you travel northwest you'll find three Silver Ore along the way.
There are two Ashen Wills waiting where the tracks reconverge. They can hit fairly hard, so don't ignore your healing. Fire attacks work best if you can manage them. The tracks come to a dead end north of here, forcing you to veer east. You'll find a transportation lorry ahead, bringing you to an interesting - if deadly - minigame.
The Transportation Lorry
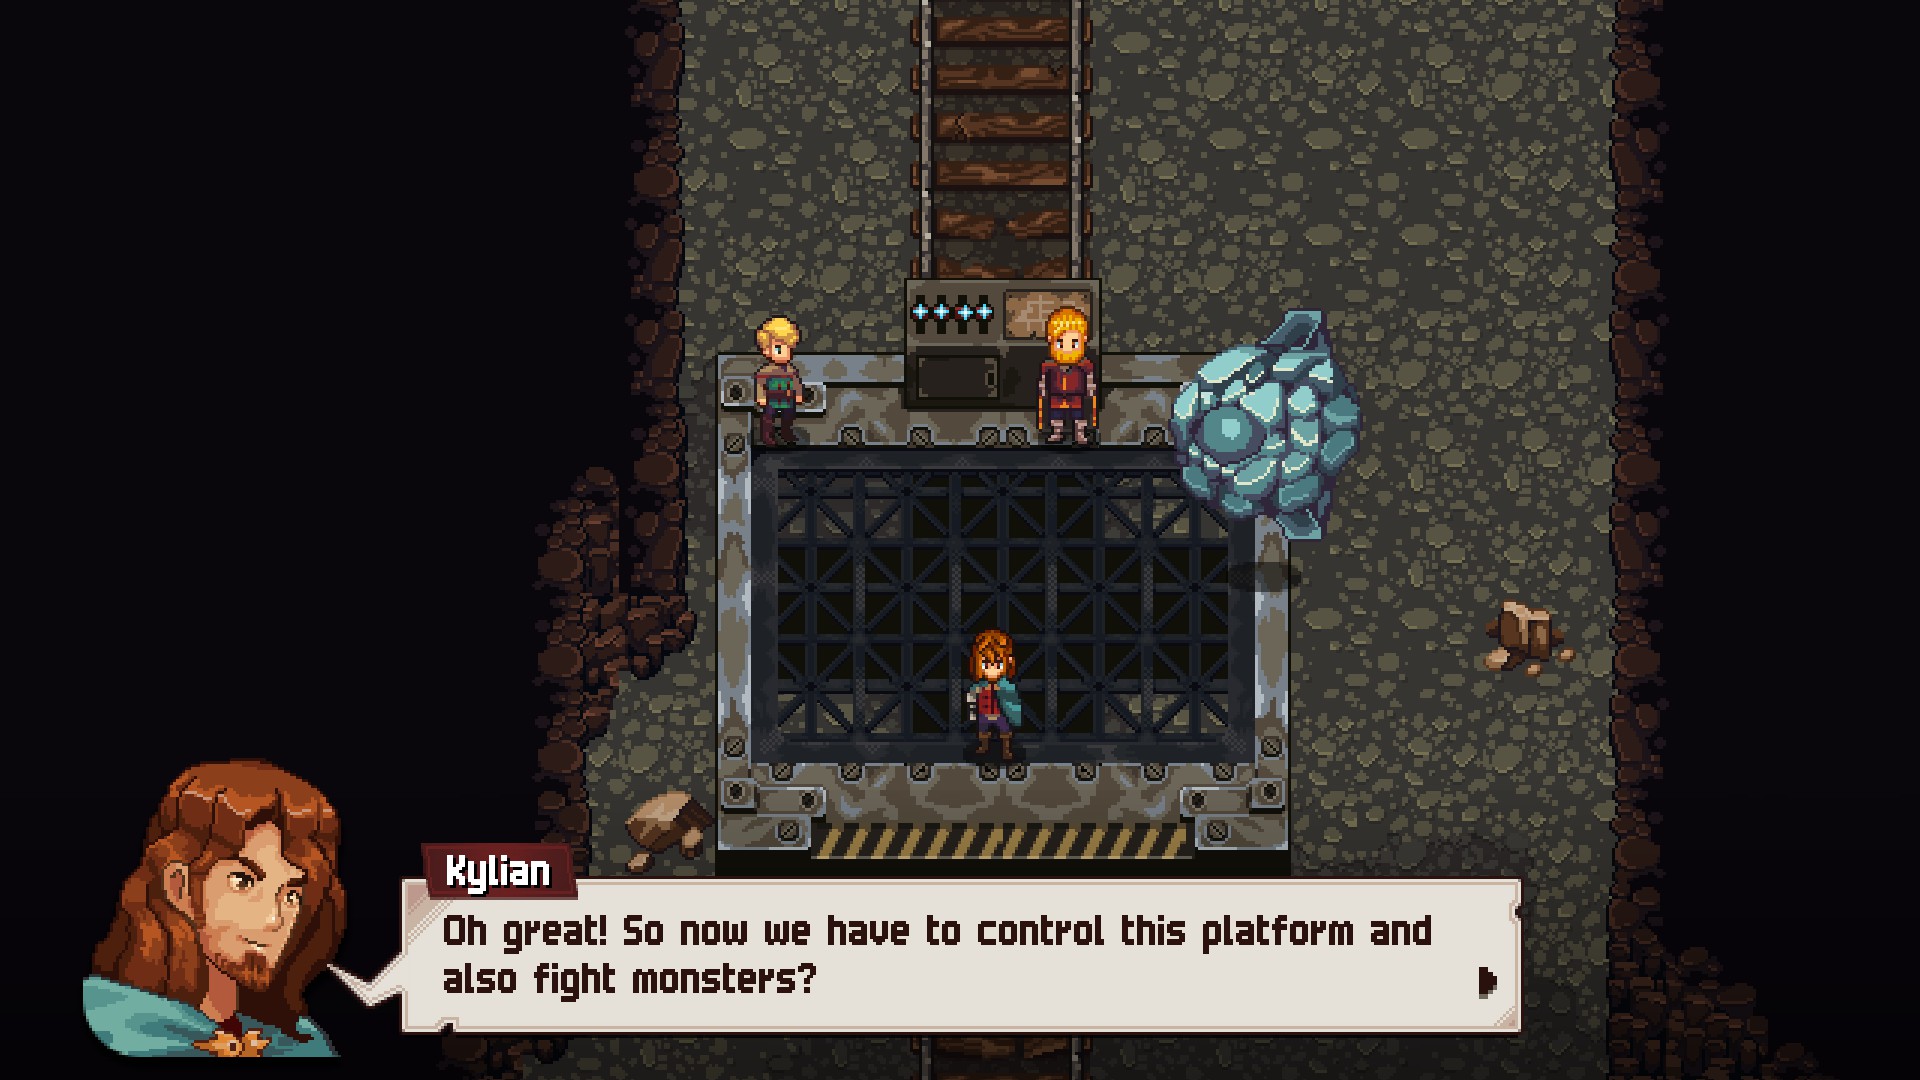
The Wygrand Mines are apparently enormous, and you need to use the lorry to navigate out of the mines. This will put you in a battle with a Gazer, a floating beast that doesn't seem interested in doing anything besides staring down the tracks. You need to push the lorry towards the exit of the mines while contending with the Gazer.
Checking the map will reveal a series of icons along the tracks ahead. Each one represents something perilous - or profitable - that you can either steer to avoid or brace to encounter. The meaning of the icons are displayed in the picture above, for your convenience. In general, the only one you have to avoid is the skull, as you'll earn an immediate Game Over if you run afoul of these sections of track.
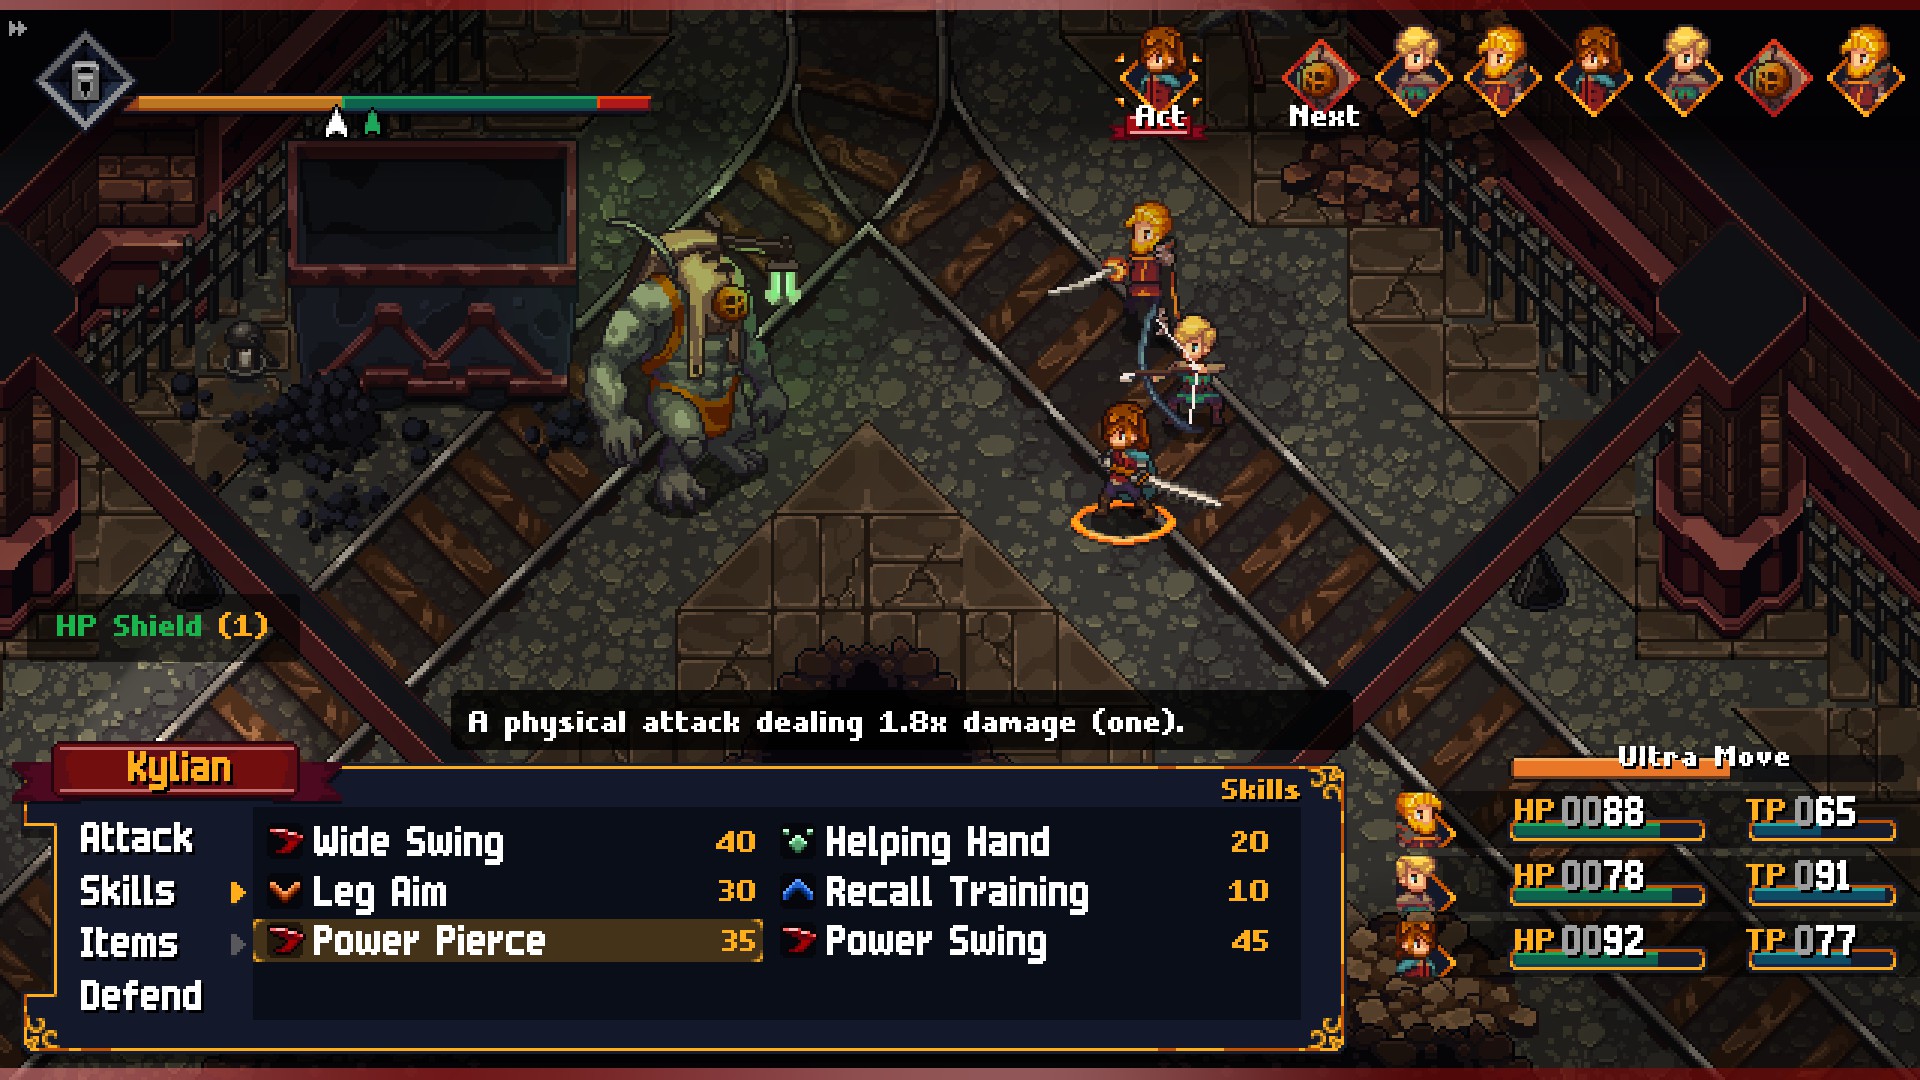
In order to steer the lorry you need to hit the four switches on the control panel in combat. Each will change the direction of the lorry, allowing you to avoid obstacles and veer into different mine shafts. Each of the perils you may encounter are represented on the timeline as a section of track, and whatever you're going to encounter goes off when it's the track's turn. In other words, if you're facing death before the next turn, make sure you to change the direction of the lorry before the track gets to go next.
If you steer properly you can get through the mines with a minimum of damage. You want to take the following route to minimize damage:
At first the Gazer won't do anything, but as you make your way deeper into the mines it will start to attack your party. Its moves aren't particularly painful, but you should still heal as necessary, and try to keep the Overdrive from going into Overheat. If you manage to defeat the Gazer before reaching the end of the tracks the trip through the mines will end early, and you'll jump to the lorry's exit.
Done? Of course not. Head west when you debark from the lorry, then north. Two more Ashen Wills are waiting at the next split in the tracks. Northwest of the split is a dead end, so head northeast. You'll find three Amber Crystals, a nice bonus, and northwest of the crystal formations you'll run into a Roagrim. Despite their size these things aren't too difficult to beat, thanks to their poor attack speed. Heal away any pain.
Southwest of the Roagrim you'll find a chest containing five Iron Ores. To the north and east you'll run into the cause of Valandis' many earthquakes - though you won't need to fight it - and just south of the exit point you'll find a chest containing two Silver Ores.
In the next area, to the north, you'll find an elevator. It requires a key, so you'll need to look elsewhere. Head east and you'll run into another Roagrim. Beyond it is a Goblin - you don't speak its language, so you'd best leave it alone - and another transportation lorry. Alas, this trip through the mines is not going to be as simple as the first.
Type: Beast
Strength: Water
Weakness: Wind
Yikes. That's a bit of an upgrade from the Gazer. The Giga Drill Breaker isn't too complicated a boss, though it does have a few attacks to throw your way:
- A normal smack that does around 30 HP of damage
- Wide Slash, which hits the whole party for about 30 HP
Overall, not a big deal. Have Heal All ready, and debuff the heck out of the guy whenever you get the chance. Victor's Pressure Point Skill will do much of the damage unless you're employing him as your healer.
You're still operating on lorry rules during this fight, and the track is more complex this time around. In addition to a larger, more-painful looking route, some of the track intersections won't allow you to go certain directions. Each intersection has arrows pointing in various directions, and if you don't see an arrow pointed in a particular direction then trying to send the lorry that way won't work. Waste of a turn.
Which directions you take to reach the end is up to you, though the least painful route - to me, anyway - is as follows:
- East
- North (changes automatically)
- West
- North
- East
- East
- South
- South
- South
- East
- East
- North
- East
- North (changes automatically)
This route will take you through a few pitfall traps, true, but it also takes you through several healing areas. More importantly, it avoids the poison traps, and dispelling poison on your whole party is more annoying than simply healing away damage. This also gives you plenty of time to defeat the Giga Drill Breaker, which you'll likely do well before you reach the end of the tracks. You can also just go on the defensive the whole time, until you reach the end, but... that's no fun.
You'll receive a Grimoire Shard for defeating the Giga Drill Breaker and making it to the other end of the tracks. Be sure to spend it, as you're not out of the woods just yet. You'll find the exit nearby, and outside you'll find a merchant - apparently the same one you met at the entrance to the mines - and a path up to an Amber Crystal.
Follow the northern path along the cliffs to the east and you'll run into two Mountain Bibis. versed in magic, these little creatures can inflict wind damage, as well as Silence your characters or put them to Sleep. Annoying. Follow the lengthy path north past them, up the cliff, and then across the bridge to the west. Two more Mountain Bibis are here, along with Common Eggs that will hatch into more Mountain Bibis if given a chance. Pop them with a quick AOE attack before that happens. Once you've dispatched the enemies, check the east side of this high platform for a drop. You'll land beside a chest containing Iron Poleyns.
Climb back up the cliffs if you dropped to the chest, then, one way or another, carry on west. You'll reach a small crossroads, and if you climb down the cliff to the south you'll find 380a in a chest. Also here is a lump of rocks that you can bust up to find a cave, within which is a Break Extender Crystal.
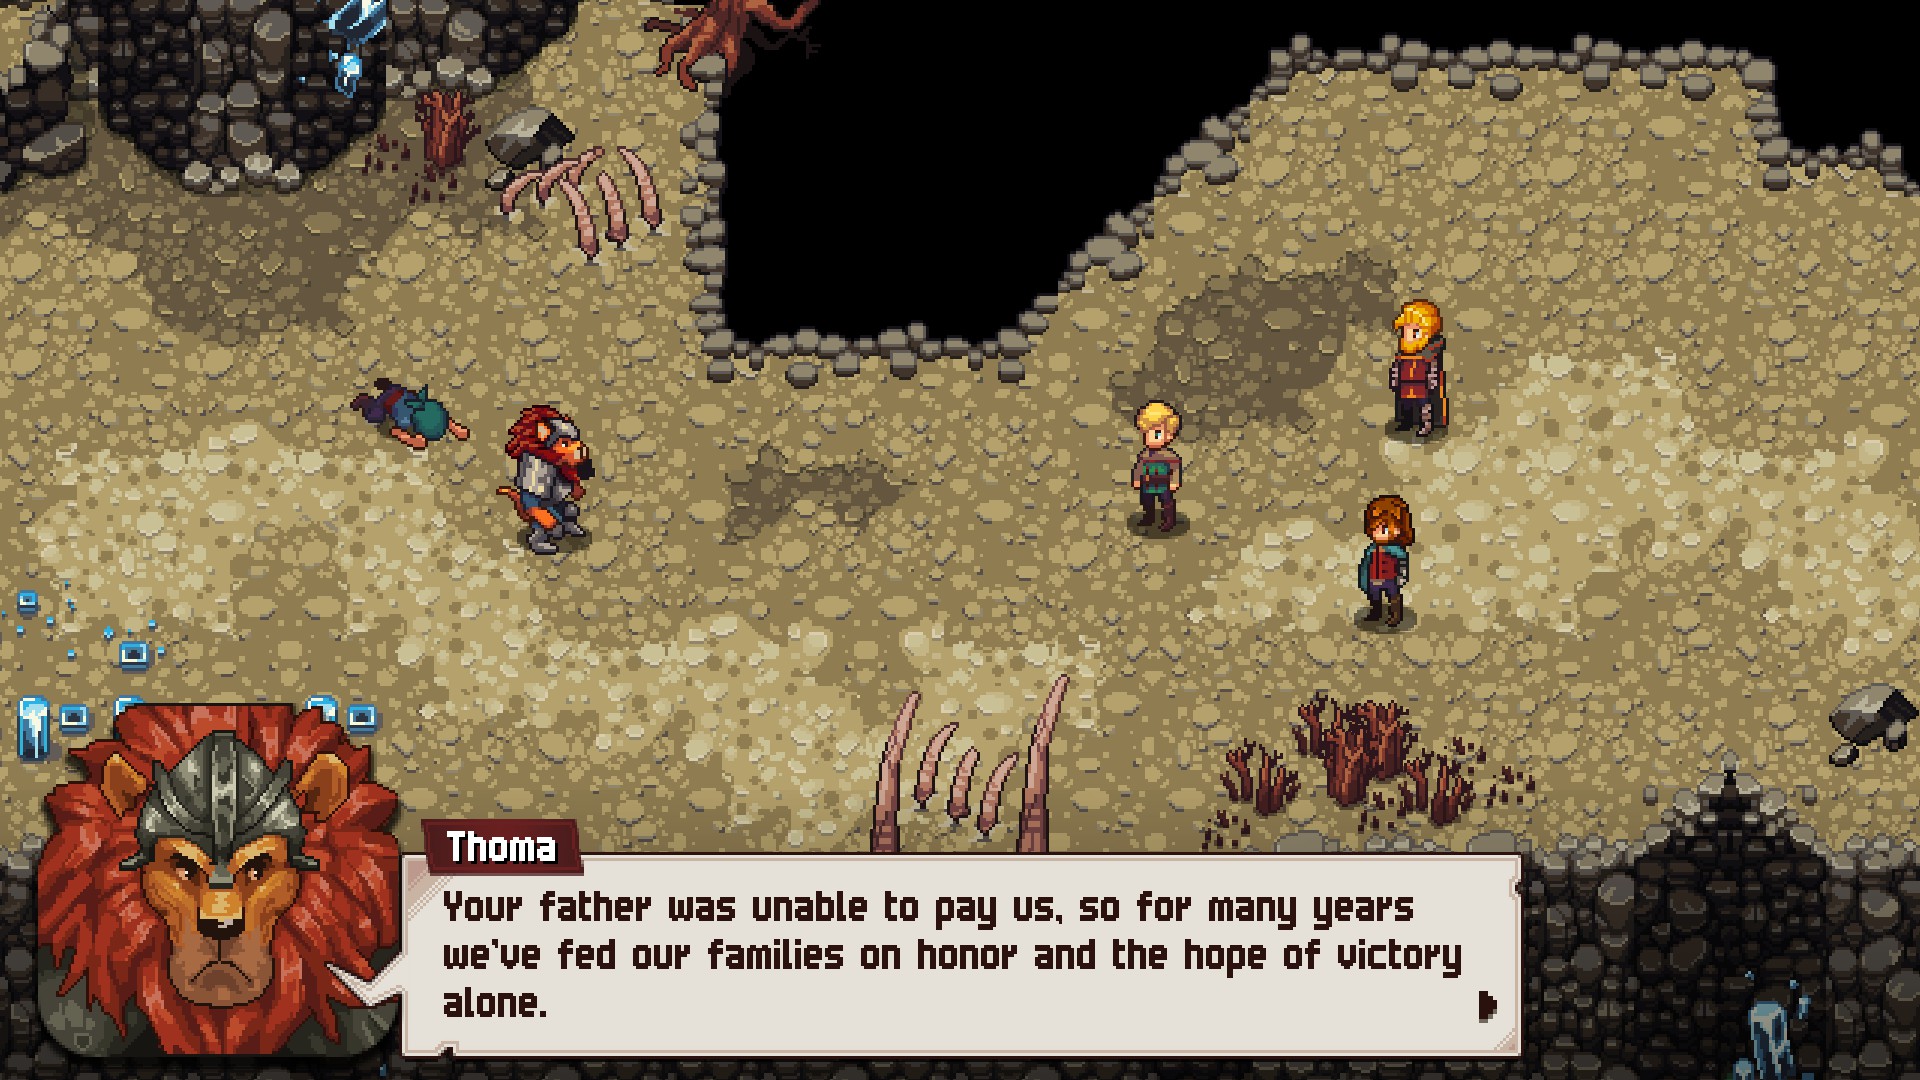
Head north, up the cliffs. You'll find five Common Eggs at the top. You should have the AOE moves needed to destroy all five without any hatching, though if you do decide to fight some Mountain Bibis, you may still want to pop two or three of the Common Eggs first. Continue crossing the mountains to the east and you'll run into some faces that are familiar to Robb... and, of course, the lordling ranger decides to run his mouth a little too freely.
Thoma and Bandit
Type: Human
Strength: Fire
Weakness: Earth
Steal: Nothing
This battle is pretty simple. The Bandit is just an overpowered normal enemy, and will hit you with two weak smacks per turn. Thoma is tougher, and can hit one or more members of your party with physical strikes. Both are weak to Earth attacks, so Victor's Earth Drums - mixed with Basso Profondo, if you have it - will take them down without a ton of trouble.
The only kink in this battle is if Thoma decides to toss out a Bomb. If allowed to reach its turn the Bomb will explode, heavily whomever is closest. Strike it and it will slide towards Thoma's party. They will slide it back towards you, and unless you mess with their Agility this usually means that the Bomb will explode in your party's face, so mess with either Thoma's or the Bandit's Agility to throw their turn order out of whack. Defeating the Bandit will also ensure that the Bomb never winds up on your side.
Trouncing Thoma and his buddy will send them packing, ensuring the team's safe passage out of the area. It also ends the scenario, and if you've already completed Glenn and Lenne's scenario that only leaves one person to check in on.
Part 15: Crossing Mountains - Sienna - Rockbottom
Main Walkthrough