

Part 12: Crossing Mountains - Kortara Mountain Range
Need some quality headphones to connect to your PC? Try the JBL Tune 720BT, now available on Amazon! As an Amazon Associate I earn from qualifying purchases, at no additional cost to you.
Monsters
- Waterfly - Strong to Water, weak to Wind - Drops Water Orb
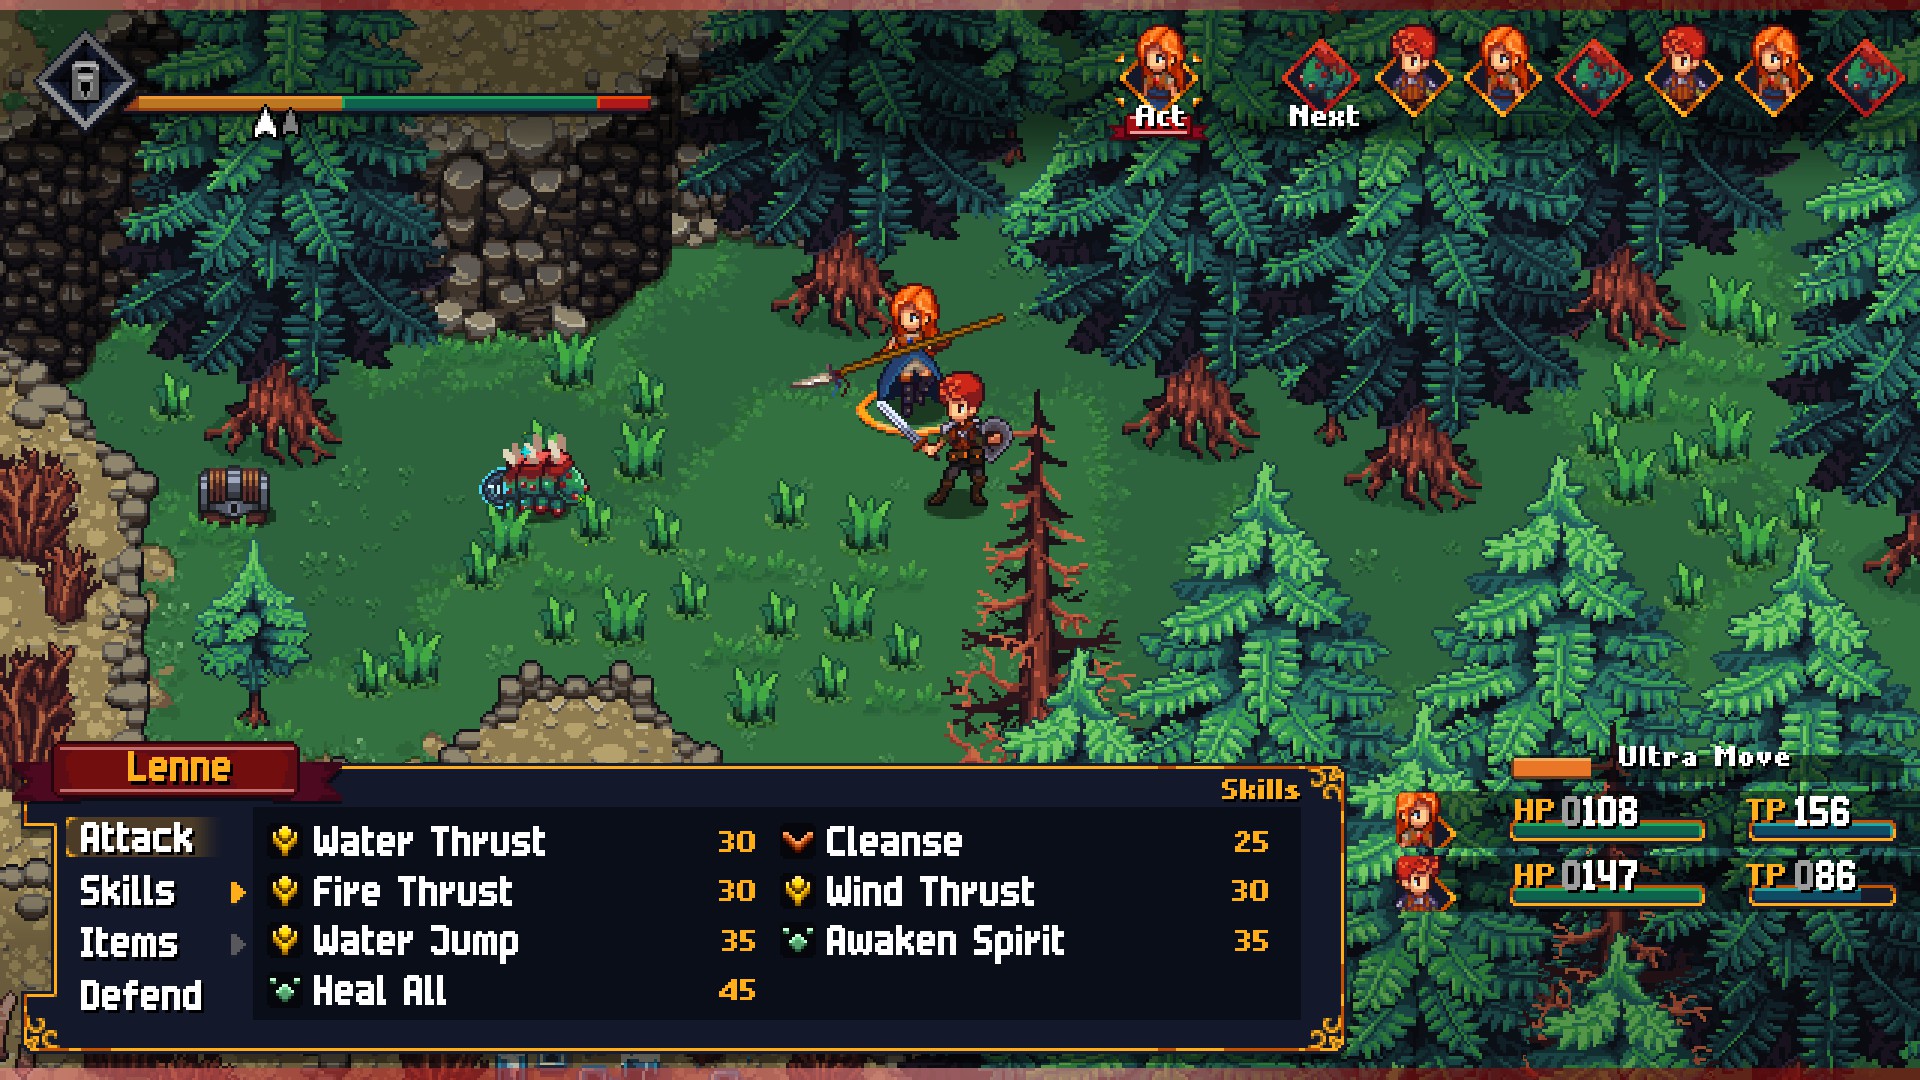
After a tragic battle the party has been split into three groups. Glenn and Lenne wound up together, somewhere underground, and they need to find their way back to their friends. It'll be tough going, but these two are pretty well-rounded as far as party members go.
Before you set off, there are two things you should do:
- As always, spend any outstanding GS. You just received one from the previous battle, and you'll want the stat boosts for this scenario.
- Reallocate equipment. Your other characters don't need what they're wearing right now, and you can swap it all back once you take on other scenarios. Of particular importance are any Emblems you may be carrying, which at this point in the game include the Cleric and Warrior Emblems. Glenn and Lenne aren't normally healers, and at a minimum making one of them the Cleric will make the road ahead easier. Either one is fine in this role, though given how the scenario pans out you'll probably want to make Glenn the healer.
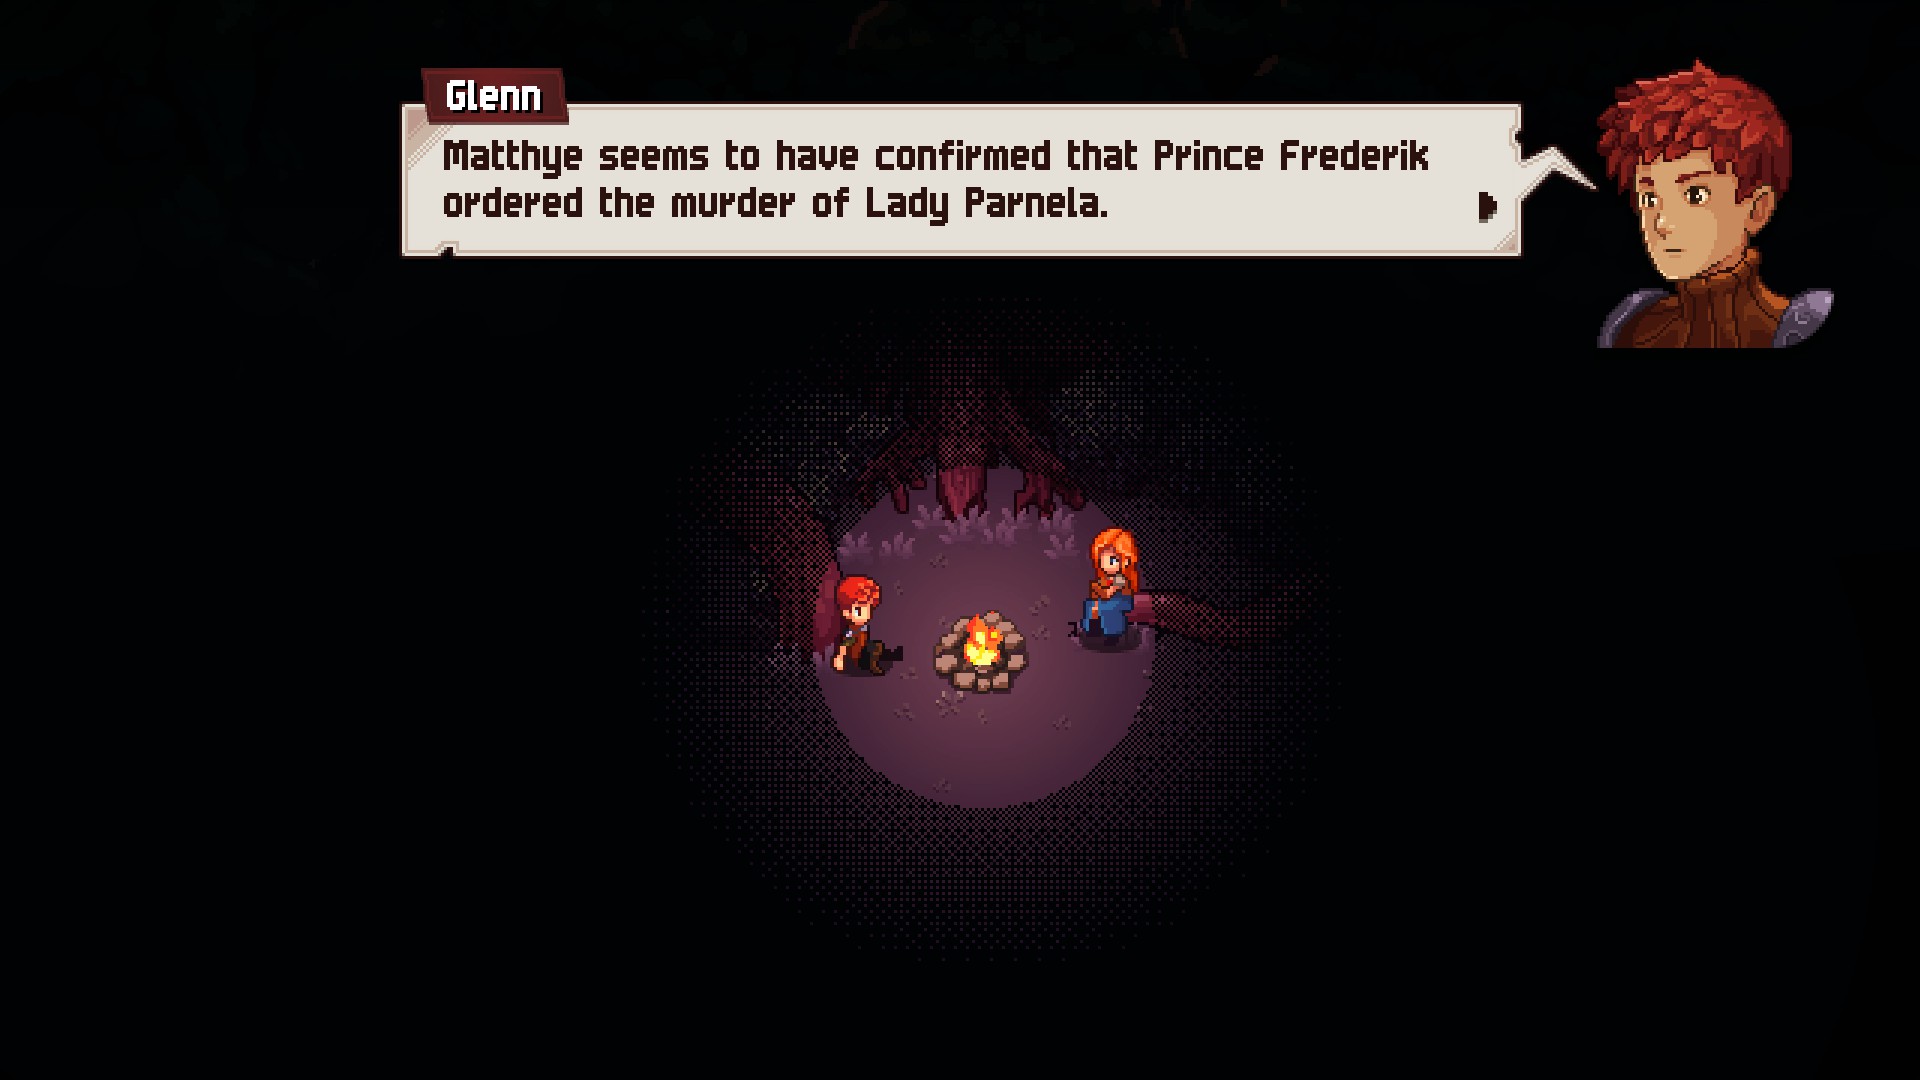
Have a chat with everyone in the little clearing where you wind up, then head west. A light that Glenn claims is a fairy will guide you through the thick trees, then to the north. These paths get a little confusing, but if you head generally northwest you'll find a chest containing two Snacks, and to the northeast you'll find a chest containing three Oil Lamps. The northeast chest is your only landmark warning of the battle waiting in the north.

Forgotten Boar
Strength: None
Weakness: None
Steal: None
Looks bloody. The Forgotten Boar is a fairly simple enemy, and has three attacks:
- A normal physical hit
- Ice Age, which hits everyone for moderate damage
- A physical counter
The fight won't take long, and once it's over Glenn will collapse. This brings Glenn and Lenne's scenario to an end. Care to choose another?
Part 14: Crossing Mountains - Victor, Kylian, and Robb - Wygrand Mines