Recommended Level: 48+
Recommended Pokémon Types: Steel, Poison
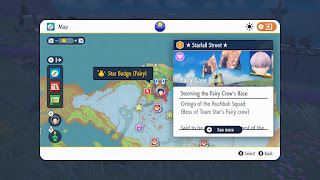
Likely the fourth of the five Team Star Bases that you'll tackle in Pokémon Scarlet and Violet, the Fairy Crew's Base is also one of the most difficult to reach. You need to travel far, far to the north in Paldea, more or less the opposite side of the island from where you started, and everything in-between those two points will put your skills to the test. Be prepared for a sizable gap between your third and fourth Team Star Bases unless you decide to make a beeline for the Fairy Crew's Base.
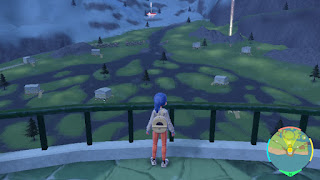
Home of the Ruchbah Squad, this Team Star Base is located in North Province (Area Three), and dominates the majority of the landscape in that region. To get there you'll need to travel to Glaseado Mountain, likely through the West Provinces. Leave Montenevera through its northern gate and travel down the slopes of the mountain to the northwest to find North Province (Area Three). Once you're back in the grasslands you can't miss the Team Star Base.
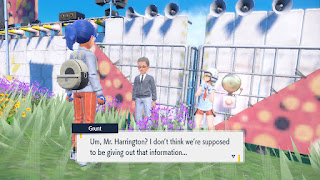
Approach the front gate and you'll meet up with the first Grunt of Team Star's Ruchbah Squad. You won't be fighting the Grunt, though...
Pokémon Trainer Harrington
- Morgrem, level 48
- Hattrem, level 48
Reward: 2,548 P
Morgrem is a Dark- and Fairy-type Pokémon, susceptible to Steel-, Fairy-, and Poison-type attacks. Hattrem is a Psychic-type Pokémon that you can defeat with Dark-, Bug-, and Ghost-type moves. Neither is terribly tough.
Once Harrington is out of your way you can begin your raid of the Fairy Crew's Base.
Star Barrage - Ruchbah Squad
True to their name, the Fairy Crew of Team Star are packed to the gills with Fairy-type Pokémon. Most of the Pokémon you'll encounter have a dual type, but very few of them will mess with the usual Fairy-type weaknesses of Steel and Poison. This base is nice and open, so you shouldn't have any trouble finding and defeating enough Pokémon before the timer runs out.
You'll run into the following Pokémon while Star Barraging the Fairy Crew's Base:
- Azumarill (Water- and Fairy-type)
- Dachsbun (Fairy-type)
- Fidough (Fairy-type)
- Florges (Fairy-type)
- Gardevoir (Psychic- and Fairy-type)
- Grimmsnarl (Dark- and Fairy-type)
- Impidimp (Dark- and Fairy-type)
- Jigglypuff (Normal- and Fairy-type)
- Kirlia (Psychic- and Fairy-type)
- Marill (Water- and Fairy-type)
- Mimikyu (Ghost- and Fairy-type)
- Morgrem (Dark- and Fairy-type)
- Tinkatink (Fairy- and Steel-type)
- Tinkatuff (Fairy- and Steel-type)
- Wigglytuff (Normal- and Fairy-type)
- Azumarill, level 50
- Wigglytuff, level 50
- Dachsbun, level 51
- Ruchbah Starmobile, level 50


