

One of two areas you can tackle immediately after completing the introductory section of Pokémon Scarlet and Violet, South Province (Area Three) is the path to take if you want to fight Titans with (for?) Arven. It will also guide you to Artazon, home to the second gym challenge, and is generally home to lots of good, strong Pokémon.
South Province (Area Three) is located to the east of Mesagoza. We'll explore South Province (Area Three) starting from the Mesagoza gate.

South Province (Area Three) Pokémon
- Bronzor - Ruins to the north of the Pokémon Center
- Charcadet - Near the Pokémon Center on the west side of the region
- Drowzee - Ruins to the north of the Pokémon Center
- Dunsparce - Valley near Artazon (Terastallized)
- Gastly - Ruins to the north of the Pokémon Center
- Growlithe - Valleys to the north and west of the Pokémon Center
- Happiny - Path near the gate to Mesagoza
- Hariyama - Twisting pathways north of the gate to Mesagoza
- Jigglypuff - Near the Pokémon Center (Terastallized)
- Klawf - Valleys to the north of the Pokémon Center
- Litleo - Valleys to the north of the Pokémon Center
- Makuhita - Path near the gate to Mesagoza
- Murkrow - Valley near Artazon (possibly night only)
- Nacli - Entire area
- Nymble - North of the Pokémon Center, in spots with grass and trees
- Oricorio (Baile Style) - In the grassy areas just outside Artazon
- Pawmi - Path near the gate to Mesagoza
- Rookidee - Area near the gate to Mesagoza
- Shinx - Entire western area
- Skidoo - Entire eastern area, on the path to Artazon
- Spoink - Path near the gate to Mesagoza
- Squawkabilly - In the grassy areas just outside Artazon
- Tandemaus - In the grassy areas just outside Artazon
- Tinkatink - Ruins to the north of the Pokémon Center
- Yungoos - Path near the gate to Mesagoza

Areas of Interest
- There are a series of twisting, turning pathways below ground level to the north and northeast of the path to Mesagoza that are full of Pokémon and items. There are a number of items that are out of reach, and you may be tempted to try to jump to them. Unless you're jumping down to a lower level, don't bother. You won't make the jump, and will simply fall to the lowest level.
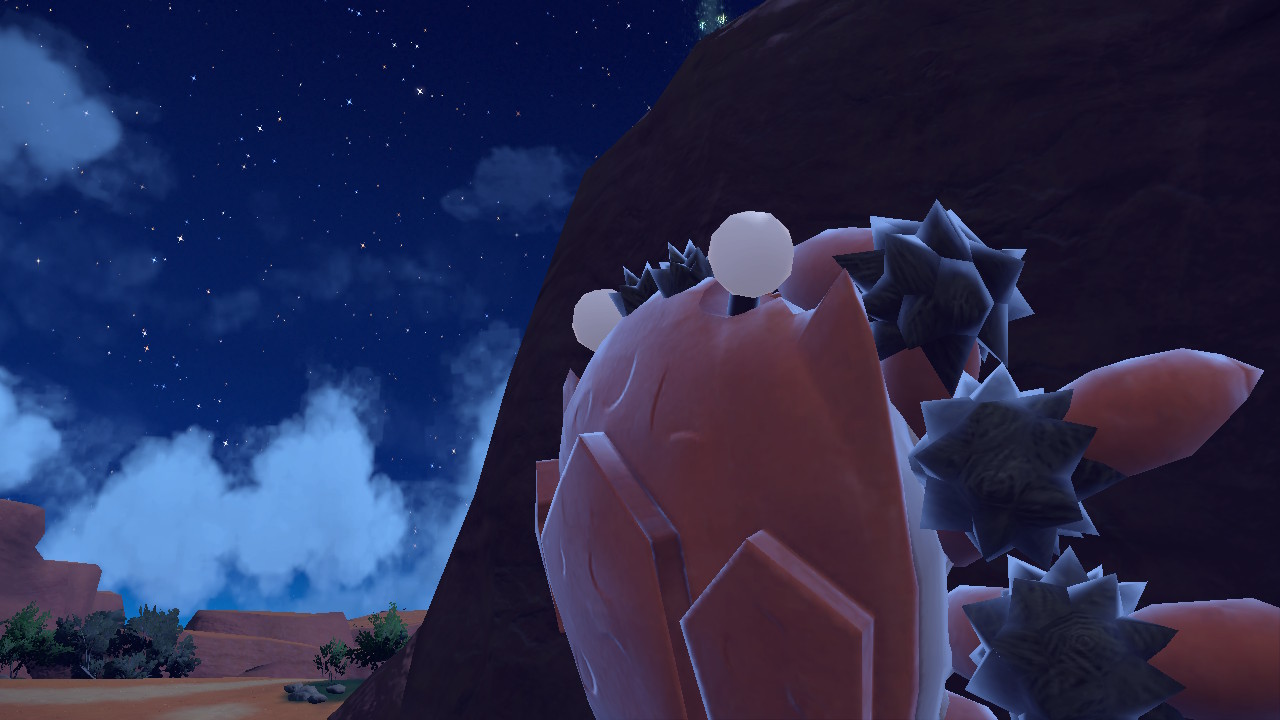
- There are two Tera Raid Crystals near the exit to Mesagoza, on the west side of South Province (Area Three). One is beneath the bridge and to the north, while the other is in a pit to the east of the gate. There's a third closer to the Pokémon Center, as well, though it's on a tall rock cliff that you can't normally access.
- Follow the path east from Mesagoza and you'll eventually come to a Pokémon Center. Along with the usual array of services there's a Pokémon League rep who will give you a Shell Bell if you defeat six trainers in South Province (Area Three).
- North of the Pokémon Center you'll find the top of a ridge, leading down into a valley. If you veer east before entering the valley you'll find the boundary line between South Province (Area Three) and South Province (Area Five). The levels of the Pokémon past here jump by around eight levels, so be cautious.
- North of the western Pokémon Center, in a valley, you'll find a set of ruins with a Tera Raid Crystal. The Pokémon near the ruins are unique to this small area.

- If you follow the path from the Pokémon Center north and to the east you'll find the way to Artazon, another city - with another Gym Challenge for you to complete. About halfway between the Pokémon Center and Artazon you'll see a Titan, part of the Search for the Stony Cliff Titan quest.
- Along the road to Artazon is a lookout giving you a nice view of the area. At the top, along with a Gimmighoul, you'll find TM 080 Metronome.
- If you check the right side of the path leading to Artazon you'll find a large valley area full of items and trainers that's easy to miss is you're following the main path from the Pokémon Center to Artazon. There's a Tera Raid Crystal down here.

Items and NPCs of Note
- Right near the gate back to Mesagoza you'll meet a picnicking enthusiast who will give you a ton of Ingredients for making Sandwiches on Picnics. He'll also restore your Pokémon to full health. There's another, nigh-identical picknicker later on in the area, a ways northeast of a Pokémon Center and on the path to the city of Artazon.
- Within sight of the Mesagoza gate as you walk east along the path you'll see a PP Up on a raised rock, in the middle of a pit. There's a dirt slope on the north side of the pit that you can use to jump up and get the item.
- East of the Mesagoza gate the path will curve north. On the right side of the path is a sort of corkscrew rock with TM 093 Flash Cannon at the top.
- On the left side of the path as you walk from the Mesagoza Gate to the Pokémon Center you'll find a Zinc.
- Just north of the gate to Mesagoza you can dip into a narrow passage through the rocks. You'll find a valuable Max Ether sitting down here, near a one-way cave.

- If you go beneath the bridge back to Mesagoza and follow the path north you'll find a Stardust and TM 011 Water Pulse.
- North of the gate to Mesagoza is a twisting series of pathways below ground level. Follow them, checking along the northern wall, to find TM 056 Bullet Seed. Also around here is an HP Up on a higher level, and you'll need to jump from the highest level of pathways to reach it.
- Follow the path west of the Pokémon Center nearer Mesagoza and you'll find TM 031 Metal Claw on the edge of a cliff.
- South of the western Pokémon Center you'll see TM 130 Helping Hand up on a rise, out of reach. Go around the rock formation it's on, to the south, to find a path up to the TM.
- North of the western Pokémon Center you'll find a flat area with a nearby Stardust and a Float Stone. If you veer west along the flat section you'll see a narrow path through the rocks that leads to TM 005 Mud Slap.
- If you look south of the flat area you'll see a pit containing several items. Most valuable among them are a Moon Stone and a Max Ether. There's a thin path leading east out of this pit that connects back to the main road, and along this path you can find a Rare Candy and TM 004 Agility.
- Past the aforementioned flat area to the north of the western Pokémon Center you'll find a valley with some ruins. Check the rocks overlooking the ruins for TM 017 Confuse Ray. Down the slopes to the west of the TM you'll find a Max Ether, as well. North of the ruins, hidden among bushes, you'll find TM 043 Fling.
- South of the ruins you may notice a Rare Candy sitting in a crevice, out of reach. If you get onto the rise above the Rare Candy you can drop down onto it.
- If you follow the path from the Pokémon Center to the area's lookout tower you'll find a Rare Candy sitting on a rock next to the path.
- If you check around the base of the rocks holding up the lookout you'll find a tunnel leading to a ladder. Across from the ladder is a ledge with an Iron. You can dash and leap to reach the Iron. You can leap from this perch to another nearby rock to grab a Calcium, as well.
- If you drop off the ledge the lookout tower sits on and make your way northeast you can drop down to a ledge where you'll find TM 074 Reflect.
- Along the path to Artazon you'll see a Titan to the north. There's a Rare Bone on the side of the path that leads to the Titan's eventual perch. On a rise to the west of the Rare Bone you'll also find a Max Ether. There's a second Max Ether if you climb all the way to the top of this hill, then look off to the side opposite where you came up. On your way back down the hill, check to the east to find a narrow path through the rocks leading to a ledge overlooking Artazon. TM 030 Snarl is sitting on the ledge.
- Descend into the southern valley just before you reach Artazon. You'll find TM 012 Low Kick in a pit at the west end of the valley, TM 028 Bulldoze hidden beneath a rock in the winding maze at the lowest level of the valley, TM 002 Charm at the east end of the lowest level of the valley, a Rock Tera Shard just east of TM 002, and TM 034 Icy Wind near the hill leading to Artazon at the east end of the valley.
- Just before you reach Artazon via the main path you can find several items on the bluffs outside town, including a Max Ether.

Trainers
Martina the Student
- Arrokuda, level 11
Location: Just down the road from the gate to Mesagoza
Reward: 484 P
Arrokuda is your standard Water-type Pokémon. Fast, but not a major threat.
Backpacker Samuel
- Starly, level 11
Location: Along the path between the Mesagoza gate and the western Pokémon Center
Reward: 660 P
A plain ol' Flying-type. As long as you don't bring out a Fighting-, Bug-, or Grass-type you'll be fine.
Alicia the Musician
- Igglybuff, level 11
Location: Standing a short walk west of the western Pokémon Center
Reward: 1,100 P
Just a baby. You will wallop it.
Arnau the Poké Maniac
- Larvitar, level 12
Location: Standing atop a rock formation a short walk south of the western Pokémon Center
Reward: 720 P
A Rock- and Ground-type that will some day become a terror. Now, though, Larvitar is weak and easy to whip.

Servino the Office Worker
- Jigglypuff, level 17
- Skiddo, level 17
Location: Along the path to the north of the western Pokémon Center
Reward: 2,720 P
Tougher than his peers, Servino can present a bit of a threat. His Jigglypuff will use Stockpile to increase its defense over several turns, then Spit Up to inflict a fair amount of pain. Defeat it quickly with Poison- or Steel-type moves. Skiddo is more straightforward, but it holds Leftovers that will steadily restore its health. Blast its Grass-typing with Fire-, Ice-, Bug-, Poison-, or Flying-type moves.
Benjamin the Student
- Sunkern, level 12
- Bonsly, level 12
Location: Among the bushes to the north of the western Pokémon Center, up and over a hill
Reward: 384 P
Sunkern is an absoute pushover. Bonsly is a bit tougher as a Rock-type, but it's still no major threat.

Andrea the Model
- Flabébé, level 12
Location: In a pit to the northeast of the Pokémon Center
Reward: 1,104 P
Very frail, very easily defeated.
Clara the Student
- Hoppip, level 17
- Barboach, level 17
- Salandit, level 17
Location: Near the ruins to the north of the Pokémon Center
Reward: 2,720 P
The toughest trainer of the northern half of this area, Clara is nevertheless not that bad compared to other upper-level opponents. Hoppip can debilitate your Pokémon but gets brought low quickly by Rock- or Ice-type moves, Barboach can get wiped out quickly by Grass-type moves whenever it uses Rest to restore itself (though watch out for Snore), and Salandit's propensity for poisoning you is easily trounced with a Ground-type move.
Noelia the Musician
- Toxel, level 13
Location: On the lower road leading east to Artazon
Reward: 1,300 P
Toxel can paralyze your Pokémon, which is annoying, but it's still a pushover. A Ground-type move will annihilate this wee creature.

Laura the Artist
- Vivillon, level 12
Location: Across the road from the second picknicker in the north of the area, along the eastbound road to Artazon
Reward: 1,200 P
Vivillon can make itself a nuisance by raising its defenses, but it's too low a level to be a major threat despite being fully-evolved. A Rock-type move will demolish this poor creature.
Nora the Student
- Luvdisc, level 14
Location: At the far west end of the southern valley outside Artazon
Reward: 616 P
Luvdisc is an annoying gimmick Pokémon at best. No big deal.
Rayan the Student
- Diglett, level 15
- Luxio, level 15
Location: At the east end of the southern valley outside Artazon, near the exit ramp to the city
Reward: 660 P
Diglett may prove irritating if its Mud-Slap reduces your accuracy enough, as your Pokémon can't switch out thanks to its Ability. Luxio is stronger, but more straightforward. Neither are terribly difficult.
Cristina the Student
- Gastly, level 13
- Murkrow, level 13
Location: Along the eastbound path to Artazon
Reward: 780 P
By this point along the route Cristina's Pokémon are a bit underleveled unless you've been ignoring everything, so this fight should be pretty easy.
Amaia the Student
- Happiny, level 13
Location: On the path just outside Artazon
Reward: 416 P
Happiny has lots of health, but can't inflict any meaningful damage. Enjoy the nice experience boost.