Part 4: Cash City and Abner's Basement
Head back to Bright Town once you've trekked through Abner's Basement. Pay Ryder a visit and Noa will drop off her little spider friend to terrorize her partner. She'll also decide that her uncle has answers when it comes to a next destination. Nothing new has cropped up in Bright Town since you departed for the Slums, aside from relocated NPCs and new conversations, so you might as well head to The Strix.
V-Sync Missions
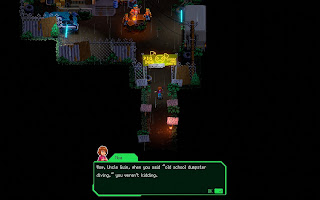
Check out the purple-haired guy on the lower floor of The Strix before you speak to Guin. This is V-Sync, and he has a mission for you: Find the Monomind Stash somewhere in the Slums. The hint he provides is pretty obvious if you've been admiring the scenery. Head to the Slums and you'll see a gleaming box down and to the left of the Bright City entrance, in front of a chain-link fence. The box contains three Data Packets.
Head back to V-Sync. He'll tell you about a Mafia drop. Get to the Mafia drop in Bright Town for a cheeky win! This one's behind the Model Mayhem shop in the northwest of Bright Town, on the same screen as Deck Lord, and it contains three Health Packets.
Go back to V-Sync one more time. He has another mission, but... you're not ready. Yet. We'll come back to him. That's all for now.
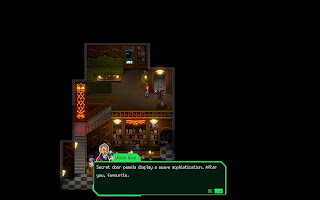
Head upstairs in The Strix. Uncle Guin is waiting, and he'll open a spy-proof room. Pop inside for a discussion of Noa's father. Guin doesn't know what to do with Abner's MiniMem, and he sends Noa on a trip to the nearby Scrapyard for answers. He'll also give you the Wormhole Jack Move, which will prove handy when Killerwatt does not. Check the box in Guin's spy-proof room for a Deflektor Packet on your way out.
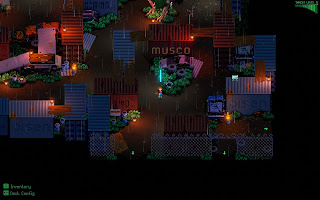
Head back to the Slums, to the south of The Strix. On the south end of the first screen you'll hit an east-west intersection. Go east and you'll find the gate to the Scrapyard. Ryder will pop the gate open this time, granting Noa access.
Pigdog's Scrapyard
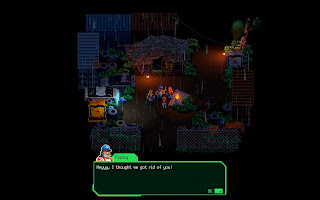
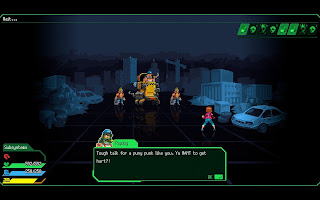
Upon arrival Guin will call Noa and give her a target: The Advanced Decryption Module of an M-30 Tank. These tanks aren't exactly modern, so she'll need to go digging - and there will be baddies getting in the way, every step of the journey. The fun begins with two Goons and a Weldmaster, who attack Noa right after Noa enters the area. The Weldmaster is the only new target, and he's allergic to Wetware attacks. Memory Leak will do nicely.
With the goons out of the way you can explore. Start by checking the building on your left. Inside is a box containing a Data Packet. (The sign also gets a bit cheeky if you watch the flashing letters.) North of here you'll enter the Scrapyard in earnest, and begin running into random enemies. Most are familiar, but there are a few new ones:
- Drone - 400 HP. Hits pretty hard but doesn't have a ton of health.
- Mini Mech - 1,200 HP. Weak to Cyberware. Has a fair amount of HP and hits reasonably hard. Can wait until you've dispatched more dangerous foes.
- Punk - 1,000 HP. An upgraded Goon that can take more abuse, but doesn't hit much harder. Anything besides normal physical attacks will work fine.
- Weld Maser - 1,000 HP. Weak to Wetware. Does Electroware damage and has lots of health. Nothing special.


