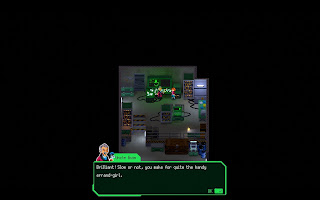
Immediately after you finish scrounging in Pigdog's Scrapyard you'll find yourself back in Bright Town. The place is almost as you left it, though some of the NPCs have new things to say. Have a look around and talk to the relocated citizenry of the town.
Of most importance is Dash, the Mafioso runner on the west side of Bright Town whom you've been befriending over the course of the game. If you've been speaking to him up to this point he'll request that you Deliver Dash's unknown goods to Riggs in the Slums. Yay, now Noa is a Runner. Riggs, the contact, is just south of the TransSpire in Cash Town. He'll hand over Riggs' Trade. Take it back to Dash and he'll give you a Ware Booster as thanks. The Ware Booster raises Noa's Software Damage and Defense by 10 points, making it a pretty great item.
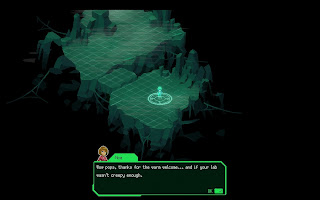
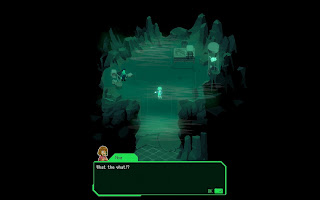
You can leave the Virtual Construct via the glowing glyph on this first screen, if you wish. Otherwise, head north. Once you get a look at Noa's destination in the far north you'll start running into bad guys:
- Binary Blobula - 3,750 HP. Weak to Wetware. Explodes if you hit one three times without killing it, damaging everything around it - including Noa. The results aren't too bad, but still.
- Mainframe Ghost - 1,200 HP. Weak to Wetware. Becomes intangible for a few turns when hit. Can Scream to scare Noa, greatly reducing her physical damage output. Doesn't have much health, and should be scrapped as quickly as you can if you rely on Hack to do most of your damage.
- Mainframe Protector - 3,000 HP. Weak to Wetware. Has a lot of health, but sticks to straightforward attacks. Nothing special.
- Mainframe Virus - 2,500 HP. Weak to Wetware. Can Replicate itself, creating an egg that turns into a fully-fledged Mainframe Virus within two turns. Worth wiping out quickly if you don't want to endlessly fight enemies.
- Trapped Soul - 1,400 HP. Weak to Wetware. One of the lower-tier enemies that can largely be ignored until last.
Wetware moves, unsurprisingly, are the order of the day in the Virtual Construct. BLOb is a good step up from Memory Leak if you don't think you're doing enough damage, and equipping Auto Turbo Wetware will make your Software attacks land even harder. The enemies have quite a bit more health here than in your last destination, so if you find your attacks lacking you may want to backtrack to Pigdog's Scrapyard for a few levels.
Step onto the next large glyph to the north and you'll get into a fight with a Binary Blobula, a Mainframe Protector, and a Mainframe Ghost. Defeating this trio will open a path to the north, where you'll find an intersection. There are two more glyphs, to the east and west, that you'll need to overcome to proceed. The eastern glyph puts you in a battle with two Mainframe Viruses and a Mainframe Protector, while the western glyph pits you against a Mainframe Virus, a Mainframe Ghost, and a Mainframe Protector.
Assembling the central path will allow you to get at the large, glowing glyph in the north. Save and heal up, then approach. It's battle time. (And keep in mind that once you win the next fight, you can't return to the enemy-filled area of the Virtual Construct.)
The Construct
46,200 HP
Consisting of three parts - Left Console, Right Console, and a main body - The Construct is a daunting foe. It has more than 40,000 HP, and uses attacks that will prevent Noa from using Software for a few turns, as well as just hit fairly hard. There are two ways to beat this thing:
- Each of the Consoles has a symbol on it. Hit the symbols in the proper sequence to greatly reduce the Construct's health. You want to strike the triangle, the Pi symbol, and the 4 (the Right Console, in other words), in that order. This will bring it down to the mid 10,000s, and it will be much easier to defeat - though The Construct becomes a bit stronger and faster once you do this, and will use Disgusting Deceleration to slow Noa waaaaay down. Using Overclock to keep up with its moves is advisable, so you don't get overwhelmed.
- Chew through its health normally, and ignore the Consoles. This method takes a lot longer, but The Construct won't gain any buffs along the way. You'll still have to deal with losing access to your Software from time to time, so this may not be the optimal route.


