

Mohg is the final boss of Mohgwyn Palace, an underground mausoleum populated by Albinaurics, and you need to make the long trip to the palace to challenge its master. There are two ways to reach Mohgwyn Palace:
- Complete three invasions provided to you by White-Faced Varré, the first NPC you meet when you leave the introductory area. Later you'll find him at Rose Church in Liurnia of the Lakes, and completing his invasions - and one other small, grisly task - will earn you the Pureblood Knight's Medal. You can use the medal to teleport deep into Mohgywn Palace, right before the boss fight.
- Use the teleporter in Consecrated Snowfield. To reach the Snowfield you'll need to retrieve the two halves of the Haligtree Secret Medallion, one of which is in the Village of the Albinaurics, the other in Castle Sol. You can then use the Grand Lift of Rold to travel to the Consecrated Snowfield. The teleporter is along the southwestern cliffs of the region. You'll need to fight off a Sanguine Noble invasion before you can enter the teleporter.

Mohg's Moveset
Fighting with blood magic and a sizable trident, Mohg is a powerful fighter. His hits have a sizable range, and he's faster on his feet than he initially looks.
- Mohg uses his trident to take swipes at you. These attacks are pretty simple, but they have a long range and enough of a wait time on the swing that you can be caught after you roll. Wait about a second before you dodge. A good shield works well against Mohg's trident. Occasionally he'll use a stabbing motion, as well, which is a bit harder to block and has more reach.
- Mohg swipes the air, leaving behind bright red slashes behind that explode after about a second. Get well away from these. This is a short range attack so it shouldn't give you too much trouble.
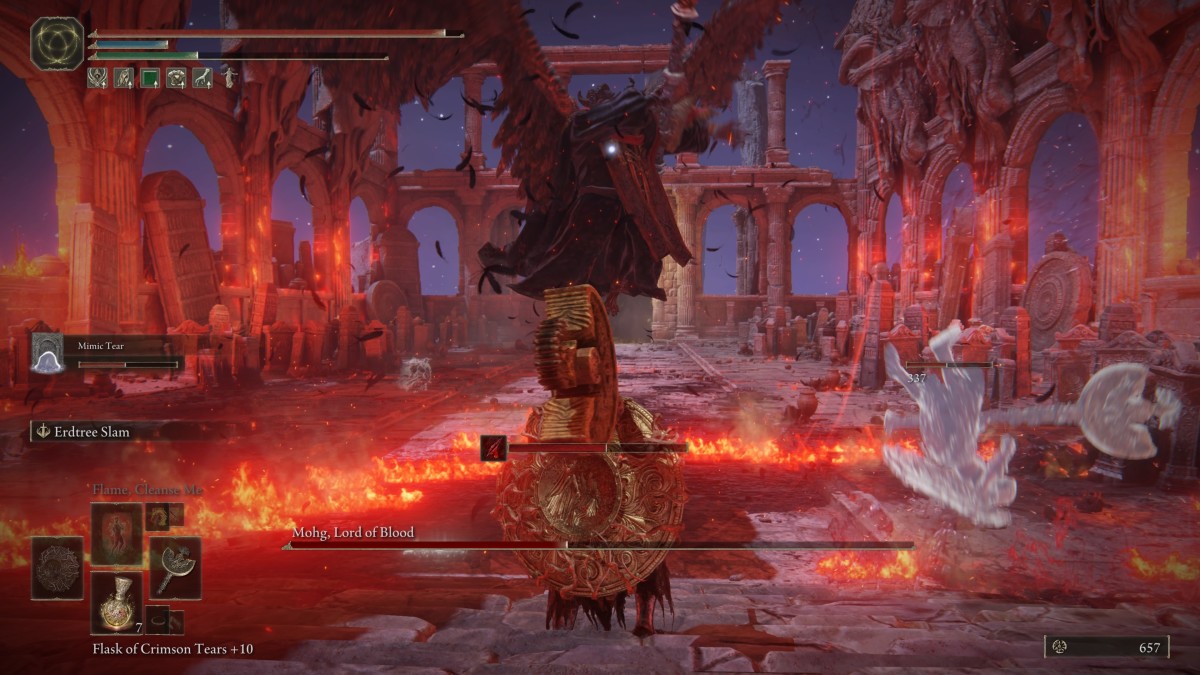
- Mohg will stab his trident into the air, creating a rain of bloody liquid that leaves flames on the ground around him. Step on them and you'll take damage as well as build up Bleed. Stay away from him.
- Mohg will reach up, then hurl a spray of red liquid your way. This turns to a line of fire when it hits the ground. Both the spray and the fire are bad, and should be avoided as best you can. Rolling straight through the liquid is probably the best way to avoid the spray, so long as Mohg doesn't follow up with his trident.
- Mohg will stab the trident into the air, then perform a flourishing swipe. This is a relatively harmless move, and gives you an opening to attack him a number of times. Be warned, however, as it's connected to Mohg's phase-changing attack, a sign that Mohg's hardest-hitting moves are on their way.
- Mohg will perform the same melee attacks as before, only with longer combos and greater ferocity. His trident will also send red liquid spilling all over the place when he uses it, leading to a maze of flames.
- Mohg rises up into the air, reaches into a bloody hole in the sky, and hurls red liquid down at you in a large cone. Try to get underneath Mohg when he does this to avoid the spray.
- Mohg rises into the air, points his trident forward, and tries to impale you as he flies by. This is an easy enough attack to see coming - but only if you're not trying to dance around flames. Keep locked on Mohg and roll as best you can. Occasionally Mohg will rush you while he's still standing on the ground, as well.
- Mohg will again perform his trident stab, but this time he'll charge energy around it, causing the tip to vibrate and perform extra damage if you're in the vicinity. Roll to avoid.
- Mohg uses the claw swipe as before, but this time it has a slightly longer range and faster delivery. Mohg also follows up with a trident swipe / stab, followed by flying liquid. Avoid this combo at all costs. (Though if you're going to be hit by anything, the explosion is the less painful choice.)
- Mohg plunges his trident into the ground. A moment later there will be a significant explosion. Back out of the way as best you can.
Mohg is quite the foe. The constant Bleed attacks are bad enough, but he also has a significant range and, at least in the second half of the fight, can move across the arena very quickly. You'll need some good timing - and probably a distraction - to take him down.
Like most enemies fighting Mohg requires patience and careful timing for your attacks, though this is also a battle of attrition. You must get through the first half of the fight without sustaining too much damage, as Mohg's Bleed effect attack that leads into the second half will probably drain you of at least two swigs of your Flask. Stick relatively close to him in the first half - unless you're fighting at a very long range, anyway - and only step far away when Mohg brings bloody rain down on you.
The second half of the fight sees Mohg becoming much more mobile, and he'll leave fire everywhere he goes. At this point you want to back off and let Mohg come to you, dodging past his trident swipes to get in one or two attacks of your own before fleeing. It's vital that you hop over or avoid fiery patches as much as you can. Only actively approach Mohg if it looks like he's going to cast liquid down on you; otherwise, it's often too hard to try and keep up with him. He flies around a lot.
You will find summons to be crucial in this fight, though this is one where having other players jump in won't be of much benefit. Not only will Mohg gain monstrous amounts of health, the Bleed effect will hit everybody at every stage of the fight. If, by contrast, you call in a strong Spirit Ash, it won't need to worry about Bleed and can fight with impunity. Hit Mohg when he's distracted, then back off and let your summon take over until Mohg is distracted again.
Having trouble? One last thing you can try is to employ Mohg's Shackle. Found in the Subterranean Shunning-Grounds beneath Leyndell, the Shackle can be used twice per battle, before Mohg enters his second phase. This will force Mohg down to the ground and give you a chance to beat him up before he can recover. Just be careful not to use it when Mohg is walking through fire, or melee weapons will have a hard time hitting him without also getting yourself damaged.
You'll earn 420,000 Runes, Mohg's Great Rune, and the Remembrance of the Blood Lord for defeating Mohgwyn, Lord of Blood.