

Location
Lakeside Crystal Cave is found along the southern cliffs of Liurnia of the Lakes. There's a spectral guide that will take you straight to the cave, but the easiest way to find this small location is by following the cliffs northwest from the Liurnia Lake Shore Site of Grace, where a Nomadic Merchant is camped out. The cave is almost directly south of the Scenic Isle Site of Grace, if you need further reference.
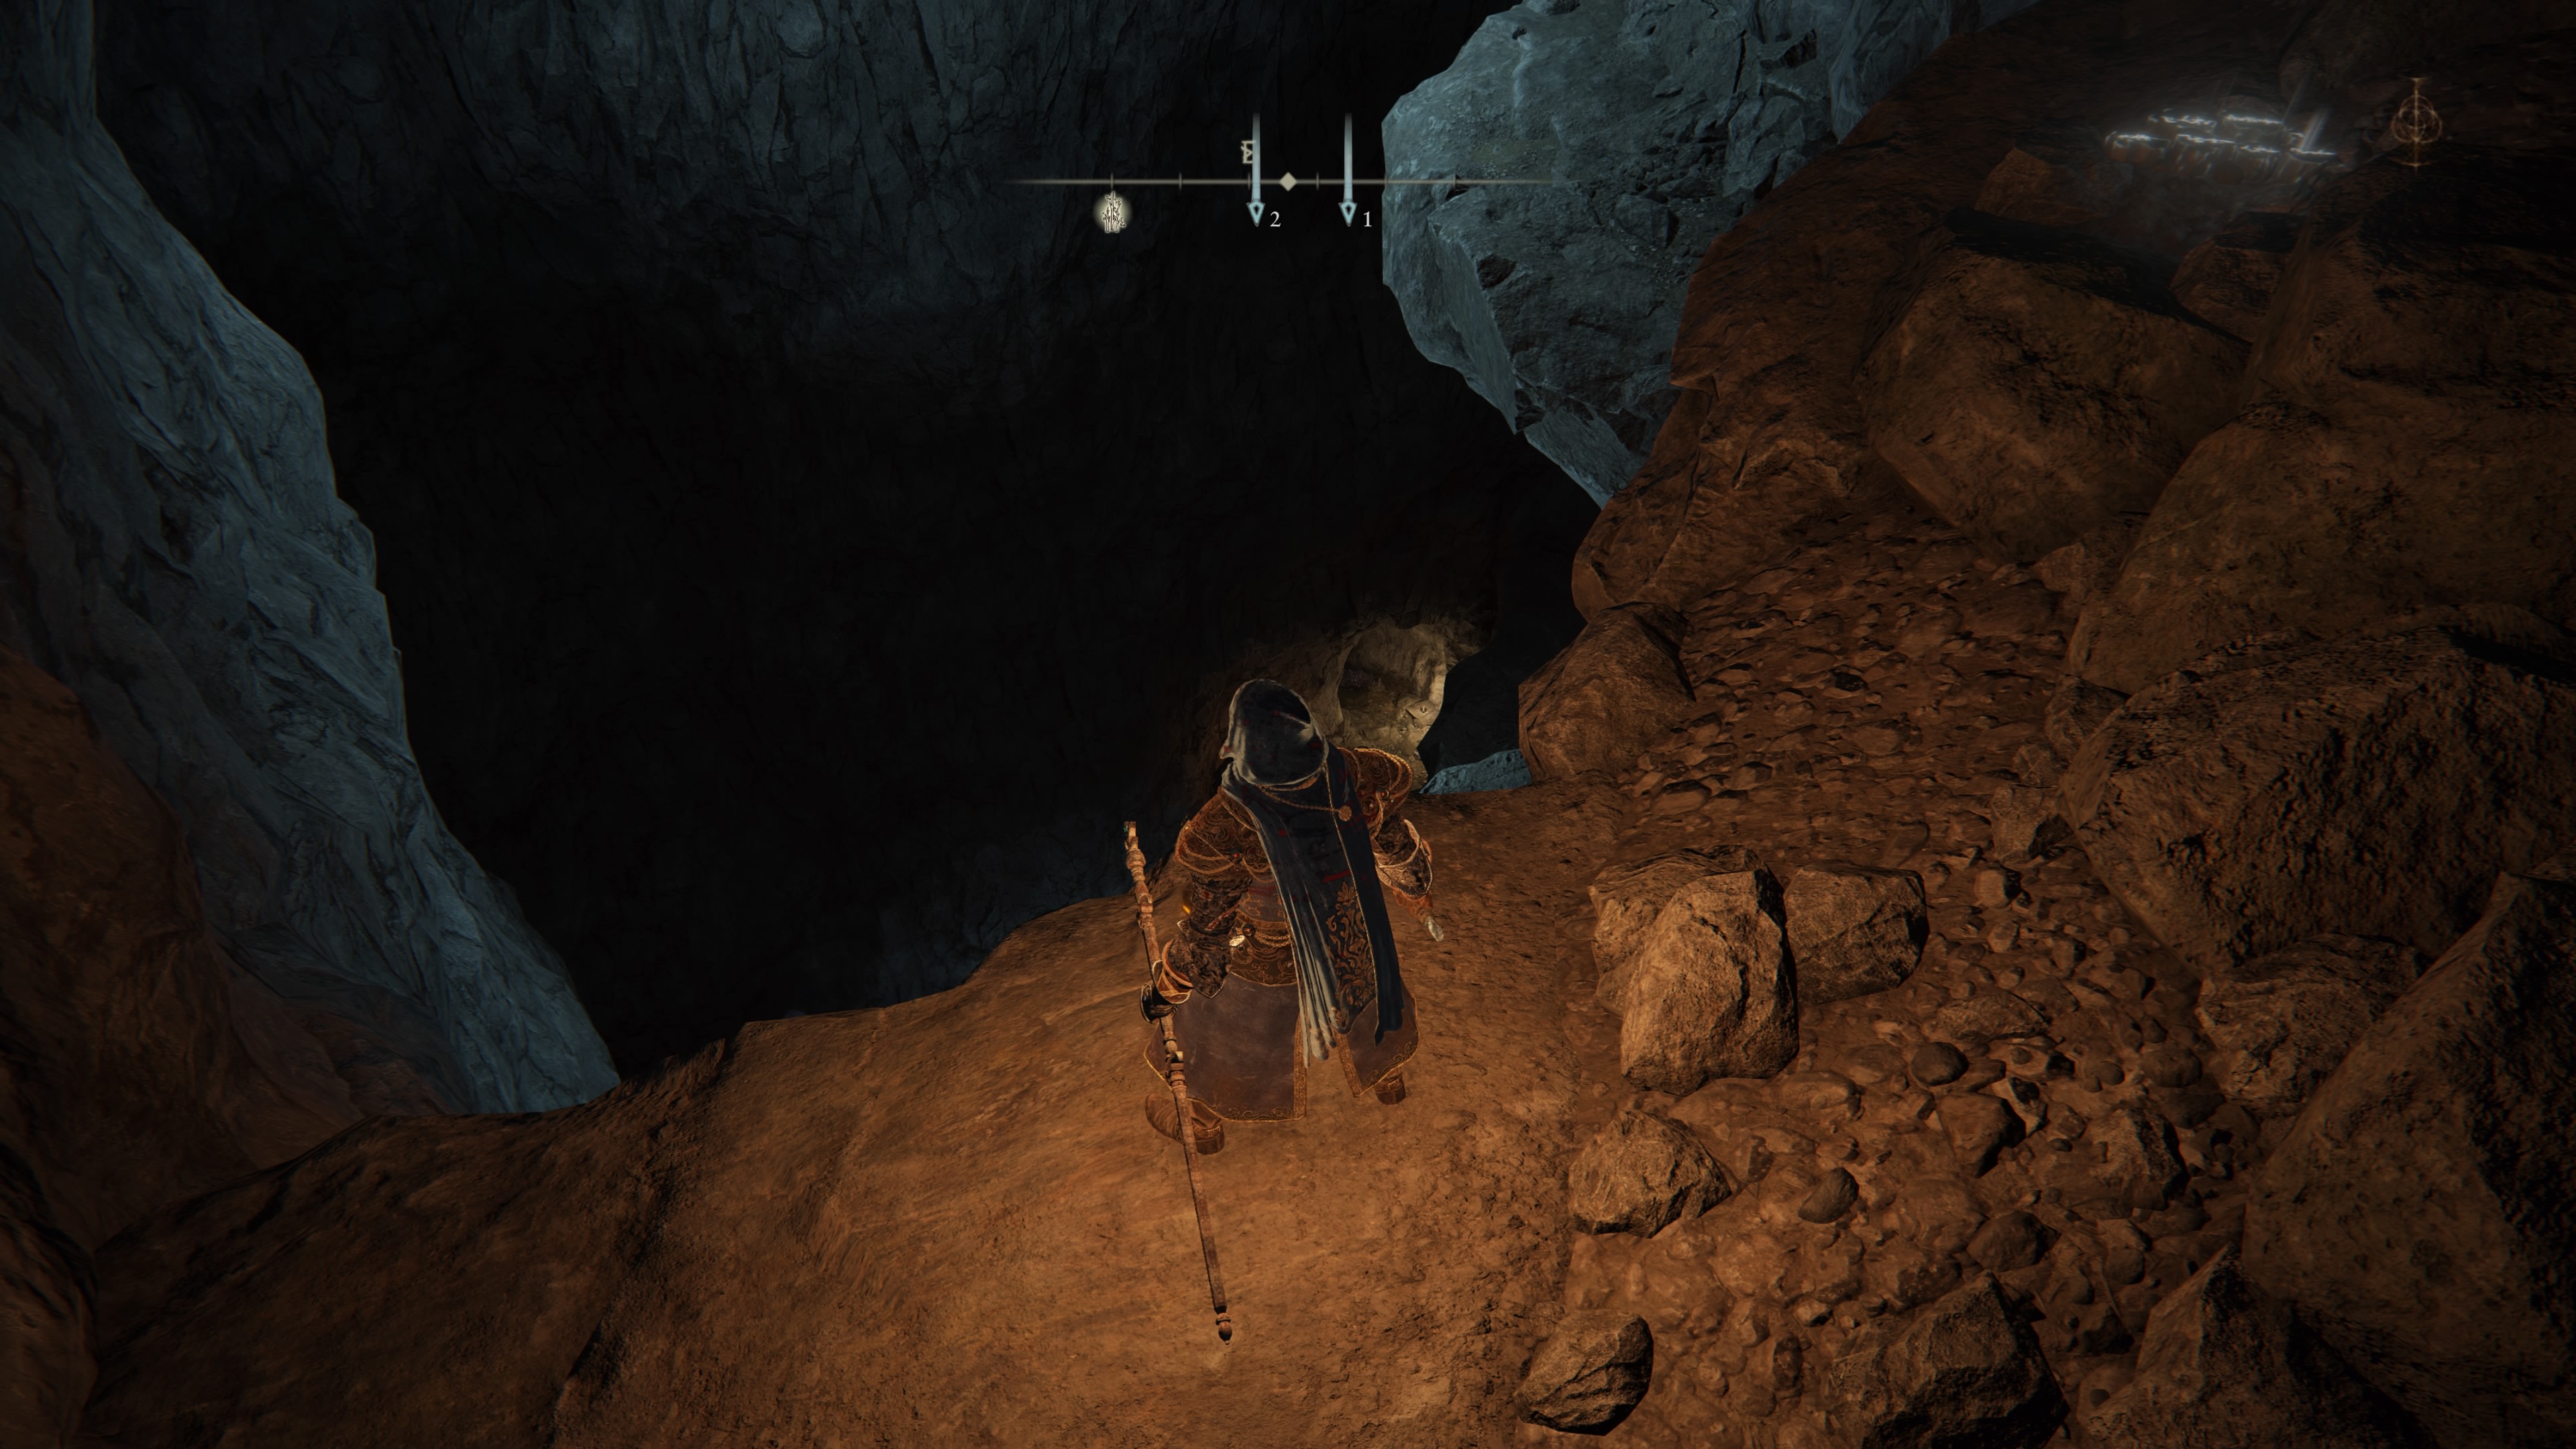
If you don't already have a source of light, you should purchase a Lantern from the Nomadic Merchant before you enter the Lakeside Crystal Cave. You'll spend most of the trek in the dark.

Lakeside Crystal Cave
Make your way inside until you reach the Site of Grace and the Summoning Pool. Beside the Site of Grace is a chest containing an Arteria Leaf. Light up your light source, if you think you need it, and head down the slope. You'll see a Demi-Human walking up towards you, and if you go in for the kill a second one will leap out of a nearby bush and stab you. Attack them at a range or just be ready for the ambush.
Look behind you before you continue down the slope. There's a hill leading to a Demi-Human who will ambush you later if you don't kill him now. At the top and on your right you'll find an uneven path to a torch, where three more Demi-Humans wait for someone to go by on the main path below. Kill them all and collect the Hefty Beast Bone they're guarding.

Look down the slope. You'll see a pair of braziers below, and they're guarded by two more Demi-Humans. Beyond the braziers is a tunnel leading to a watery room watched over by a larger, skulking Demi-Human Chief, as well as two smaller, hidden Demi-Humans. Use targeting to pick out and dispatch the smaller foes before taking on the Chief. He's fast and hits hard, but a good shield will ward off most attacks. The chest in this room contains a Spear Talisman.
Return to the main chamber. If you peer over the precipice on the north side of the chamber you'll see platforms below. Use them to carefully make your way down to the next lit brazier. Beside it is a room guarded by three Crystal Snails that can catch you off guard with their breath attacks if you aren't careful. This room, too, is lit by a brazier, and there are five Throwing Daggers sitting beside it.
To the left of the brazier is a thin, dark passage. Follow it until it widens again and you'll see a huddled group of Crystal Snails on your left. Take them out before they can wake up and cause trouble. Sitting among them is a Golden Rune [5].
Follow the passage out of this room until you reach another cliff. Below you is a ledge with a body that holds two Soft Cottons. The lowest level is below this ledge, and if you look carefully you'll see a number of Crystal Snails waiting below. They will attack as soon as you drop to the floor. A good bow or some magic can allow you to snipe them ahead of time, or you can just dispatch them while dodging on the ground. Directly below the ledge are a Smithing Stone [2], a Smithing Stone [4], and a Lump of Flesh.
Beyond the Crystal Snails you'll see an empty chamber with two torches on the far side. This is a boss room.

Bloodhound Knight
Quick and brutal, the Bloodhound Knight follows a strict pattern of fast attacks and fast retreats. After skulking slowly towards you for a few seconds the Knight will rev up and zip towards you, unleashing several painful slashes that will build up Bleed damage even if you decide to block. The Knight has a penchant for essentially teleporting to one side and attacking from a different angle, so you'll need to keep your eye on all sides if you want to survive the fight. A few tips:
- Try to create a bit of space. The Bloodhound Knight hits fast enough that you don't want to stay in its range for long periods of time.
- If you plan on blocking - which can be painful, given the Bleed buildup - be sure to wait until you know the Knight is done attacking before you go for a counterattack. Sometimes it will keep swinging after the first hit, sometimes it won't, but it when it does keep attacking it will usually hit you faster than your counter can hit it.
- Hold off on using Flasks until just after the Knight is done an attack. If you wait until it starts to move towards you again it will almost always interrupt the swigging motion.
- If you plan on using ranged weapons or magic, don't use anything with a slow startup time. The Knight will catch you in the middle of your attack and cut you down.
- Summon in help. This is, of course, always a handy tip, but having a crowd of lesser summons can really make this battle easy. The Bloodhound Knight doesn't have a ton of health, and giving yourself the room to get off stronger attacks at a range while it's distracted by your minions will make the fight short.
You'll earn 3,600 Runes and a Cerulean Amber Medallion for defeating the Bloodhound Knight. You'll also open up the door in the rear of the Knight's room...

... which leads to a small, dilapidated home, complete with Site of Grace, that's known as the Slumbering Wolf's Shack. Here you'll meet Latenna, a much-more-human Albinauric who is mourning the loss of her wolf. If you've met Albus in the Village of the Albinaurics and received part of the Haligtree Secret Medallion Latenna will give you the Latenna the Albinauric Spirit Ash, allowing you to summon her in battle. You can also undergo a quest on Latenna's behalf, and she'll show up to speak a few more times before it's over.
That's all for the Lakeside Crystal Cave. Grab the Rune Arc beside the shack on your way out.