

PROLOGUE, Part 3: OTHERWORLD CAMPSITE, OTHERWORLD OUTSKIRTS, and CATTAIL FIELD
Want to display your love of OMORI for all the world? Get a collection of OMORI stickers, straight from Amazon! As an Amazon Associate I earn from qualifying purchases, at no extra cost to you.
JUNKYARD
The JUNKYARD is, unsurprisingly, filled with junk, and you'll need to weave through heaps of cars to reach your destination. (Whatever that is.) You won't run into them right away, but there are new baddies to fight in the JUNKYARD:
- DIAL-UP - Low-health enemy with high defenses. Can lower everyone's SPEED. Using KEL'S FOLLOW-UP on OMORI to make him SAD and then having OMORI use STAB will end the fight real quick.
- DOOMBOX - Can attack one or all members of your party at once. Will get ANGRIER as the battle goes on. Fairly dangerous, as far as normal enemies go, but can usually be defeated in one round if you use a FOLLOW-UP.
- MIXTAPE - Decently-strengthed enemy that can lower a character's SPEED. Not a big deal.
- SHARK PLANE - Powerful foe that can one-shot a character pretty easily if it's ANGRY. Consider changing its EMOTION, and be ready to heal.
Go west from the entrance to find a GRANOLA BAR at the corner of the screen, then check out the traffic cones near the entrance. OMORI can slash through them can let you into the contained area in the north. You'll find a RUBBER BAND and a 'GOLD' WATCH.

Head east to the second screen of the JUNKYARD. KEL will find a CAN, and then you can explore. While you're fighting in the JUNKYARD KEL will dig up new items whenever you get into a fight, which can be quite handy. Go up the ladder near the spot KEL checked and grab the sparkle on your left for a GLASS BOTTLE. Head back down to the ground and go east to the next ladder, then climb up. You'll find CARDBOARD in the trash on your left and an AIR HORN up the next ladder. There's also a THINGAMABOB in a trash bin to the southeast, if you've taken on the STRANGE REQUEST side quest.
To the far east you'll find a giant junk block in your way. AUBREY will provide instructions on how to TAG out OMORI as leader for someone else. Put AUBREY in front and she will smash the block out of your way. You'll unlock more character abilities as you progress. Cycle through them often as you encounter new roadblocks, and you may uncover hidden items.
Keep smashing blocks on the next screen. You'll find a CAN and a GLASS BOTTLE in waste bins, and down a side path to the east you'll find CHOCOLATE. Just north of the next block is a FLOWER PUZZLE that's part of a side quest for DAISY back in FOREST PLAYGROUND. Continue north and you'll find a CONVEYOR-BOT. Swap in HERO and he'll politely ask the robot to switch the direction of the conveyors to your right.

Hop on the lower conveyor belt and you'll avoid being swept around a whole bunch of stuff. Check the toilet nearby for RAMEN - ew - and use the vending machines for TASTY SODA, if you have the CLAMS. If you hop on the longer conveyor belt you'll wind up in a small yard with another CONVEYOR-BOT, as well as a COMET HAMMER for AUBREY. Speak to the CONVEYOR-BOT to switch the conveyor belt around and return to the beginning, then do another direction swap.
Again using the lower conveyor, head south along the side of the long conveyor. You'll find red CONVEYOR-BOTS that can change the direction of the lower, slightly-lighter conveyor belt. There's also a lone trash bin in the south, and if you approach it the LIFE JAM GUY will hop out. Care for a demonstration?

LIFE JAM GUY
LIFE JAM GUY wins, basically. He'll knock your party out, then give you three samples of LIFE JAM. Have OMORI revive his friends to end the battle. Rough way to demo a product... regardless, you can now buy LIFE JAM off of the LIFE JAM GUY for 250 CLAMS a jar.
Hop on the last conveyor belt after swapping the direction to the west. Head north and it will take you to a JUNKYARD KEY. You can use this back at the beginning of the conveyor belts to open a lock you passed earlier. Climb the ladder beyond the lock and go east, checking the ground as you walk for some LIFE JAM.
Make your way east along the containers in the next area, climbing and descending ladders as necessary. You'll find a ladder in the east, at the top of which you'll find a LEMONADE. At the base of the ladder is a doorway...

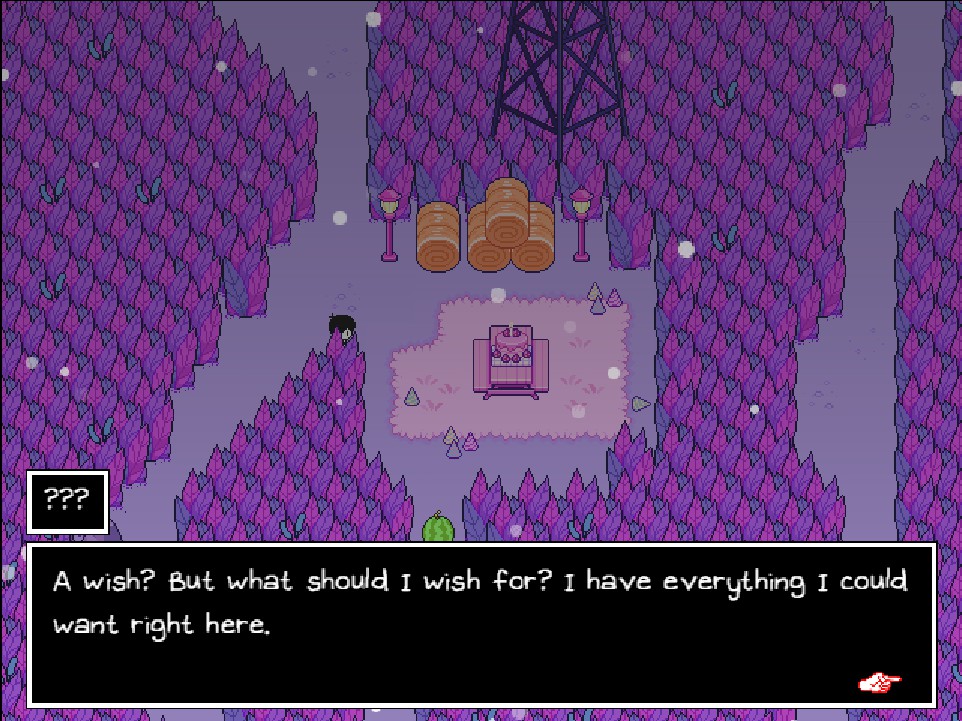
... and through it you'll find good ol' MARI, waiting with her picnic blanket. Sample her chicken to restore your health, and have a picnic for a little conversation. Check up the ladder near the blanket for a CAN.
Head north. On your right are some DEAD BATTERIES, up a ladder and in a trash bin. To the left are two traffic cones to destroy with OMORI, flanked by two ladders. The ladder on the right takes you to a STAR FRUIT SODA, while the ladder on the left leads to a COMPUTER PART.
Slash through the traffic cones to find an open area. You can climb ladders here to find a GLASS BOTTLE and some BUBBLE WRAP. The doorway on the left leads to some GATOR GUYS who seem amused by something, but won't let you through. Come back once you have KEL's special ability - which you'll get in a moment - and you'll find a fellow named MR. SCARETHROW past the gators. Keep chucking things at him to, eventually, earn an achievement. (It will take a while. SCARETHROW goes through an entire character arc before you're done.)
Attempt to go down the dark alleyway in the middle of the clearing. Some robotic thing will leap down and block you. TAG in KEL and stand on the platform to the south of the robot. His special ability is throwing junk at things, apparently. The robot will explode, allowing you access to areas beyond. (And yes, this is the time to visit SCARETHROW.)

In the next area you'll find a RUBBER BAND behind a traffic cone on your right, and a CAN in a trash bin on your left. Go up the ladder near the CAN. If you head west then south you'll find a GLASS BOTTLE, and if you go north rather than backtracking to the ladder you'll find a path to some CONFETTI. Taking a right at the ladder will put you back on track through the JUNKYARD.
Snag the POETRY BOOK at the end of this path, then go down the nearby ladder. Take a right at the next juncture and you'll find a toilet in the north that contains some RAMEN. Backtrack once you have it and go through the door you skipped at the juncture.
You can go two directions in the tunnel you find through the doorway. Start by going north. There's POPCORN sitting near the top of the ladder. Go all the way east to find a door back outside, where you'll find a HOT DOG. Snag it and go back inside, heading north. To the right of the next ladder you'll find a BANANA SMOOTHIE sitting among some trash, and at the top of the ladder are BINOCULARS. Walk through the wall to the left and you'll find a SPARKLER sitting on a lamp.

Go through the door to pop out near the top of the heap of garbage bins. At the apex of the garbage mountain you'll find a JOKE on a billboard - can't record it yet, sadly - and a couch. Sit on the couch and the kids will stare up at the enormous moon. Nothing to be had up here besides a nice moment, though keep the billboard in mind.
Return to the tunnel, walk back to the entrance, and take a left. You can walk through the wall. Snag the RUBBER BAND off of the box that's sitting in this hallway and keep going. You'll arrive at a crossroads. Head north and you'll find a DONUT, JACKS, and CANDY on various piles of trash. Heading out the door in the north will take you outside. Go down the nearby ladder to find a METEOR BALL for KEL, then take a left and use an OMORI / AUBREY tag-team to retrieve the D key for HANGMAN.
Head back into the tunnel and go south. You'll pop back out onto ground level. Take a left, then head north. You'll find a LIFE JAM behind a bush. To the south you'll find a DOOHICKEY, assuming you're doing the STRANGE REQUEST side quest, and another screen. Check to your right to find a DONUT beside the crane, then keep going south to find a STAR FRUIT SODA beside another crane. To the right you'll find an enormous cheese wheel, and TAGGING in HERO will get it out of your way.

Head east. You'll see a little cut scene, and a petulant little creature named ROSA will find the SPECIAL MIXTAPE. She'll run off. Follow ROSA - you can find a CAN in a trash bin to your left, and a RAIN CLOUD and some RAMEN to the north as you give chase - and she'll escape again. Follow her east, grabbing the BAKING PAN for HERO to the south and the TV REMOTE from the trash bin along the way. Snagging the BAKING PAN will teach HERO SNACK TIME. SNACK TIME is one of HERO'S staple moves, and you should probably equip it right away.
You'll spot MARI to the east, and there's a COMPUTER PART and the WHATCHAMACALLIT (part of the STRANGE REQUEST side quest) in the bins behind her. Make sure you visit MARI's picnic blanket before going any further south, as you'll be locked into chasing ROSA when you leave the screen. There's a boss incoming, though it's... probably not what you were expecting.

DOWNLOAD SCREEN
Huh. Well then. The DOWNLOAD SCREEN is a very predictable enemy, in that it does nothing for two turns and then Crashes, inflicting a lot of damage on your party members. It will repeat this cycle until you or it are toast. Make your party members ANGRY, and inflict SAD on the DOWNLOAD WINDOW, then use your strongest attacks to kill it. AUBREY can do a ton of damage with HEADBUTT in this fight, though she'll also lose health in the process, so be ready with HERO to heal her before the DOWNLOAD SCREEN crashes. If you got everyone to level 10 OMORI will have HACK AWAY, which makes this fight a cake walk.
The team will snag the SPECIAL MIXTAPE from ROSA after the fight is over. Follow ROSA and you'll find a path back to the entrance of the JUNKYARD. All done...
... except now you need to return the SPECIAL MIXTAPE to the space pirates. The shortcut to their 'ship' is blocked, so you'll need to make a trip through OTHERWORLD to get back to OTHERWORLD CAMPSITE. Head south and... well, you'll see what happens. Suffice it to say that you'll meet a guy named PLUTO, you'll unlock a method of fast travel, and KEL will learn the FLEX SKILL. You'll also be shot back to OTHERWORLD CAMPSITE.
OTHERWORLD CAMPSITE
Once you're back in OTHERWORLD CAMPSITE you'll need to return the SPECIAL MIXTAPE to CAPTAIN BOYFRIEND, up in the SPACE PIRATE SHIP. Heal up and save, then head to the ship. A quick cut scene will see KEL doing something rash - what else is new - and you'll be thrown into a battle with the man himself.

SPACE EX-BOYFRIEND
This is the first somewhat-difficult fight in OMORI. SPACE EX-BOYFRIEND has a lot more health than any other enemy you've encountered so far, and all of his attacks hit pretty hard. He can inflict SAD on your characters, which becomes annoying early in the fight when SPACE EX-BOYFRIEND permanently changes his emotional state to ANGRY. As the fight goes on he'll move to ENRAGED and then FURIOUS, gaining a substantial attack boost each time.
Leaving your characters SAD will get them trounced by SPACE EX-BOYFRIEND in a hurry, so having AUBREY use PEP TALK (or anyone else use SPARKLERS) to make your characters HAPPY / ECSTATIC is a wise course. This will allow them to do more damage to SPACE EX-BOYFRIEND while taking less in return. OMORI's MOCK will further reduce SPACE EX-BOYFRIEND's attack strength, increasing your chances of surviving his more powerful attacks by a great deal. KEL's RUN 'N GUN works well for carving health out of the boss, especially when you make him HAPPY to increase his speed. HERO you can largely leave on healing duty, as needed, though he's slow enough that KEL may need to jump in and help from time to time.
You'll receive an EYEPATCH for defeating SPACE EX-BOYFRIEND. Once the fight is over he'll turn into CAPT. SPACEBOY - how many names does this guy have? - and apologize for his rudeness. He'll give you a SNO-CONE TICKET and a TRAIN PASS and leave. Collect the E Hangman key from the bed. (If you check the spot where you found the E key you'll find an odd coldness, as well.) If you head to FROZEN LAKE you'll find CAPT. SPACEBOY hanging out and eating SNO-CONES, and you can get one for yourself.
On your way out of the SPACE PIRATE SHIP you'll see bloody tracks, like the ones that brought you to OTHERWORLD in the first place. Follow them south to MARI's blanket for a quick conversation, then leave OTHERWORLD CAMPSITE. You'll see a shadowy figure heading west from the entrance to OTHERWORLD. Following it will lock you out of HEADSPACE for a while, so make sure you've explored thoroughly!
CATTAIL FIELD
Back to CATTAIL FIELD. OMORI is now by himself, and the area is deserted. There are many... visions... or memories... scattered throughout CATTAIL FIELD, and it's worth wandering around the narrow pathways to see them all. Ultimately, however, you need to make your way to the farmhouse in the southwest of CATTAIL FIELD.
Enter the farmhouse. Inside you'll find the F key... and something else will find you.
WHITE SPACE
Ah, yes, WHITE SPACE again. It's the same as your last visit, and that means there's only one way out: STAB. Poor OMORI.
SUNNY'S HOUSE
After a somewhat disturbing series of images you'll wind up back in SUNNY'S HOUSE, though this time it's bright out. When you leave SUNNY's room you'll hear a knocking at the door. This moment represents a major shift in the progression of OMORI:
- If you decide to answer the door you'll find KEL outside. This will put you on the SUNNY ROUTE of OMORI, where you'll spend a lot of time in FARAWAY TOWN, SUNNY's home. You'll still go back to HEADSPACE each day, mind, but there's a lot of story each day before you get there.
- If you decide not to answer the door you'll embark on the OMORI ROUTE. SUNNY will refuse to leave the house, and you'll have to carry out chores before going back to HEADSPACE. This route completely skips FARAWAY TOWN, and though much of the HEADSPACE sections are the same there's a lot of material unique to the OMORI ROUTE. Things are much bleaker for SUNNY, but, hey, this is a bleak game at times.