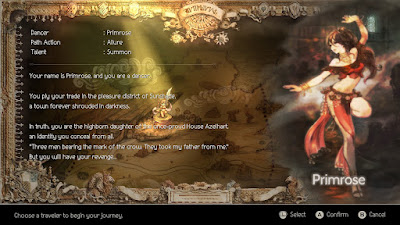
Primrose's story begins in the dusty, seedy town of Sunshade, located in the Sunlands of Orsterra. After a flashback showcasing Primrose's much more noble upbringing - and the horrible circumstances that brought her to Sunshade in the first place - you'll get to watch her kowtow to Helgenish, a disgusting man who will hopefully get his comeuppance sooner rather than later.
Once Primrose is outside you'll gain control of her. You can poke around Sunshade, but there's not a whole lot to see besides the Provisioner - a few items couldn't hurt - and the Armorer, where you can outfit Primrose a little better. At least buy her a Protective Earring to boost her defenses a bit, as Primrose's chapter can be tough if she's going it alone.
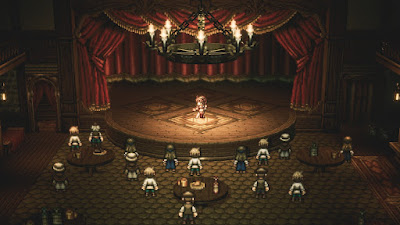
Head to the Tavern in the north once you're done looking around. Check up the stairs on the left for a Healing Grape, then head for the curtained doorway to the northwest to start the show. Head back towards the Dormitory where the scenario began once the show is over to see some cut scenes. Primrose will be forced out onto the street to collect coin, which she can do with her special ability.
Allure
Primrose's Path Action is Allure. Allure allows Primrose to convince certain townsfolk into following her around. She can then use the townsfolk to complete quests, or as Summons to help her in battle. Each NPC has two Skills that they can use in a fight. The more powerful the NPC, the higher Primrose's level must be before they'll agree to follow her around. NPCs can be dismissed at any time, and will return to their original post if Primrose uses up their allotted number of summons in battle.
Walk to the center of town and a Well-Heeled Gentleman will appear from a nearby house. Use Allure on him and take him to the Tavern. During the cut scene that follows Primrose will spot one of the men who killed her father years before. After the scene is done you'll be back in the streets, and when you head south you'll see Helgenish kowtowing to the hooded man. Primrose's target will head south, out of town and into the Sunshade Catacombs. Allure one of the NPCs in town and pursue.
(If you're here with a party of characters, and one of those characters is Therion, use Steal on the Master's Lackey just outside the Dorms. He has a Falcon Dagger that will be of great use to Primrose.)
Sunshade Catacombs
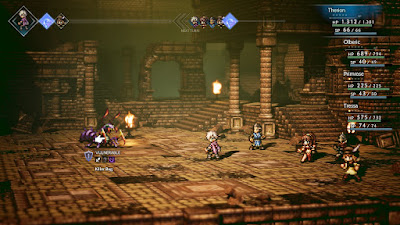
The dungeon of Primrose's first chapter, the Sunshade Catacombs will prove a challenging trial for the former noble. There following monsters will attack you here:
- Sand Lizardman I - Weak to Sword, Dagger, Ice, and Dark. Pretty basic melee unit. Primrose's dagger will suffice.
- Sand Lizardman II - Weak to Sword, Dagger, Ice, and Dark. A stronger - but not too much stronger - version of the original Lizardman.
- Sand Lizardman III - Weak to Polearm, Dagger, Lightning, and Dark. Tougher than the other Sand Lizardmen, and can buff itself and use Hurricane Blow to hit the whole party. Worth killing first.
- Assassin Bug - Weak to Sword, Axe, and Dark. Basic enemy that uses Charge for heavier hits. Moonlight Waltz is Primrose's only option unless she brought in help.
- Killer Bug - Weak to Sword, Axe, and Dark. Uses Charge to inflict heavier damage, and Blinding Claw to reduce a character's accuracy. Moonlight Waltz will bring it down.
- Black Bat - Weak to Polearm, Dagger, Bow, and Ice. Can Drink Blood to restore its own health, but is otherwise a lesser foe.
- Shadow Bat - Weak to Sword, Polearm, Bow, and Ice. Can use Mass Slumberwave, which potentially puts your whole party to sleep. Very annoying and dangerous, and worth targeting first.
- Light Wisp - Weak to Ice and Dark. A cloudy creature that specializes in Light damage. Primrose's Dark Skills will take it down.


