
 |
| Epic Battle Fantasy 4 created by Kupo Games. Images used for educational purposes only. |
The all-star team of Anna, Matt and Natalie still have one more companion to collect before their ranks are complete: the elusive Lance. Elusive because, heck, they've searched an entire forest and not found him. Next place to visit on the list is Crystal Caverns; best go have a gander.
The screen where you fought Mighty Oak is also your path to several other locations, though you can't reach two out of the three right now. Axe your way through the trees in your path to the east…
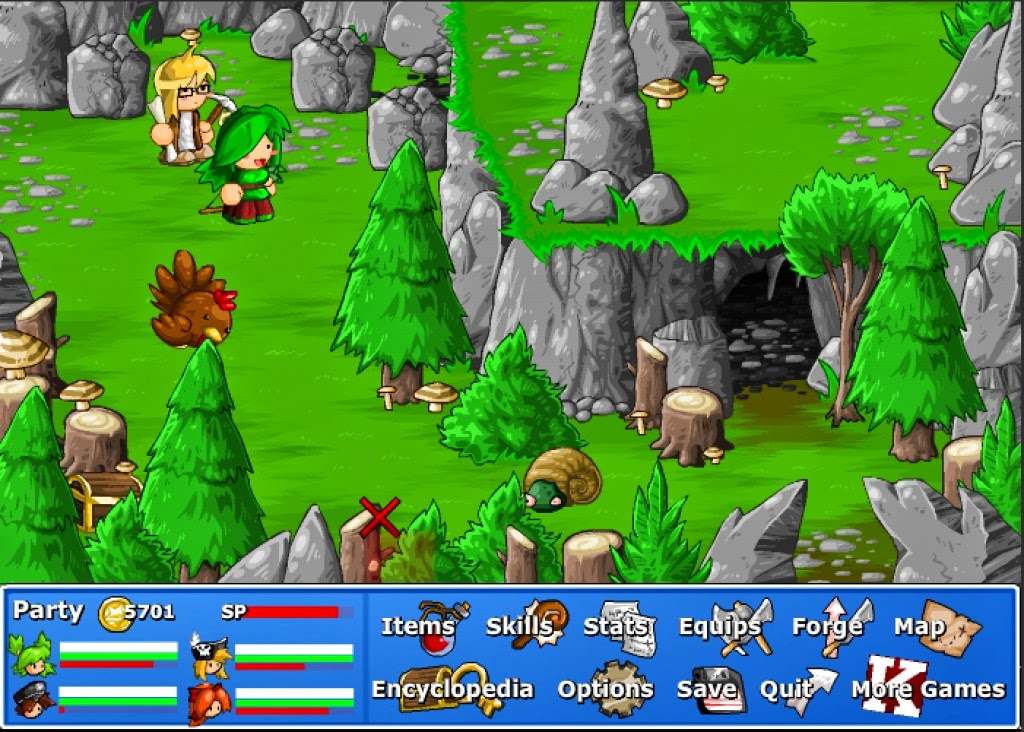
… and, as soon as you hit the next screen, Lance will show up! That was easy. None of them have the Greenwood Jewel, unfortunately, so Anna pressgangs the lot of them into accompanying here to Crystal Caverns anyway. She is the main character, after all.
The next screen isn't quite the entrance to Crystal Caverns, but you're close. There are some new enemies, but nothing terribly difficult (and a lot of them have good items for forging). Give Lance a spin - he's a good addition for any battles with weaknesses to Dark, though you'll have to switch somebody else to Backup to bring him in - and check around for treasures. The tree to the right and down from Abbey has two Ambers and four Dirtballs hidden away, and the chest in the bottom-left corner has two Concretes, three Iron Ores and one Gunpowder. The southern path on the right side of the screen leads back to Ashwood Forest; the northern path takes you into a cave with more new monsters and a Donut, a Cake and a Cupcake. The other chest is blocked until you can break through stone.
 |
| Finding treasures in the Crystal Caverns. Oooo, a candle. |
Anna will explain the importance of the jewels on the next screen (as well as the fact that nearby town Whitefall also has one) and you'll be off into the cave. Despite your surroundings, Earth continues to be a largely effective element to use, save against the Rock Sprites. Check the first crystal formation beside the first treasure chest for a Dino Fossil, the chest itself for an Amber, two Gunpowders and a Fine Fur, the chest to the south for four Springy Spring, three Hand Bombs and two Cactuses (Cacti?), and cut down the tree on the right side of the screen and check behind it for three Rainbow Gems.
To the east is more cavern, this one more densely packed with crystal formations (though none of them yield items). Use the Slime Bunny if necessary, and check the two chests behind enemies for two Pumpkins, one Pineapple, one Orange Juice, one Rainbow Gem, two Fine Furs and four Chain Links. If you have a Copper Key you can also get to one Lollipop, two Glasses and three Paper Talismans. To go north you need a Candle, and you don't have it yet. Head south first.
In this area is a two-wave battle against three different versions of the Clay monsters (Earth magic is great here - be sure to use it quickly on the Black Clays, as they can instant kill your team members if given a chance) and a shifting block puzzle. Push the first, upper ice block to the left, the lower, second block up one space and then to the left top hit against the first, and the first ice block up to the X in the top-left corner. If both ice blocks are on the exes a treasure chest containing a Candle will drop down on the right side of the screen. Check the chest here for three Glass, two Concretes and six Dirt Balls.
To the south of here on the left side of the screen is the path back to the Ashwood Forest, which you can open up by pushing a block out of the way. To the south on the right side is a blocked treasure chest (use Wind magic to plow through these undead fiends) is a Magma Hammer (a great weapon for the next little while), a Magma Sample and a Honeycomb. You can also find a Dino Fossil on the crystal just north of the chest. There's more in here, but you can't get any of it yet.
 |
| Plodding through the darkness of Crystal Caverns. |
Backtrack to the room with the braziers and set them alight with the Candle. Lighting both will open the way (and net you the Used Flash medal). Beyond is a darkened section of tunnel, and only your Candle provides a bit of illumination. Check the south side of the initial tunnel to find a Dino Fossil lodged in the wall, and light the brazier ahead. This will shine more light on the area and give you a chance to easily light three more braziers. Kill the enemies 'round here, check the chests for twenty-two Snowballs, four Ice Creams, four Milks, a Ninja Hat, a Candycane, seven Shurikens, a Ninja Gear and three Hand Bombs, and have a look at the north-east path for Icicles, two Liquid Ices and two Ice Creams. Return to the previous room and go south.
This next area is also darkened, though you get a notification that a Slime Cat nearby can teleport you back to Greenwood Village. Edge east first and you'll find a brazier you can light, revealing the rest of the cave (and two braziers you can light after killing some more enemies). Lighting all four will open two doors in the top-right corner of the map. Loot the map's chests for twenty Snowballs, two Beers, one Cake, a Frost Badge, a Liquid Ice, a Donut, a Copper Key, two Steel Plates, two Glasses, a Frost Sprite, two Liquid Ices and a Solid Water. You can also find two more Solid Waters by checking the stalagmite to the left of Aya.
Go east out of this area. More darkness! Yay. Fortunately the first brazier is just a few steps to the east. Get the other two braziers (one you can't get at from here) and look around the room. A lot of the treasures are blocked, though you can get to one with a Razorwind, two Ice Creams and two Milks. You can also check the tent for a Copper Key, a Cake and two Crisps. Watch out for the enemies here - they love to freeze your party members. Both battles in this area feature two waves, so be prepared for some long fights.
Head north of here to find a room you previously couldn't fully reach. Inside is another moving block puzzle, this one with two stone blocks and two ice blocks.
- Push the top ice block to the left. It will hit the top stone block and stop on the first X.
- Push the top stone block one square below the bottom-left X.
- Push the ice block already on an X down to the bottom-left X.
- Push the northern-most stone block one square down and to the left of the top left X.
- Push the top ice block to the left.
- Push the stone block one square north of the top-left X.
- Push the ice block north and onto the X.
- Move the two stone blocks onto the remaining Xs.
(There are many ways to complete this puzzle. Use the stone blocks to stop the ice blocks from sliding too far and guide them onto the Xs. Piece of cake.)
Completing the puzzle will open the door to the left of the stones and grant you access to a small room with a new enemy: two Ice Golems. These guys are quite a bit easier than the other foes in the Cavern, despite their high HP and strong attacks, because there's only two of them. They're great for grinding levels and AP if you don't mind leaving and entering the Cavern a few times. Check the chests behind the Golems for Narwhal, two Curly Horns, three Solid Waters and one Ice Shards. There's also a Dino Fossil stuck in the wall to the right of the top treasure chest.
 |
| Gangplanks to treasure in Crystal Caverns. I can dig it. |
Head south two areas. You're back in the dark - but there are two braziers right by the entrance. This is another good area to build up experience, as all of these enemies have two waves and aren't that hard to beat if you use fiery attacks. Check the chests here for an Orange Juice, three Crisps, one Chips, a Sapphire Giant, a Sushi and a Solid Water. Check the top left path through here to find the fourth brazier in the previous area (lighting it brings down a chest containing Absolute Ice, two Liquid Ice and two Solid Waters) and a chest with a Lollipop and a Candycane.
- To the south is another darkened area, and there are three ways to get into it.
- Down the first path from the right are a brazier, an enemy and a chest containing five Pumpkins, one Chips and two Chocolates.
- Down the middle path are two more braziers, another enemy and a chest containing a Cow Costume, four Fine Furs and one Beef. Lighting these braziers will drop a chest down on the final path.
Down the final path you'll find a Slime Bunny, another enemy (be careful, there are four waves in this one!), and the chest that fell down, containing Cow Horns, two Curly Horns and three Milks. You can also access the next area here, both through the north (which leads to a chest containing a Chips, three Coffees and five Steel Plates and a Dino Fossil stuck into the rock, as well as six Iron Ores and four Concretes set into the left wall on the way there) and the south.
The next screen to the west has a few treasure chests remaining, but you can only get at one of them now (containing Syphon, five Paper Talismans and three Sea Shells). Defeat the enemies here and check to the north, along the walkway, to find a lava area with a chest containing a Cupcake, a Candycane, and a Lollipop. You'll also get a hint that an item to allow you to walk over lava is forthcoming.
To the west of here is your final official stop in Crystal Caverns, the path of which is guarded by a large rock monster. Take out the smaller monsters here to get a taste of what you're in for before you go after the boss.
 |
| Crystal Golem, the boss of Crystal Caverns. Because I may have forgotten to screenshot during the fight. |
Crystal Golem
This thing is a doozy. Not only do you have to deal with the Golem, you have to fight its three varieties of Bits in the process. Use Scanbot to scan the Crystal Golem and you'll ID its weak point, which changes each time you hit it (shunting between Fire, Lightning and Ice). The key to survival is to check its weakness each turn and make sure not to accidentally give the Golem its HP back with your magic. It's also extremely important to kill the Bits at the beginning and keep killing them as they reappear. Their attacks can cause very annoying status ailments.
Natalie is very helpful with her second-tier, single-hitting elemental attacks, though try not to use Thunderbolt. It hits three times in one go, but the second and third hits will heal the Golem when it changes elements. If you have one spell that's particularly strong, have two team members strike the Golem with normal attacks after using it to shunt its weakness back to the one you most want to hit. You'll probably have to use all-healing items and spells to get through this in one piece, as the Bits show up in big waves and many of them can strike everybody at once. Beating the Crystal Golem will earn you Rainbow Gems and a few valuable assorted gemstones.
Once the Crystal Golem is out of the way you'll have cleared your way to the exit of Crystal Cavern. Use the Copper Key you found earlier to gain access to two treasure chests with one Pizza, one Burger, one Orange Juice, six Rainbow Gems, one Beef, one Ham. You can also go north to find a ton more containing one Beef, three Coffees, two Coconuts, two Magma Samples, two Liquid Ices, one Donut, one Black Widow, five Hand Bombs, two Gunpowders, one Chili Sauce, one Chips, two Pineapples, five Steel Plates, ten Iron Ores and seven Chain Links. Dang that's a lot of swag.
You may think you're done, but not quite. As you try to go through the narrow gap to the south you'll be confronted by a glowing cat figure. You can't kill this creature; the only thing you can do is revive your characters as they get knocked out for a few turns. It will vanish, summoning two more enemies you can defeat. Trounce them and you'll be done with the fight… though you'll no doubt face that thing again. Yays!
One last thing before you leave. By the exit is an old man who wants five Dino Fossils, and there are exactly five in the cave. Give him all five and he'll give you an Emerald, a Ruby and a Topaz, all great items for forging better weapons and equipment. (Oh, and check the crystal beside him for an Amethyst. Can't forget that.)
South of here is the exit to Whitefall. Here you'll learn more about the theft of the jewels (yes, the Whitefall Jewel has also been taken) and how they are teamed with the mysterious Godcat. Oooo.