

Sacred Grounds of Linga - Enemies
- Blood Hound - 9,360 HP - Resists Fire
- Coquettish Whip - 11,400 HP
- Killer Rabbit - 12,200 HP - Weak to Wind
- Mandrake - 9,800 HP
- Ooze - 13,800 HP - Resists Water, Earth
- Wolfhead - 8,600 HP - Weak to Wind
Seeking an appointment with a scholar, the party has been given a seemingly impossible task: They must find a unique herb, one never before discovered. To do this they must explore the Sacred Grounds of Linga, a cave dungeon a short walk east of Linga. The alternative is waiting around for a month, so you might as well check out the dungeon.
The enemies inside the Sacred Grounds of Linga are a fair bit tougher than the stuff you've been fighting up to this point, though you may have run into some of these creatures on the periphery of Linga already. Some notes:
- The Mandrakes are slow, but they're difficult to stun, ignore knockback from physical hits, and can Petrify your characters. Very annoying. Try to hit them from a distance or behind.
- In addition to being Enemy Leaders, Coquettish Whips will heal their packs of Wolfheads. You need to prioritize taking them out first.
- The Killer Rabbits are not incredibly dangerous, but they're annoying to hit since they hop all over the place. If you recruited Precis you may find her moves well-suited to hitting them, regardless of their elevation.

Upon entering the Sacred Grounds of Linga you'll see an herb on a mossy bed, dead ahead. It turns out to be Lavender, a common herb, and if you try to take this back to Bowman as proof he'll laugh you off. (Feel free to try for yourself if you want a humiliating cut scene.) You'll need to go deeper if you want to fulfill Bowman's requirements, and any herb you find that doesn't have a golden font won't cut it.
The 'normal' herbs you can find in the cave are as follows:
- Artemis Leaf
- Athelas
- Lavender
- Mandrake
- Rose Hip
- Wolfsbane

Trying to lead you to the various herbs is an exercise in madness, as the Sacred Grounds of Linga are a crazed mish-mash of interconnecting paths. (Just look at the map above. Awful.) Instead, we'll point out the chests, and let you find the normal herbs as you wander around. The herbs really aren't worth going out of your way to get, as you can buy these items for a pittance in most of the towns in the game.
- Take a right at the entrance, go northwest, and look for a jump point on your left. It will take you down to a ledge with a chest. The chest contains a Mechanic's Toolbox.
- Go northeast of the entrance until you see a jump point. Hop down to the lower level, then go southeast. You'll find a little clearing with herbs, as well as a chest containing Magic Clay.
- There's a central path that runs through the length of the cave. Along it you'll find a chest containing 7,000 FOL. Just north of here the path branches, and if you go northeast you'll wind up near a chest containing a Chain of Might. Follow this path down to the lower level and head northwest to find a chest containing Mixed Syrup.
- If you follow the outer, western-most path you'll find a chest containing a Medicine Bottle.
- The path curves in the far north, taking you to a lower level with a huge skeleton. This is the A Grand Burial Ground Unique Spot, and inspecting it earns you five Goddess Statuettes.
- If you head north from the entrance you'll see a jump point on your left if you go far enough up. Leap down, then head south. You'll find a few herb spots, as well as a chest containing a Rainbow Diamond.
- In the north of the cave, just before you reach the save point, you'll find a chest on the side of the path. It contains Twin Splicers for Ashton.

If you want to get this dungeon over with quickly you can try for the Clarisage, which will satisfy Bowman. Take a right at the entrance, then northwest, then north as far as you can go. Take a left when you get to the end of this path, then grab the next herb you see. This is the Clarisage.
If you want the best result, take a right on the northbound path listed above, instead of the left. Go north, then take your second right. This will bring you to the path to the end of the cave. When you reach the innermost section of the Sacred Grounds of Linga you'll find a Save Point. Make sure you use it, as a veeeery annoying battle is on the way.

Visseya
Weak to Light
What a pain in the butt. The three Visseya that come out of nowhere are simple opponents, and will spend the entire match trying to do one of two things: 'Biting' your characters, which can Poison them, or... just straight up eating them. If a character is eaten by a Visseya they will be trapped in the beast's body for a while, and if all four of your party members get eaten, well... Game Over. Ouch.
In addition to absolutely walloping on the Visseya, you need to pay close attention to your party. Once characters get engulfed their face icon by their HP count goes dark, and you should use this as a gauge of how many people have been eaten. Immediately swap to one of your backline characters if everyone else is engulfed (likely Rena) and run around until the Visseya spit your attackers out again. Then go back to dealing damage. Special Arts will prevent the Visseya from getting too close, and going after the Enemy Leader among them can net you a stun for the whole group. Assault Formation summons can also save you in a pinch.
You'll receive a mixture of Orichalcum and Damascus for defeating the Visseya. You can also claim the thing they were guarding: The Dillwhip. This is the best herb you can bring Bowman. Last, you can open the two chests on either side of their lair, which contain ?ARMOR (use Appraisal on this for a Rune Buckler) and a Cinderella Glass.
Important note! Once you return to Linga and report in with Bowman you'll trigger a major swing in the plot, over in Lacuer City. If you have any pressing business in Lacuer, make sure you do it before you turn in the herb. Things get a little hairy after that point, and the vast majority of Lacuer City will be locked away.
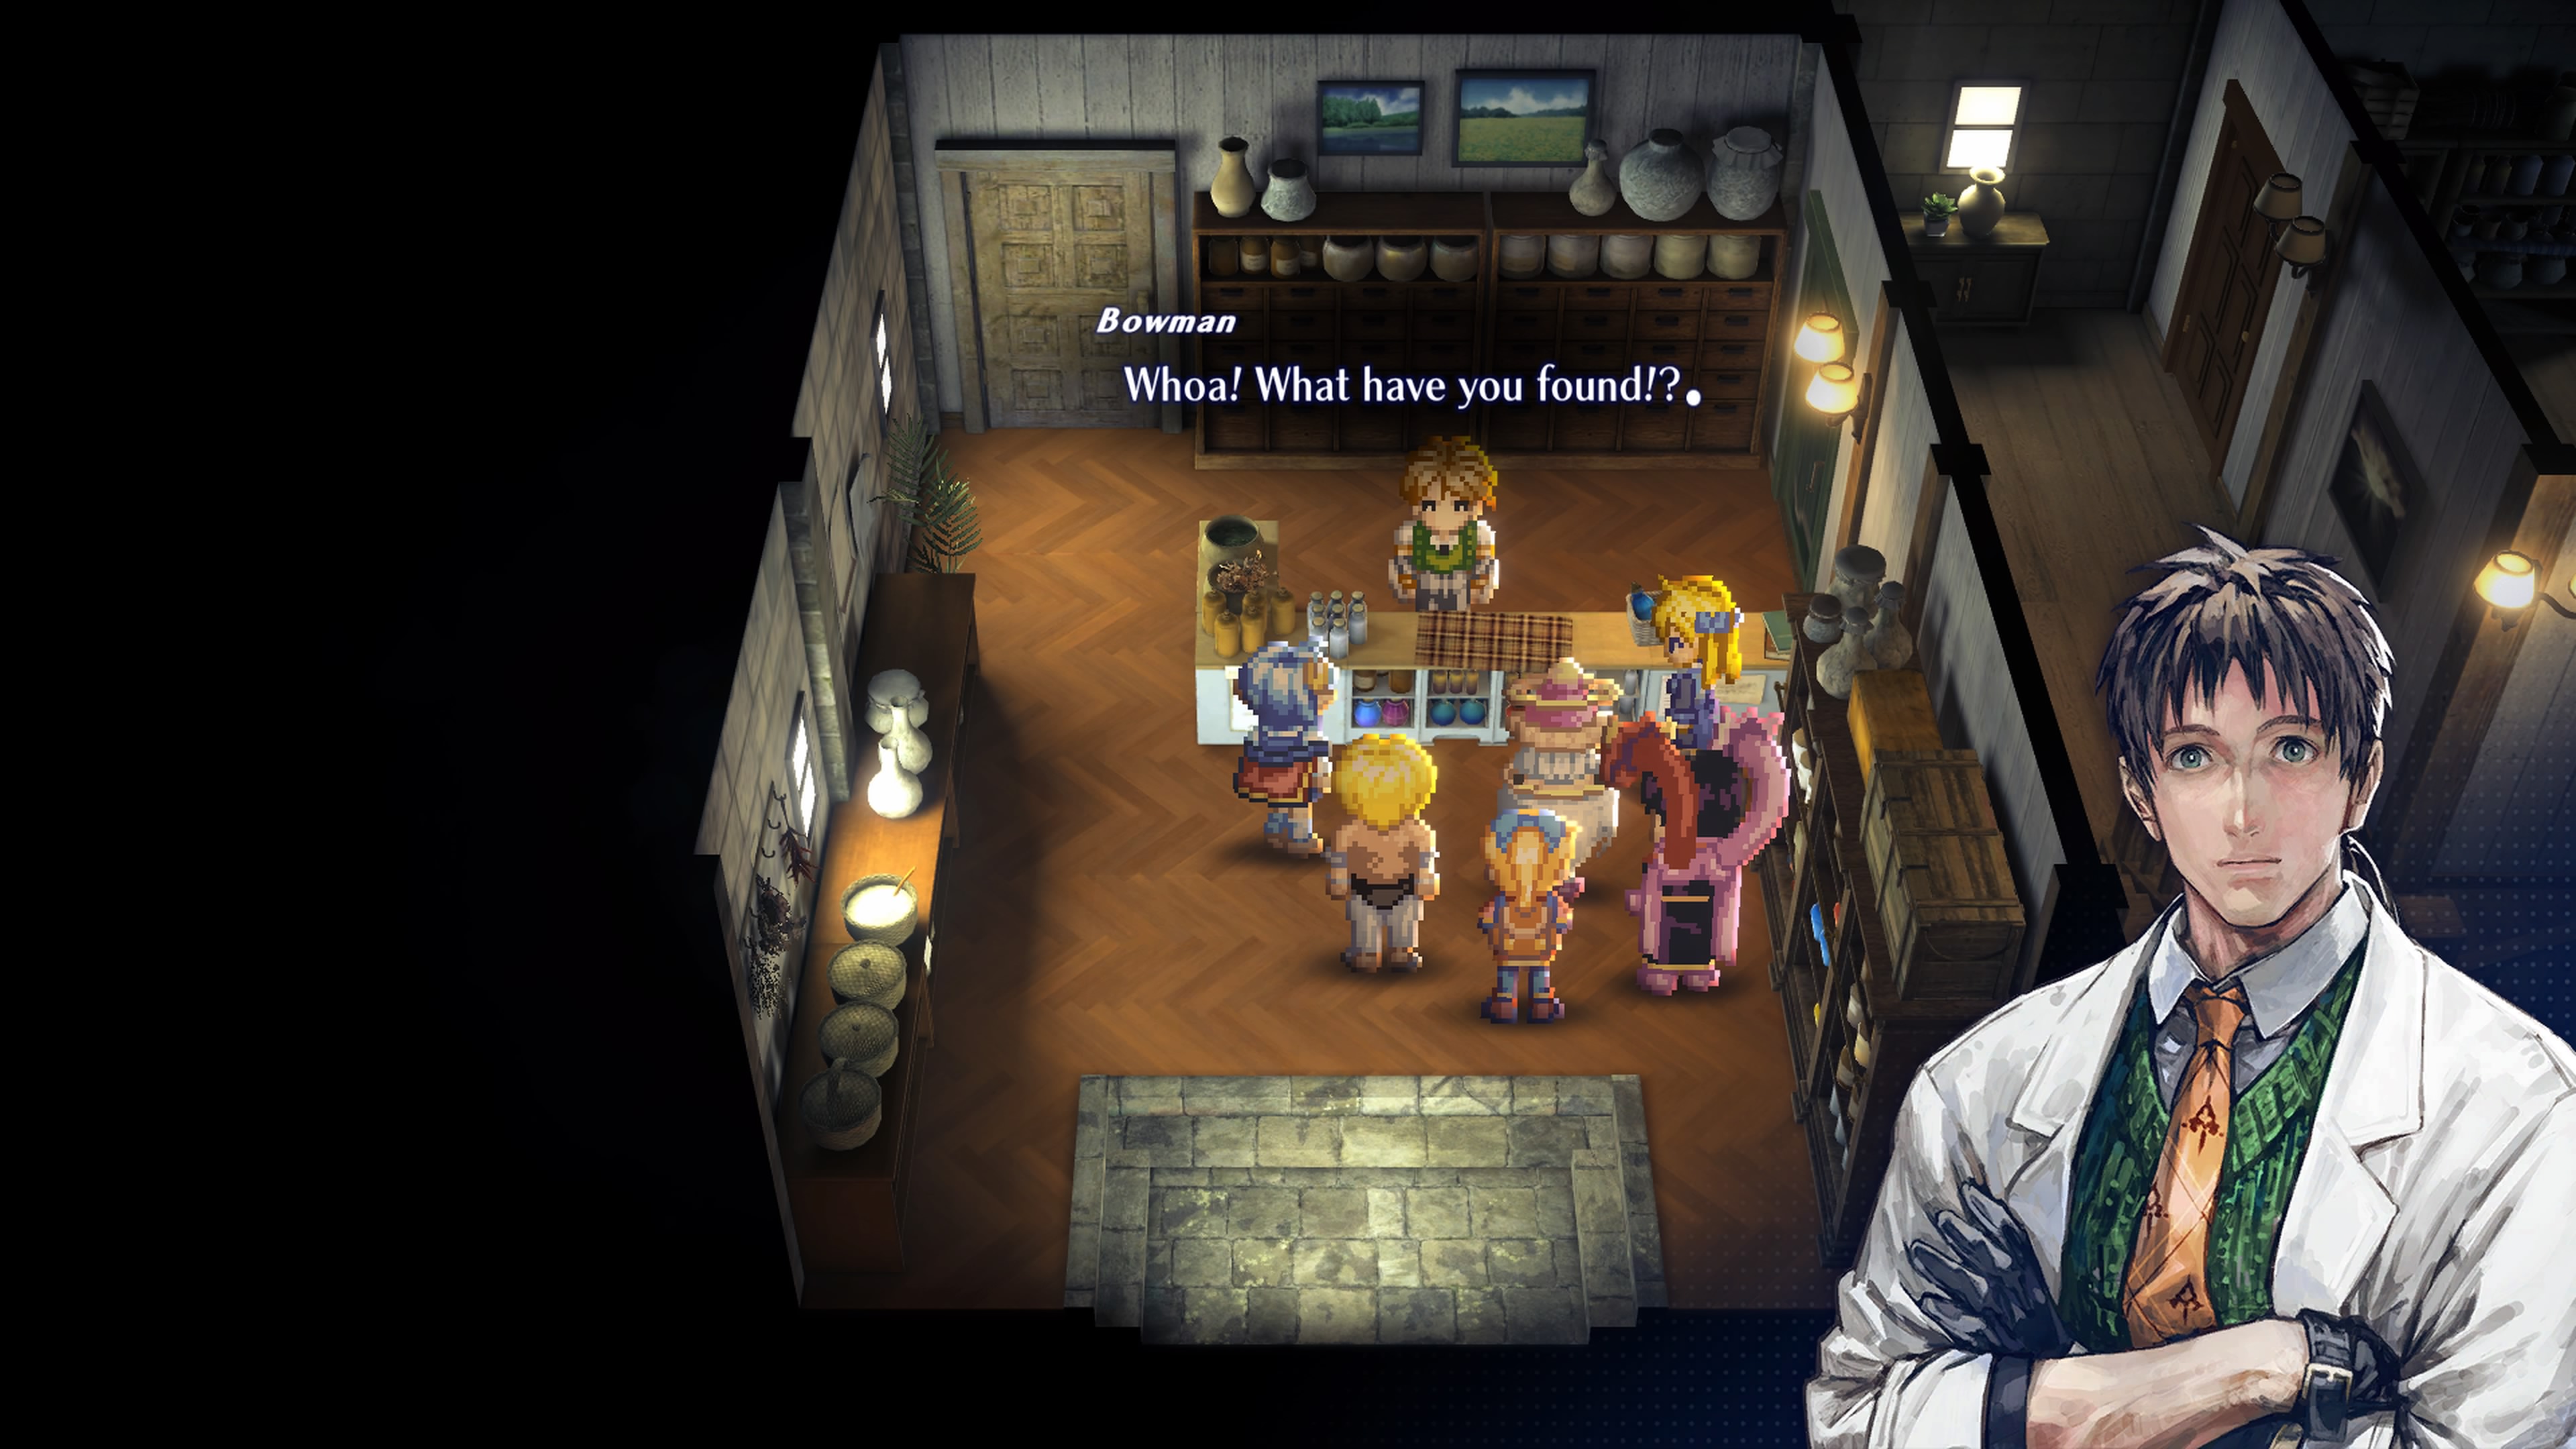
Return to Bowman once you have either the Clarisage or the Dillwhip. He'll be impressed regardless of the herb you found, though you'll really get Bowman's attention with the Dillwhip. Bowman will offer you an Immunity Pill for bringing him the Clarisage, or Resurrection Mist and an Immunity Pill for bringing him the Dillwhip.
Lead the whole party, Bowman included, over to Keith's house. It's between the Guild and the Academy Co-op, on the other side of the bridge through Linga. Bowman's presence will get you inside, and you can find Keith on the second floor. He'll take the Ancient Text that you found back in the Krosse Cave, and set to work deciphering the thing. (Don't expect a translation any time soon. In truth, you won't learn what it says unless you get a specific ending to the game.)
The team will shack up in Bowman's home for the night. Check his bedroom, beside the stairs, to trigger a cut scene. If you didn't recruit Precis earlier Bowman will offer to join the party, and if you accept he'll tag along for the remainder of the game. Bowman is a close-range fighter with strong Special Arts, and can dish out a ton of damage as long as he's stocked with MP. You'll receive The Scholarly Pharmacist Achievement if you recruit Bowman.
That's all for Linga. Time to head back to Lacuer City... and a looming catastrophe.