Prologue
When you begin a new game of Dragon Quest IV - assuming you're playing the remakes, anyway - you'll get a chance to name, gender, and play as the Hero. This serves as a tiny introduction, and you won't see the Hero again for a long time. You can get a few things done in the Prologue:
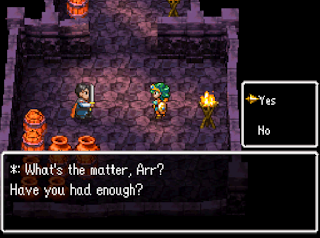
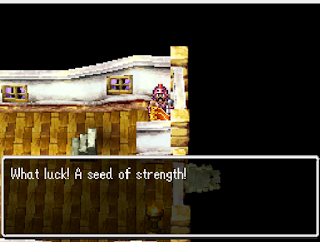
- Check the barrels and jars in the room where the Hero starts to break them apart. Inside the containers you'll find a Medicinal Herb and a Seed of Strength. You'll also find 3 gold in the two barrels to the north. You should always destroy barrels and jars when you see them.
- Head upstairs via the stairs to the north. You'll wind up outside. Look around the wooden scaffolding nearby to find several containers. One of them holds an Antidotal Herb.
- Cross the bridge near the stairs to meet a largeish frog. Follow it back down the stairs to meet Eliza, the Hero's best friend.
- Head to the Hero's home, on the west side of the village. Check the pots near the door for a Medicinal Herb. Speak to the Hero's father to end the Prologue.
Yep, that's all. Don't worry, you'll get plenty of time with the Hero later in the story. For now, we're off to meet a soldier.
Burland
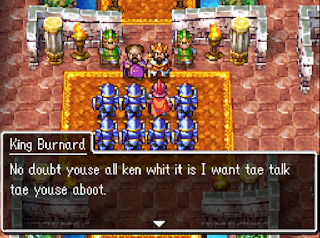
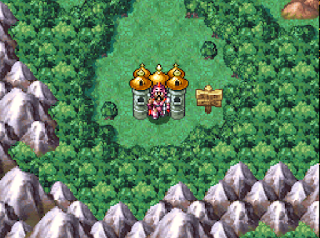
The first chapter of Dragon Quest IV places you in the shoes of Ragnar McRyan, a knight of the kingdom of Burland. As the chapter begins Ragnar is tasked with tracking down Burland's missing children, who were spirited away by an unknown force. Ragnar will need to do some traveling to solve this mystery.
Your objective is not in Burland, so you'll need to make tracks to another settlement. First, though, you should have a look around the castle and the town outside, collecting whatever items you can carry. Ragnar spends a chunk of this chapter by himself, and every healing item you can find will make the journey a bit easier.
- Southeast of the king's room, where the chapter begins, is a bedroom. Check the dresser on the right for a Medicinal Herb.
- There's a locked treasure vault in the west of the castle. You can't open this yet, but you should keep its location in mind for later.
- South of the castle you'll find an Item Shop and a Weapon Shop. A few Medicinal Herbs from the Item Shop can't hurt. You can't afford anything better than Ragnar's current arms from the Weapon Shop, though if you care to grind outside Burland you'll eventually have enough for the Divine Dagger or the Chain Sickle. (Or you could just put up with Ragnar's default stuff. He's okay for now.)
- Next to the Item Shop are some barrels. One contains 3 gold.
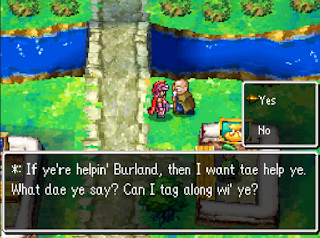
- He's not helpful, per se, but there's an old man near the Item Shop who will attempt to follow Ragnar on his journey. Thanks, guy.
- In the east of Burland is an Armor Shop. Snagging a Leather Hat isn't a terrible idea, and if you choose to grind you can come back here and grab more equipment to make Ragnar's journey a little easier.
- South of the Armor Shop is a small house. Bust the pots inside for 5 gold.
- In the west of Burland is a church. Speak to priests in churches to save your game, or to remove a variety of status ailments. The vast majority of the time you'll need to visit churches to save in Dragon Quest IV, so always seek these shrines out whenever you arrive in a town.
- Also in the west of Burland is an empty, two-storey house. Check behind the white wall next to the entrance and you'll find a hidden chest. Inside the chest is a Seed of Strength. This permanently raises its user's Strength stat, allowing them to hit harder in combat. Ragnar's entire purpose in battle is smacking things with a weapon, making him a good candidate.
- In the south of Burland is the Inn. You can stay here for the night to fully restore your party's health. You'll want to use the Inn a few times before leaving the proximity of Burland, as Ragnar could use a few levels. Destroy the barrels outside the Inn to receive a Medicinal Herb.
As you explore Burland you'll come across a woman named Aigneas in the southwest, patrolling next to the house that contains the Seed of Strength. If you speak to her enough she'll tell you about her husband Angus, who disappeared a while back. Angus is important to this chapter, so make sure you chat with Aigneas before you leave town.
And that's all for Burland. Touch the blue edges of the map anywhere in Burland to exit the castle town, and take your first steps in the wider world.
World Map - Burland Region - Enemies
- Air Rat - 14 HP
- Bubble Slime - 12 HP - Night only
- Scissor Beatle - 9 HP
- Slime - 8 HP
- Wiggly - 11 HP
Wandering the world map near Burland will give you your first taste of combat in Dragon Quest IV. It is pretty simple at this stage of the game, as Ragnar can't use magic. Use the Attack command to beat any monsters you meet into submission. They will strike back, reducing Ragnar's HP, and you'll want to have some Medicinal Herbs on hand to heal the knight. For the moment, at least, they are your own source of restoration.
Ragnar begins his chapter at level one. This is as weak as you can get, and before you travel too far you should fight a few monsters near Burland. Not only will this build up Ragnar's level, you'll earn some gold that you can spend on new equipment. You'll run across new weapons as you proceed through the chapter, so focus more on buying armor unless Ragnar's lower hitting power makes you nervous.
For the most part the enemies near Burland focus entirely on normal hits. The one exception are Bubble Slimes, which can Poison Ragnar, sapping his health each turn until the status is healed with an item. Bubble Slimes will only appear at night, which is true of many monsters spread throughout Dragon Quest IV. Wander around long enough and time will change, a mechanic that affects your journey in a number of different ways.
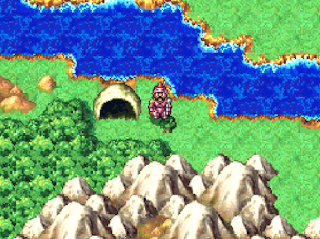
By level 3 Ragnar should be strong enough to defeat most enemies in a single hit, even with his starting weapon. You're now ready to proceed northwest of Burland to your first little dungeon.
Strathbaile Burrow - Enemies
- Air Rat - 14 HP
- Heal Slime - 16 HP
- Scissor Beatle - 9 HP
- Slime - 8 HP
- Wiggly - 11 HP
This will be a quick jaunt. The enemies in Strathbaile Burrow are more or less the same as on the world map, minus the Bubble Slimes. There are two things to note as you head through the burrow:
- Head north from the entrance, then take a right. There's a chest containing a Medicinal Herb on a quick side path.
- Halfway through the burrow is a pond. Head north and you'll find stairs back to the world map. Take a left before going up the stairs and you'll find a chest containing 40 gold.
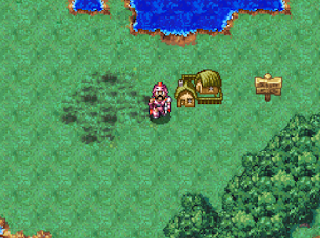
And that's that. Piece of cake. Go up the stairs and you'll emerge back on the world map, which is patrolled by the same enemies as before. You're now on the north end of a river, and if you head east you'll find a new town.
Strathbaile
A farming community, Strathbaile is smaller than Burland yet ultimately more important to your quest. We'll have a quick look around the village before getting on with the story.
- In the south is an Item Shop. Bust up the barrels by the Item Shop for 3 gold.
- Next to the Item Shop is the Inn. There are two dressers on the ground floor, and one contains Plain Clothes. You can sell these, as they're nigh useless as equipment.
- In the northwest of Strathbaile is a school. Check the cabinets at the end of the hallway for a Medicinal Herb.
- In the north of Strathbaile is a well. You can climb into this well (like every well in the game) to find 25 gold.
- Next to the well are the Weapon and Armor Shops. They sell slightly better equipment than what you found in Burland. The Hunter's Bow can get you through just about everything between here and the best weapon in this chapter, and the Hardwood Headwear, Chain Mail, and Scale Shield are good budget pieces of equipment for the next dungeon.
- Between the Weapon and Armor Shops and the church is a set of stairs, leading into a dungeon. The man in the cell will be important in a moment. Check the jars for a Medicinal Herb.
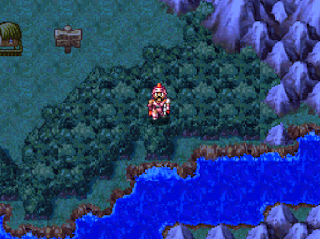
Speak to the fellow in jail and you'll learn that he is Angus, husband of Aigneas, though he seems to have lost his memory. Head back to Burland and tell Aigneas of Angus's plight, then guide her to Angus. Her presence will job his memory, and Angus will tell you about a 'children's playground' in the forest to the southeast of Strathbaile. Check the woods down and to the right of Strathbaile and you'll walk right into it.
Auld Well - Enemies
- Healslime - 16 HP
- Mad Mole - 16 HP
- Stump Chump - 16 HP
- Winkster - 15 HP
A slightly-longer dungeon that the burrow - but still not a big deal - the Auld Well has tougher enemies than you've fought to this point. Upgrading Ragnar's weapon even one tier should be enough to get you through, however. Prioritize the Healslimes so they don't, y'know, heal any of their buddies. Follow this path to grab everything:
- Ignore the voice that calls to Ragnar for the moment and head northwest from the entrance. You'll find the remains of a building, and inside is a chest containing a Seed of Life, as well as pots containing 15 gold, a Medicinal Herb, and a Seed of Agility. The stairs into the sub-basement lead to a dead end.
- Head back outside and enter the well in the north. This will drop you into a cavern. Head south and you'll find an intersection. Going west will take you back out of the well, while going south will lead you deeper into the dungeon. Head south, west past the pond, and then south when you go as far west as you can.
- The path splits when you go east. Continue east to the next screen and you'll find a path to a chest containing a Medicinal Herb. Backtrack the way you came, then head west until you find a southbound path. It leads to stairs.
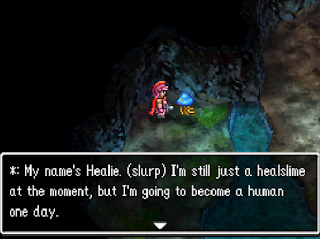
- Head east on the next floor and you'll find an intersection. If you try to go east the mystery voice will tell you you're headed the wrong way, but ignore it and continue east. On the next screen over you'll eventually arrive at a pond, and next to it is a Healslime named Healie. Unlike most Healslimes this one is friendly, and will offer to join Ragnar. Agree and you'll have a computer-controlled healer for the remainder of the chapter, which is highly recommended.
- Return to the previous intersection and head north, north again at the next intersection, and east. This will put you on a lengthy path to a chest containing 580 gold.
If you found the Auld Well a bit taxing you may want to use the gold you earned and found to buy new equipment. A few Medicinal Herbs can't hurt, either. Otherwise, use the Talaria on the world map to soar to the final dungeon of the chapter.
Loch Tur - Enemies
- Bantamweight - 31 HP
- Blinkster - 33 HP
- Bodkin Archer - 16 HP
- Healslime - 16 HP
- Mad Mole - 16 HP
- Splatypunk - 22 HP
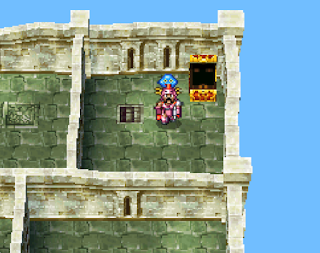
Whenever you use the Talaria on the world map Ragnar will instantly be sent to Loch Tur, a tower on a tiny island near Strathbaile. You'll start off on the top floor of the tower, and you'll need to make your way to the basement to reach the end. Seek out a gap in the walls and go through the exit the tower and return to the world map. (Alas, you won't land at the base of Loch Tur. That would be cheating.)
It is important to note that the difficulty level jumps up a fair bit in Loch Tur. Not only are you facing stronger enemies, they tend to use buffing attacks and other spells to make your life more difficult. There's an excellent weapon at the bottom of the tower, if you can wait that long, though if you can't get through here you should either get a Chain Sickle for Ragnar, over in Strathbaile, or just level him to 7 or 8.
Take this path through the tower:
- Head down the stairs on the top floor after watching a brief cut scene. Go north on the next floor and take a left to find a path to a chest containing a Chimaera Wing. You can use these items to teleport to towns you've visited while on the world map.
- Return to the stairs, head south, and take a right. More stairs wait at the end of the path.
- You'll wind up in a north-south hallway. Check on your left near the stairs and you'll find a door leading to a small room. Inside is a chest containing 640 gold. Head back to the hallway and go north to find stairs, which will take you up to a chest containing a Seed of Strength.
- Return to the previous floor and head south, then west. There's a doorway ahead, and it leads to a chest containing a Scale Shield. North of the chest are stairs. Head down.
- You're now on the ground floor. South of the entrance are stairs down to a room where you can heal Ragnar (and Healie, if applicable). North of the entrance is a door. Go through the door and you'll find chests to your left and your right, containing a Cautery Sword and a Seed of Resilience. The Cautery Sword is by far the best weapon Ragnar can wield in this chapter - it can even be used as an AOE tool to hit multiple enemies - and shouldn't be missed.
That's more or less it for Loch Tur. Take a left from the stairs to the healing room and you'll find a path to one of Ragnar's comrades, who will fill you in on some of the larger plot at work. Near the soldier are stairs to the basement, where you'll find the mastermind behind the kidnappings.
Psaro's Pawn and Winky
HP:
- 250 (Psaro's Pawn)
- 42 (Winky)
Your first boss battle! Psaro's Pawn and Winky aren't too bad, so long as you healed up and grabbed the Cautery Sword. Their attack patterns are as follows:
- Psaro's Pawn has a preference for fiery spells, and can target one or both members of the party. If you're lucky he will use his normal attack.
- Winky either attacks or defends most of the time, though it can 'change complexion' after taking enough damage. This secondary form of the Winky hits harder, and is quite a bit more dangerous.
The Winky doesn't have much more health than the average enemy, so target it first. Two, possibly three hits should take it down. Psaro's Pawn on his own can't take out Ragnar so long as you (or Healie) keep his HP up.
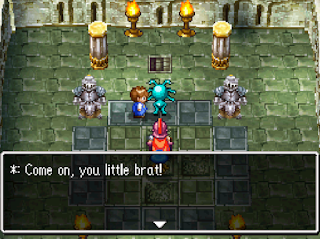
Defeat the monsters and Ragnar will free the kids they've captured. Head back to the ground floor and use the exit in the south to return to the world map. Use the Talaria to jump back to the top of Loch Tur, then leap off of the walls to land back in the Strathbaile region. Return to Strathbaile to drop off the kids...
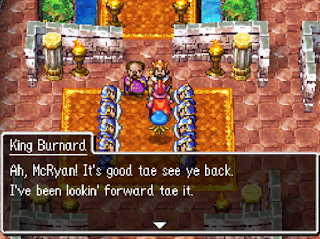
... then head back to Burland and visit the king. Just about every NPC along the way has something new to say, so feel free to chat as you go. Speaking to the king will earn Ragnar a ton of experience - alas, you won't get to use those levels for a long time - and end the chapter.

