Recommended Level: 40+
To trigger this quest you need to pay a visit to The Marshes, a boggy area in the southwest of New Wirral. To reach the Swamps you'll need to head north through New Wirral Park, west through Lakeside, along the paths of Cherry Meadow to the south, and over to The Marshes' bonfire. It's a lengthy trek, and not one you should make lightly, given how strong the monsters become in The Marshes.
North of the bonfire you'll see a chest. Try to pop it open and you'll be surrounded level 40 Jellytons. Fortunately for you, a mystery woman with flair will appear and help you drive the three Poison-type monsters away. Her name is Viola, and she's looking for her brother, Sebastian. You'll need to help find him. Once Viola leaves you'll receive an Astral Camouflague Sticker, a Basic Tape, and some materials for opening the chest.
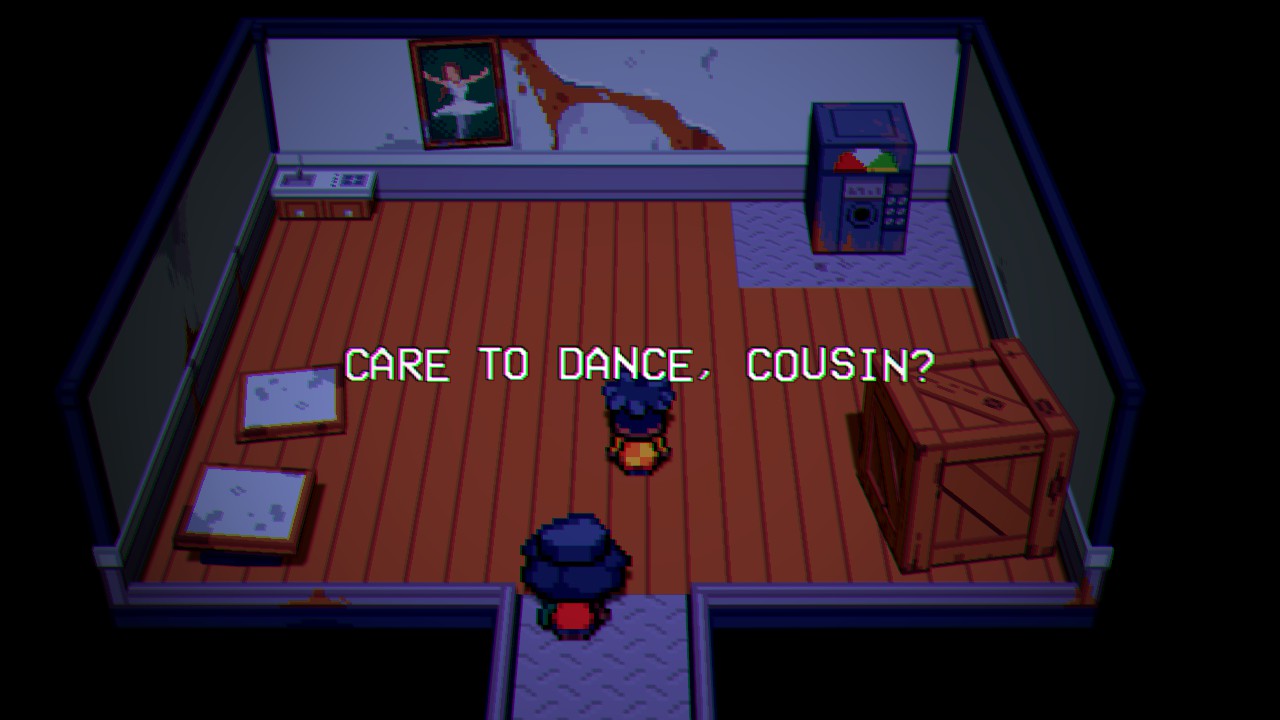
Head west and northwest of the bonfire, searching for more vibrant green grass, until you arrive at Cast Iron Shore. It's a little ways north of a Landkeeper Office. When you approach the water you'll see a vision of Sebastian, who will tell you to bring Viola to him. Return to the bonfire and travel east to find her little campsite. Speak to Viola and she will join you as a partner, bringing her Spirouette form with her.
Cast Iron Shore
Cassette Beasts
- Undyin - Water-type - Common
This eerie, watery area is straightforward. Trek north through the water and you'll see a locked chest on your right, and a bit further north is another. Up north you'll find a blue, magnetic box, and you can place it on a tile near the first chest to retrieve a Boil Sticker and some materials. The second chest requires another blue box, and you can pull it off of some wreckage to the northwest using Electromagnetism. The chest contains a Shrapnel Sticker and more materials.
Keep an eye on your left as you head north and you'll spot a Captive on your left. He needs some help. (Or does he?)
Captive
- Blossomaw - Plant-type - Level 46 (Captive)
- Undyin - Water-type - Level 45
Head all the way north along Cast Iron Shore and you'll find the wreck of a ship. Sebastian... or perhaps not... beckons you inside. Before you enter the ship, though, stand on the bow of the ship and (assuming you have it) use Bulletino Dash. If you aim right at the cabin and keep blasting forward you'll be launched up onto the smoke stack, where you'll find a chest containing a Metal Wall Sticker and some Plastic. There, now you can enter the spooky ship.
The 'Titania' Shipwreck
Cassette Beasts
- Burnace - Fire-type - Uncommon
- Fountess - Water-type - Common
- Mardiusa - Poison-type - Only one
- Traffikrab - Plastic-type - Common
So spooky. There are a number of doorways inside the ship, though the one you want to start is on the left. Check the pipe on your left to receive a Valve Handle. Then head back to the main area and enter either of the northern doors. Inside is a pressure gauge. Install the Valve Handle on the pressure gauge to lower the water in the main room.
Descend one floor. Check the room on your left and you'll find a locked chest. Get rid of any monsters in the room (running is fine) to unlock it, and receive an Insomnia Sticker and two Sleep Cures. Return to the main room, go upstairs, and check the eastern-most room. You'll find a hole in the floor, now drained of water, that you can use to drop into the chamber below. There's another Valve Handle down here, as well as a button to drop the bars separating you from the exit.
Enter the northern room. With the Valve Handle in your inventory a spooky voice will interrupt you, and you'll be forced into battle with a Poison-type Mardiusa. (And yes, you can Record it, if you like.) Get rid of the Mardiusa, then install the Valve Handle on the second pressure gauge. This will, again, lower the water level in the main chamber...
... and at the bottom of the shipwreck, you'll discover Bard Street Station. Platform B opens right up for you, as well. Leave the station and heal up elsewhere, if need be, then head back to Bard Street Station and face the inevitable.
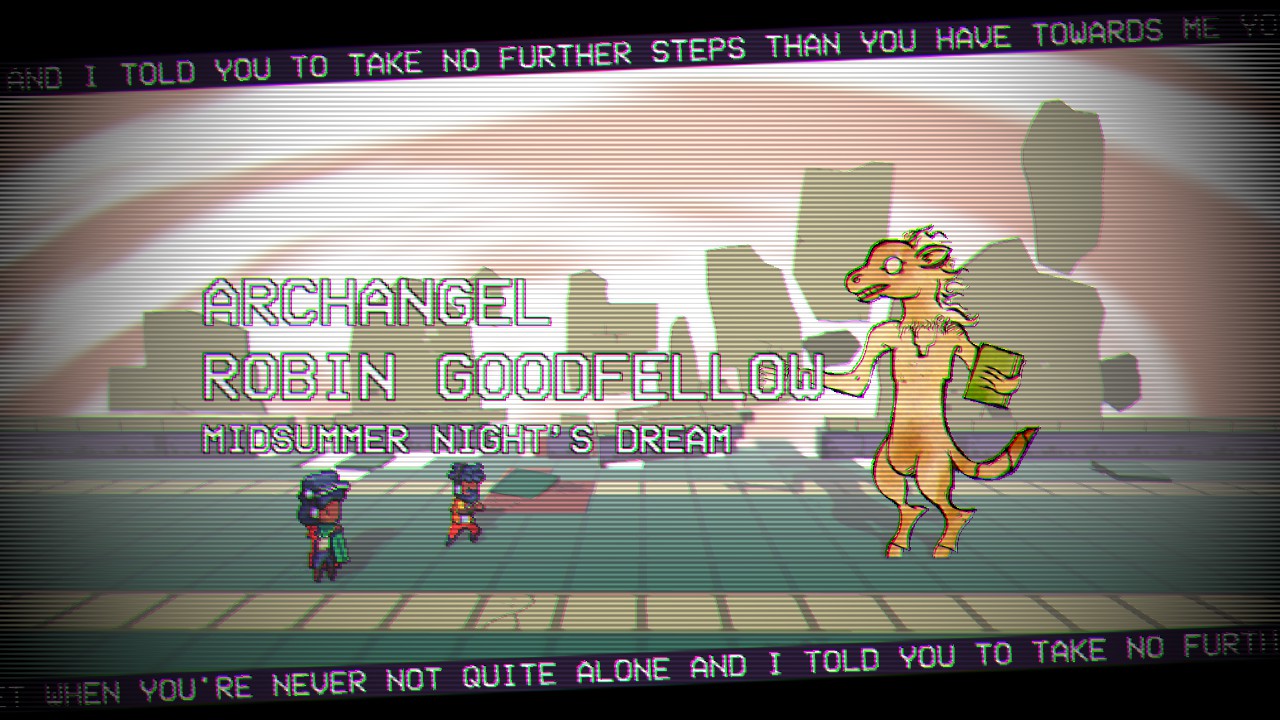
Archangel Robin Goodfellow
Recommended Level: 45+
How very classical. A creature with a taste for the arts, Robin Goodfellow is a trickster to the end. Unlike most other Archangels, which prefer overwhelming power, Robin Goodfellow will wear you down with very annoying moves. Robin Goodfellow uses the following attacks:
- Smack, a melee attack
- Trick, which inflicts a random status ailment / debuff on one target
- Fairy Dust, which puts a single target to Sleep
- Night Mare, which only damages Sleeping characters
- Fairy Horde, a heavy attack against both monsters (full AP only)
Robin Goodfellow spends the entirety of the battle peppering your party with status ailments, most prominently Sleep - though you never know what you're getting when he uses Trick. The result is a team that is constantly off-balance. The only move that predictably hits hard is Fairy Horde, and he only uses it when his AP reaches max.
This fight isn't incredibly difficult, somewhat dependent on your luck, though it is long and irritating. Viola will force a Fusion early on, and it is to your advantage not to maintain it, as having two monsters will generally prevent you from being robbed of all of your moves. Only go into Fusion when Robin Goodfellow is about to use Fairy Horde so your monsters aren't wiped out. Otherwise, use any opening you can to chip away at his health, and use Sleep Cures (at least until you run out) so your party members can keep battling.
You'll receive Fused Material, an Olive-Up!, and a bunch of materials for defeating Robin Goodfellow. You'll also receive a nice bump to your Stamina, and you'll have another song under your belt. Last, once you're back in Harbourtown, Viola will thank you for your help - and your relationship with her will bump up to the first level, allowing Fusions at any time.