

Recommended Level: 45


The final chapter of Throné's story takes place once you've completed both sections of her third chapter. Upon defeating both Mother and Father Throné is sent back to New Delsta, where her tale began, to finish things up. Per usual you can begin the story immediately upon entering New Delsta, or pick it up at the Tavern later. The Tavern is down the first side street when you enter the town, north of the entrance.
In possession of Mother and Father's keys, Throné returns to New Delsta to puzzle out what they unlock. First, though, she needs to see how the Blacksnakes are doing now that they're leaderless. Head west when you're in the Backstreets and you'll find the cemetery where the Blacksnakes bury their dead. There are two Blacksnakes there now... or, make that one... and you need to do some Ambushing. A cut scene will point you to your next destination.
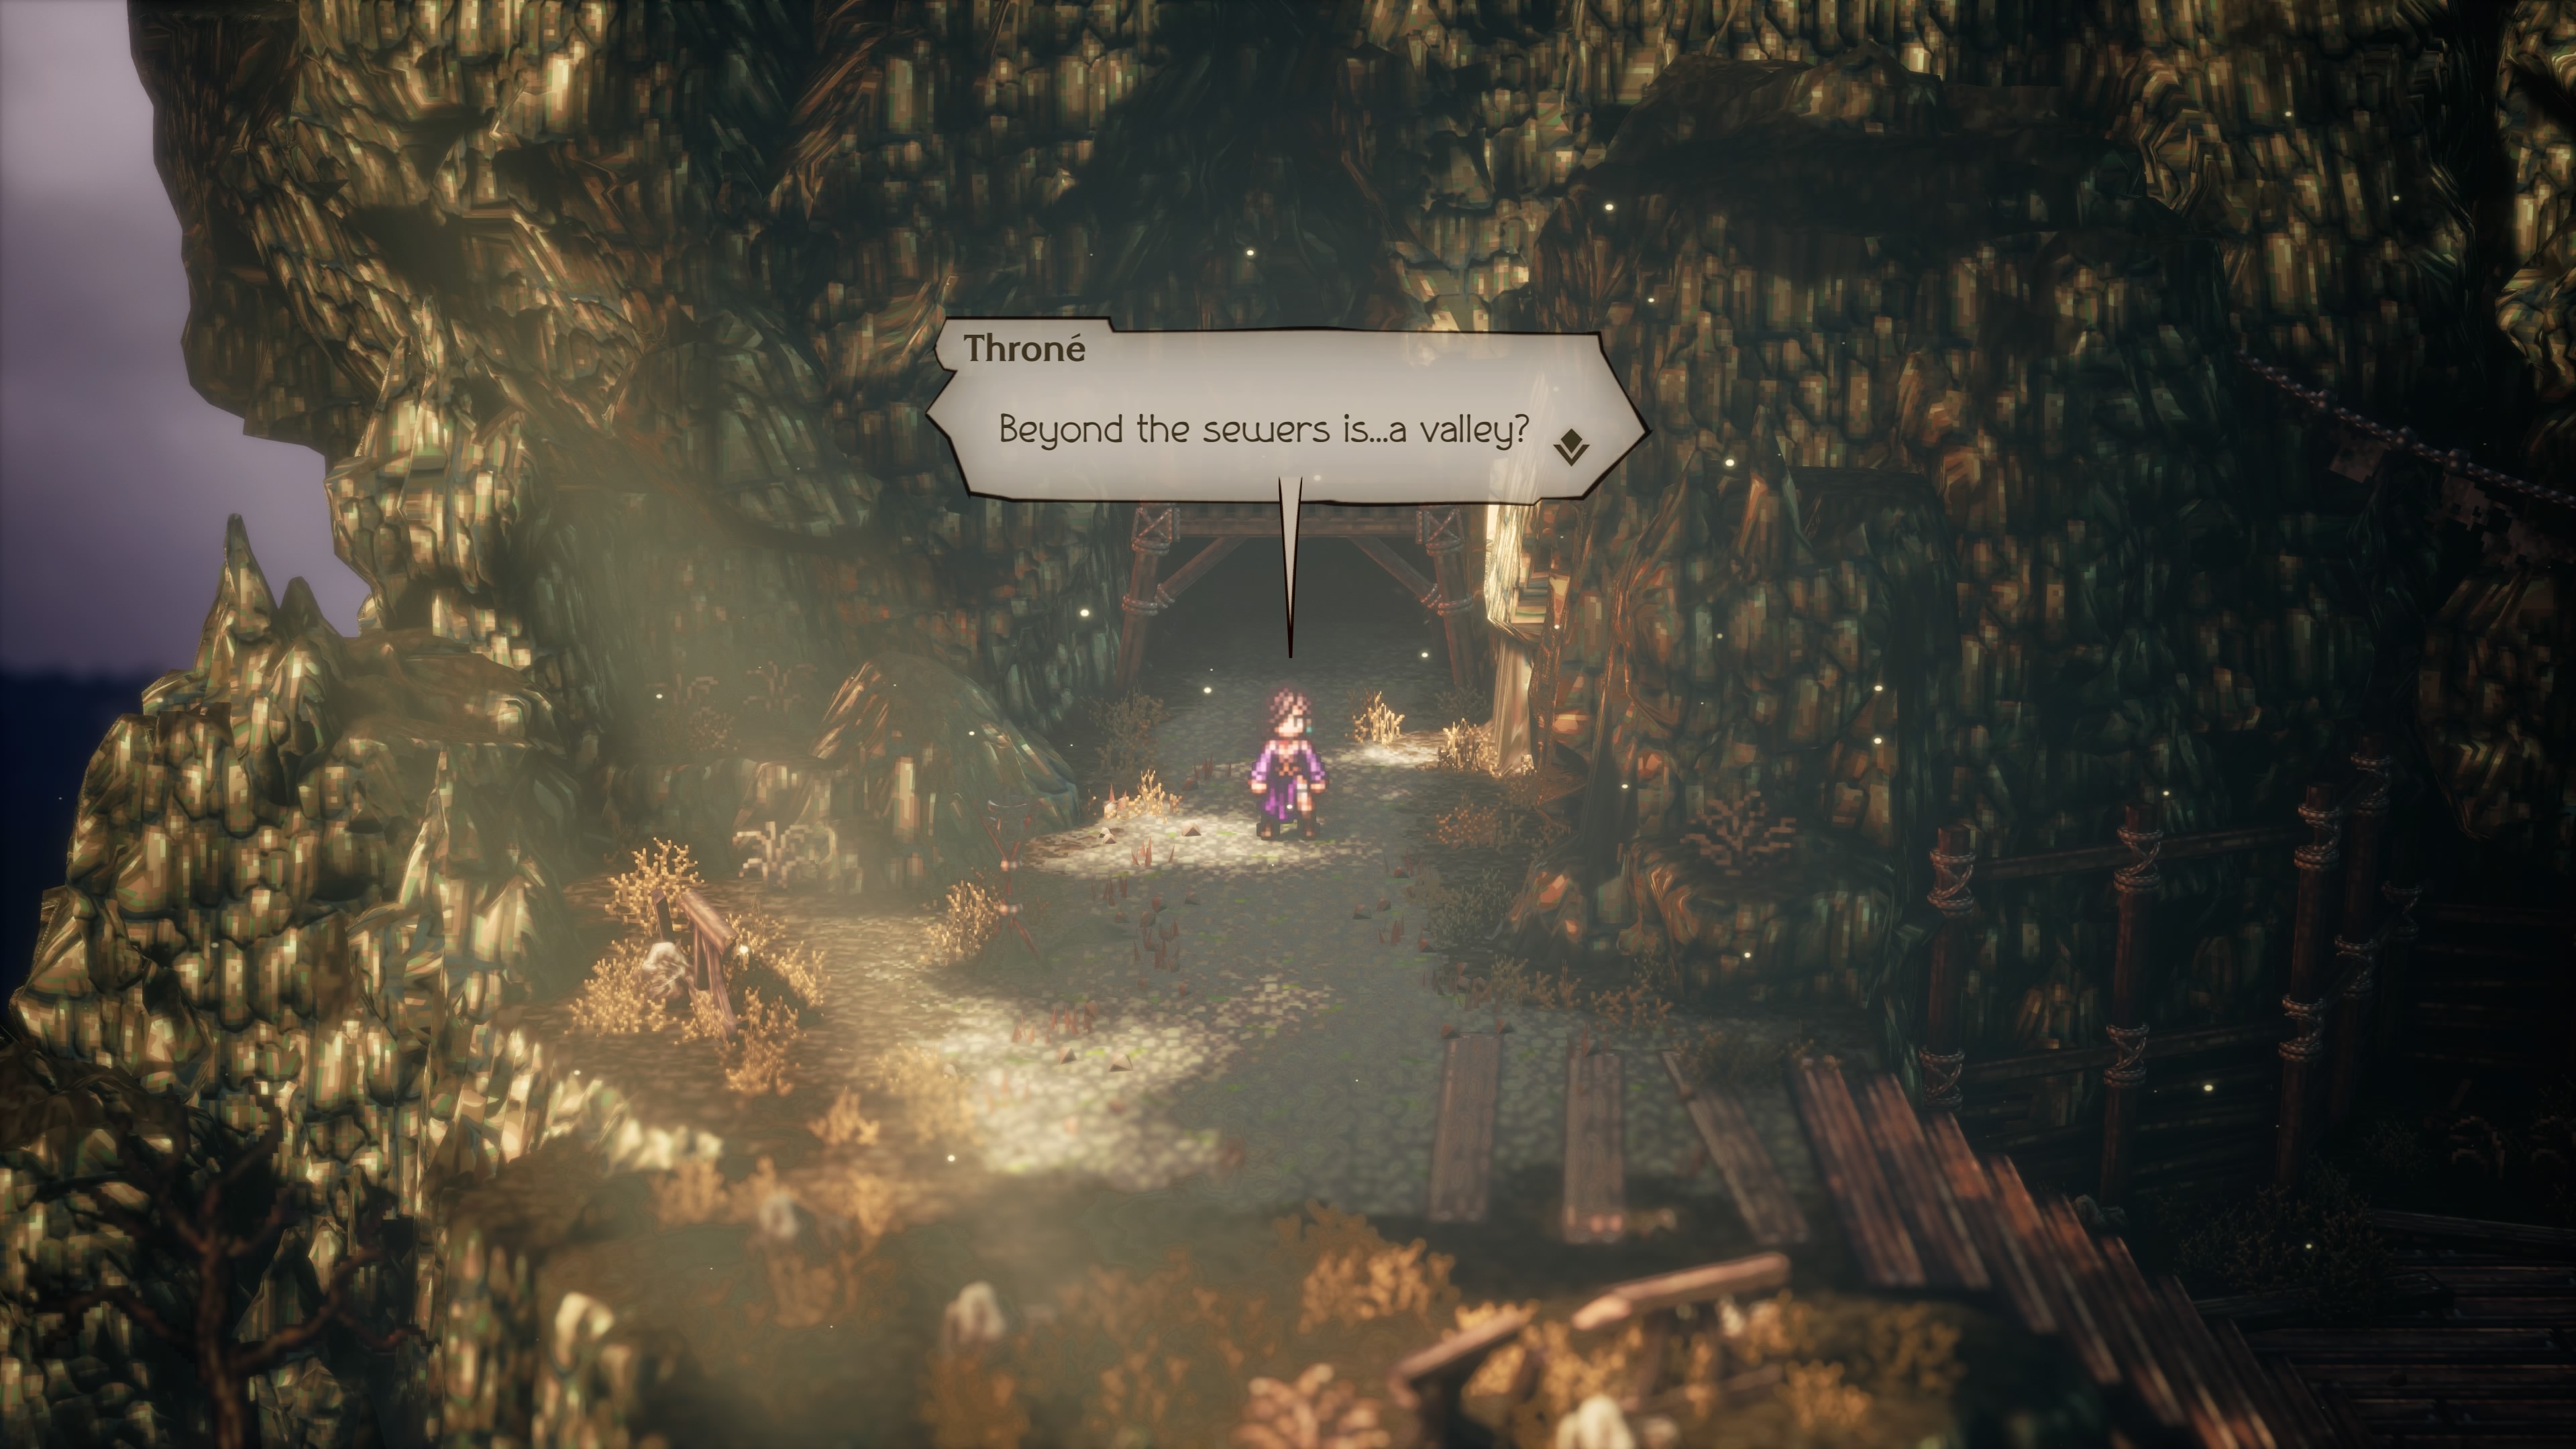
Descend into the Underground Waterway, where Throné's story began. The locked door she keeps talking about is a short walk east of the entrance. Examine it to open the door, revealing the path to your next destination.
Deserted Highroad
Enemies
- Bloody Rhino - Weak to Sword, Axe, Ice - Drop / Steal Healing Grape (M)
- City Ratking I - Weak to Sword, Axe, Fire - Drop / Steal Inspiriting Plum
- City Ratking II - Weak to Sword, Staff, Light - Drop / Steal Grape Leaf
- City Ratking III - Weak to Dagger, Ice, Dark - Drop / Steal Healing Grape Bunch
- Demon Goat - Weak to Sword, Polearm, Wind - Drop / Steal Energizing Pomegranate (M)
- Warrior Wasp - Weak to Sword, Polearm, Axe, Dark - Drop / Steal Warding Leaf
Huh. Unexpected. Head east from the entrance to the Deserted Highroad and you'll find a save point, as well as a ladder. Climb down the ladder and look to your left at the bottom. There's a chest containing Dragon Mail over here.
Follow the path east of the ladder. It will take you south, to a small house. Check to the right of the house for a chest containing a Slumber Sage, then approach the house. The Elderly Man out front will greet Throné, then offer her a free ride on his ropeway gondala. You don't have much choice, so hop aboard.
On the other side of the ropeway you'll be just outside the town of Lostseed. The enemies here are the same as before. There's a chest just south of the ropeway containing an Energizing Pomegranate (M). Climb the stairs to the west of the ropeway and you'll find a chest containing an Olive of Life (L) on the way up. At the top of the stairs you'll properly enter Lostseed.

Lostseed
A town filled with uncommunicative, strange, tragic people, Lostseed is worth looking over while you're in the area. Most of the people are stocked up on terrible items, but there are a few exceptions that are worth noting before you move on with the plot:
- The Ruined Vessel who is standing right near the entrance of Lostseed is holding a Mooneater that Throné, Agnea, and anyone who uses spells will find handy.
- The Hollow Vessel standing in front of the building near the Inn has a Forbidden Elixir on her. She'll also reveal a hidden Dual Flower near the Tavern.
- The Broken Vessel to the west of the Tavern knows about a Dazzling Artwork near the entrance of town, if you learn more about her.
- Climb the tower on the north side of Lostseed and you'll find a chest at the top containing a Reinforcing Jam. The Pure Vessel at the top is carrying a Red Apple and an Herb of Clamor, and he knows of More Plentiful Provisions that will improve the stock of the Provisioner at Lostseed's entrance.
- An Old Vessel in the west carries an Almighty Olive. Learn the information he knows and you'll discover a hidden Ancient Staff near the entrance of Lostseed.
As you make your way west you'll run into an Emaciated Woman who begs for something rather horrible. Further west of her, near the Old Vessel, is the entrance to Lostseed Castle, your final destination in Throné's story.

Lostseed Castle
Enemies
- Animated Armor - Weak to Dagger, Staff, Lightning, Dark - Drop / Steal Empowering Lychee (M)
- Brigand Bones - Weak to Dagger, Axe, Staff, Fire, Light - Drop / Steal Herb of Revival
- Ettin Snake - Weak to Polearm, Axe, Staff, Dark - Drop / Steal Energizing Pomegranate (M)
- Mad Ratking - Weak to Dagger, Lightning, Light, Dark - Drop / Steal Empowering Lychee (M)
- Wind Remnant - Weak to Sword, Polearm, Axe, Lightning - Drop / Steal Wind Soulstone (M)
- Wind Revenant - Weak to Sword, Bow, Staff, Lightning - Drop / Steal Inspiriting Plum Basket
Head west from the entrance. There's a quick side path along the way that will take you to a chest containing an Empowering Lychee (M). Further west the path will split. Head north, towards the ladder. At the base of the ladder you'll find a hidden side path on your left if you poke around. At the end of the path is a chest containing a Sprightly Necklace. If you climb the ladder you'll enter a new area, which is largely inaccessible from here, though you can find a chest containing a Ruinous Dagger to the northwest.
Return to the intersection and continue along the lower, western path. You'll go down a short flight of stairs and find a side room. Inside this room is a chest containing a Shadow Soulstone (L). Continue west and you'll eventually find yourself at the bottom of a huge staircase. Check the right side of the staircase before going up and you'll find a path beneath it. On the other side is a chest containing an Herb Elixir.
Both the ladder and the staircase will take you to the second half of Lostseed Castle, though you need to take the stairs to get anywhere.

Lostseed Castle: Upper Level
Follow the path north and east until you go down a set of stairs. A chest to the north of your position contains an Energizing Pomegranate (L). Continue going down stairs to the south of here and you'll find yourself walking along a ruined path to the west. At the end of the path is a small room, and on your right in the room is a chest containing 27,500 leaves.
Return to the upper paths and go up the stairs on your right. The floors are ruined on this side of the castle, though there are narrow planks that you can use to get around. If you head northeast along these planks you'll find a ladder up to a chest. Inside the chest is a Revitalizing Jam. In the north of the planks you'll find a path leading west.
You'll hit the end of the road before long, and a save point will greet you. Look west of the save point to find a chest containing a Light Soulstone (M). Heal up and save before you head north, as Throné's final trial awaits.

Claude
Shields: 9 (Claude) / 6 (Phantom Snake (Man)) / 5 (Fake Snake (Parent) / 4 (Fake Snake (Child))
Weaknesses:
- Dagger, Axe, Staff, Lightning, Dark (Claude)
- Sword, Light, Dark (Phantom Snake (Man))
- Dagger, Bow, Fire, Lightning (Fake Snake (Parent))
- Sword, Dagger, Dark (Fake Snake (Child))
Drop: Energizing Pomegranate (L)
Steal:
- Energizing Pomegranate (L) (Claude)
- Snakebite (Fake Snake (Child))
- Snakebite (Fake Snake (Child))
Wow. What a horrifying man. Aside from his plethora of melee attacks, which sting, Claude features some unique mechanics that may have you pulling your hair out if you enter the fight unprepared. He's a worthy final boss for Throné's story, and given what he's done you'll be more than happy to punch his face in. Claude uses the following actions in combat:
- Normal melee attacks
- Chained Pride, which seals the Skills of your characters' primary Jobs
- Chains of Love, a melee attack against a single target
- Endurance Trial, which hits your party members three times each
- Nip the Bud, which I think knocks away BP from your characters? Honestly not sure
- Phantom Snake, which summons a previous boss from Throné's story to fight your party in Claude's place
- Chained Wealth, which prevents the use of items
- Chained Willpower, which prevents the use of the Attack command
- A Father's Gift, a charged attack that hits the whole party
Claude begins the battle by using Chained Pride, which immediately locks away the Skills of your characters' primary Jobs. Throné, for example, won't be able to use her Thief Skills, which instantly makes the battle much tougher. You won't get them back until you Break Claude. He then bombards your with melee attacks, and will receive two attacks per round.
Do enough damage to Claude and he'll disappear, bringing in the Phantom Snake (Man) as a replacement. This guy receives three attacks per turn, and uses a variety of familiar melee strikes against one or more targets in your party. Once you defeat him Claude will come back and seal the party's primary Skills again, though otherwise the fight is the same.
Get Claude down to about half of his health and he'll seal away the party's items, then the party's Attack command. He'll also summon in Fake Snake (Parent) and Fake Snake (Child), who will pepper your party with attacks, apply debuffs, and steal SP. When you defeat them you'll achieve the reverse of the norm, as the death of one of them will lock away two of Claude's weaknesses. Once they're both gone Claude will begin using A Father's Gift, a charged attack, though otherwise his attack sequence remains unchanged.
This fight is long, but less difficult than it might seem at first - so long as you brought in characters who can heal without items, as well as exploit Dagger weaknesses. Claude hits quite hard during the first phase of the battle, and the fact that he locks away your primary Job Skills stinks. Everyone must have a Secondary Job equipped or you're in trouble. Do everything you can in the first few rounds to Break Claude, which unlocks everyone's full Skill lists. Buffing defenses and debuffing Claude's attack power with Shackle Foe will make this section more survivable. The same goes for Phantom Snake (Man), Claude's first summon.
The second half of the battle is a bit easier than the first, though only after you manage to Break Claude. Save some BP while battling Phantom Snake (Man) and use it to quickly chew up Claude's shields, again freeing your characters. After that you can either focus on defeating the two Fake Snakes, Breaking Claude whenever he locks away commands, or try to ignore them and focus everything you've got on Claude. The Fake Snakes are not that strong, and while they're around Claude will occasionally waste his turns. Once Claude is gone you can demolish the Fake Snakes.

Steal the Key to Freedom from Claude after the battle is over. The finale of Throné's story will roll, and once it is done she'll receive the Disguise EX Skill. If Throné was your starting character you can now remove her from your party at a Tavern, just like any other party member. Story complete!