

Recommended Level: 14
The second chapter of Temenos's story takes place in the port city of Canalbrine. It's the same city where you can start as - or at least recruit - Castti, so if you're coming here from the eastern continent you can kill two birds with one stone.
The quickest path here from Flamechurch, Temenos's starting point, is via the New Delsta Harbor: Anchorage, which you can reach by heading north or south from Flamechurch, then east, then back south once you hit the coast. Hop on a boat and it will take you straight to the dock in Canalbrine. (Where, coincidentally, you can recruit Castti.) If Temenos is in the party upon entering Canalbrine you can immediately begin the quest, or opt to wait and trigger it in Canalbrine's tavern, north of the dock. Choose 'Hear a Tale' to begin the capter.
Still on the trail of the pontiff's killer, Temenos has come to Canalbrine to search out a theologian named Lucian. He believes Lucian may have the answer to this violent riddle. Things aren't going well, however, as the chapter begins with the murder of an Apothecary by a cloaked figure. They appear to worship the evil god Temenos spoke about in the first chapter.

As Temenos mulls over his case someone will yell. Head to the church in the northeast of Canalbrine and Temenos will find a crowd of people outside, and they're clamouring to get a look at the crime scene. The Sacred Guard are already on the scene, however, and they're not letting anyone near the church. Speak to the two NPCs with green text boxes over their heads to get an idea of what happened.
Temenos will be accosted by a pair of gaurds, only to be saved by none other than Crick, who was posted in Canalbrine. The pair will ruminate over the case for a bit - as well as hear about some sort of performance, happening that night - then decide to look at Lucian's home for clues. The house is found by itself on the west side of Canalbrine, accessible only by canoe.

Temenos will goad Crick into breaking the door open, and inside they find Lucian... or, ah, what's left of him. Temenos will concoct of his version of a Mind Palace again, and discover Lucian's Notebook, a Prayer Handbook, and a Prayer Order sitting nearby. Follow the clues around the home until Temenos hits upon a revelation, and decides that the killer's next target is at the local tavern.
Rush over to the tavern and head upstairs. The dancer, Hermes, is busy performing, and three suspicious men in cloaks are watching from the audience. Switch to nighFire Sentinel - Weak to t, if you haven't already, and Coerce the man closest to the stage. The Culprit's True Identity will be revealed - look familiar? - and the man will vanish into the night before he can complete his dark work.
Temenos spots the fiend escaping to a nearby boat. Enter the church and go through its eastern exit. (Assuming you couldn't get in here before, check the small office on the right side of the church for Slumber Sage before you leave.) Your next 'dungeon' awaits.
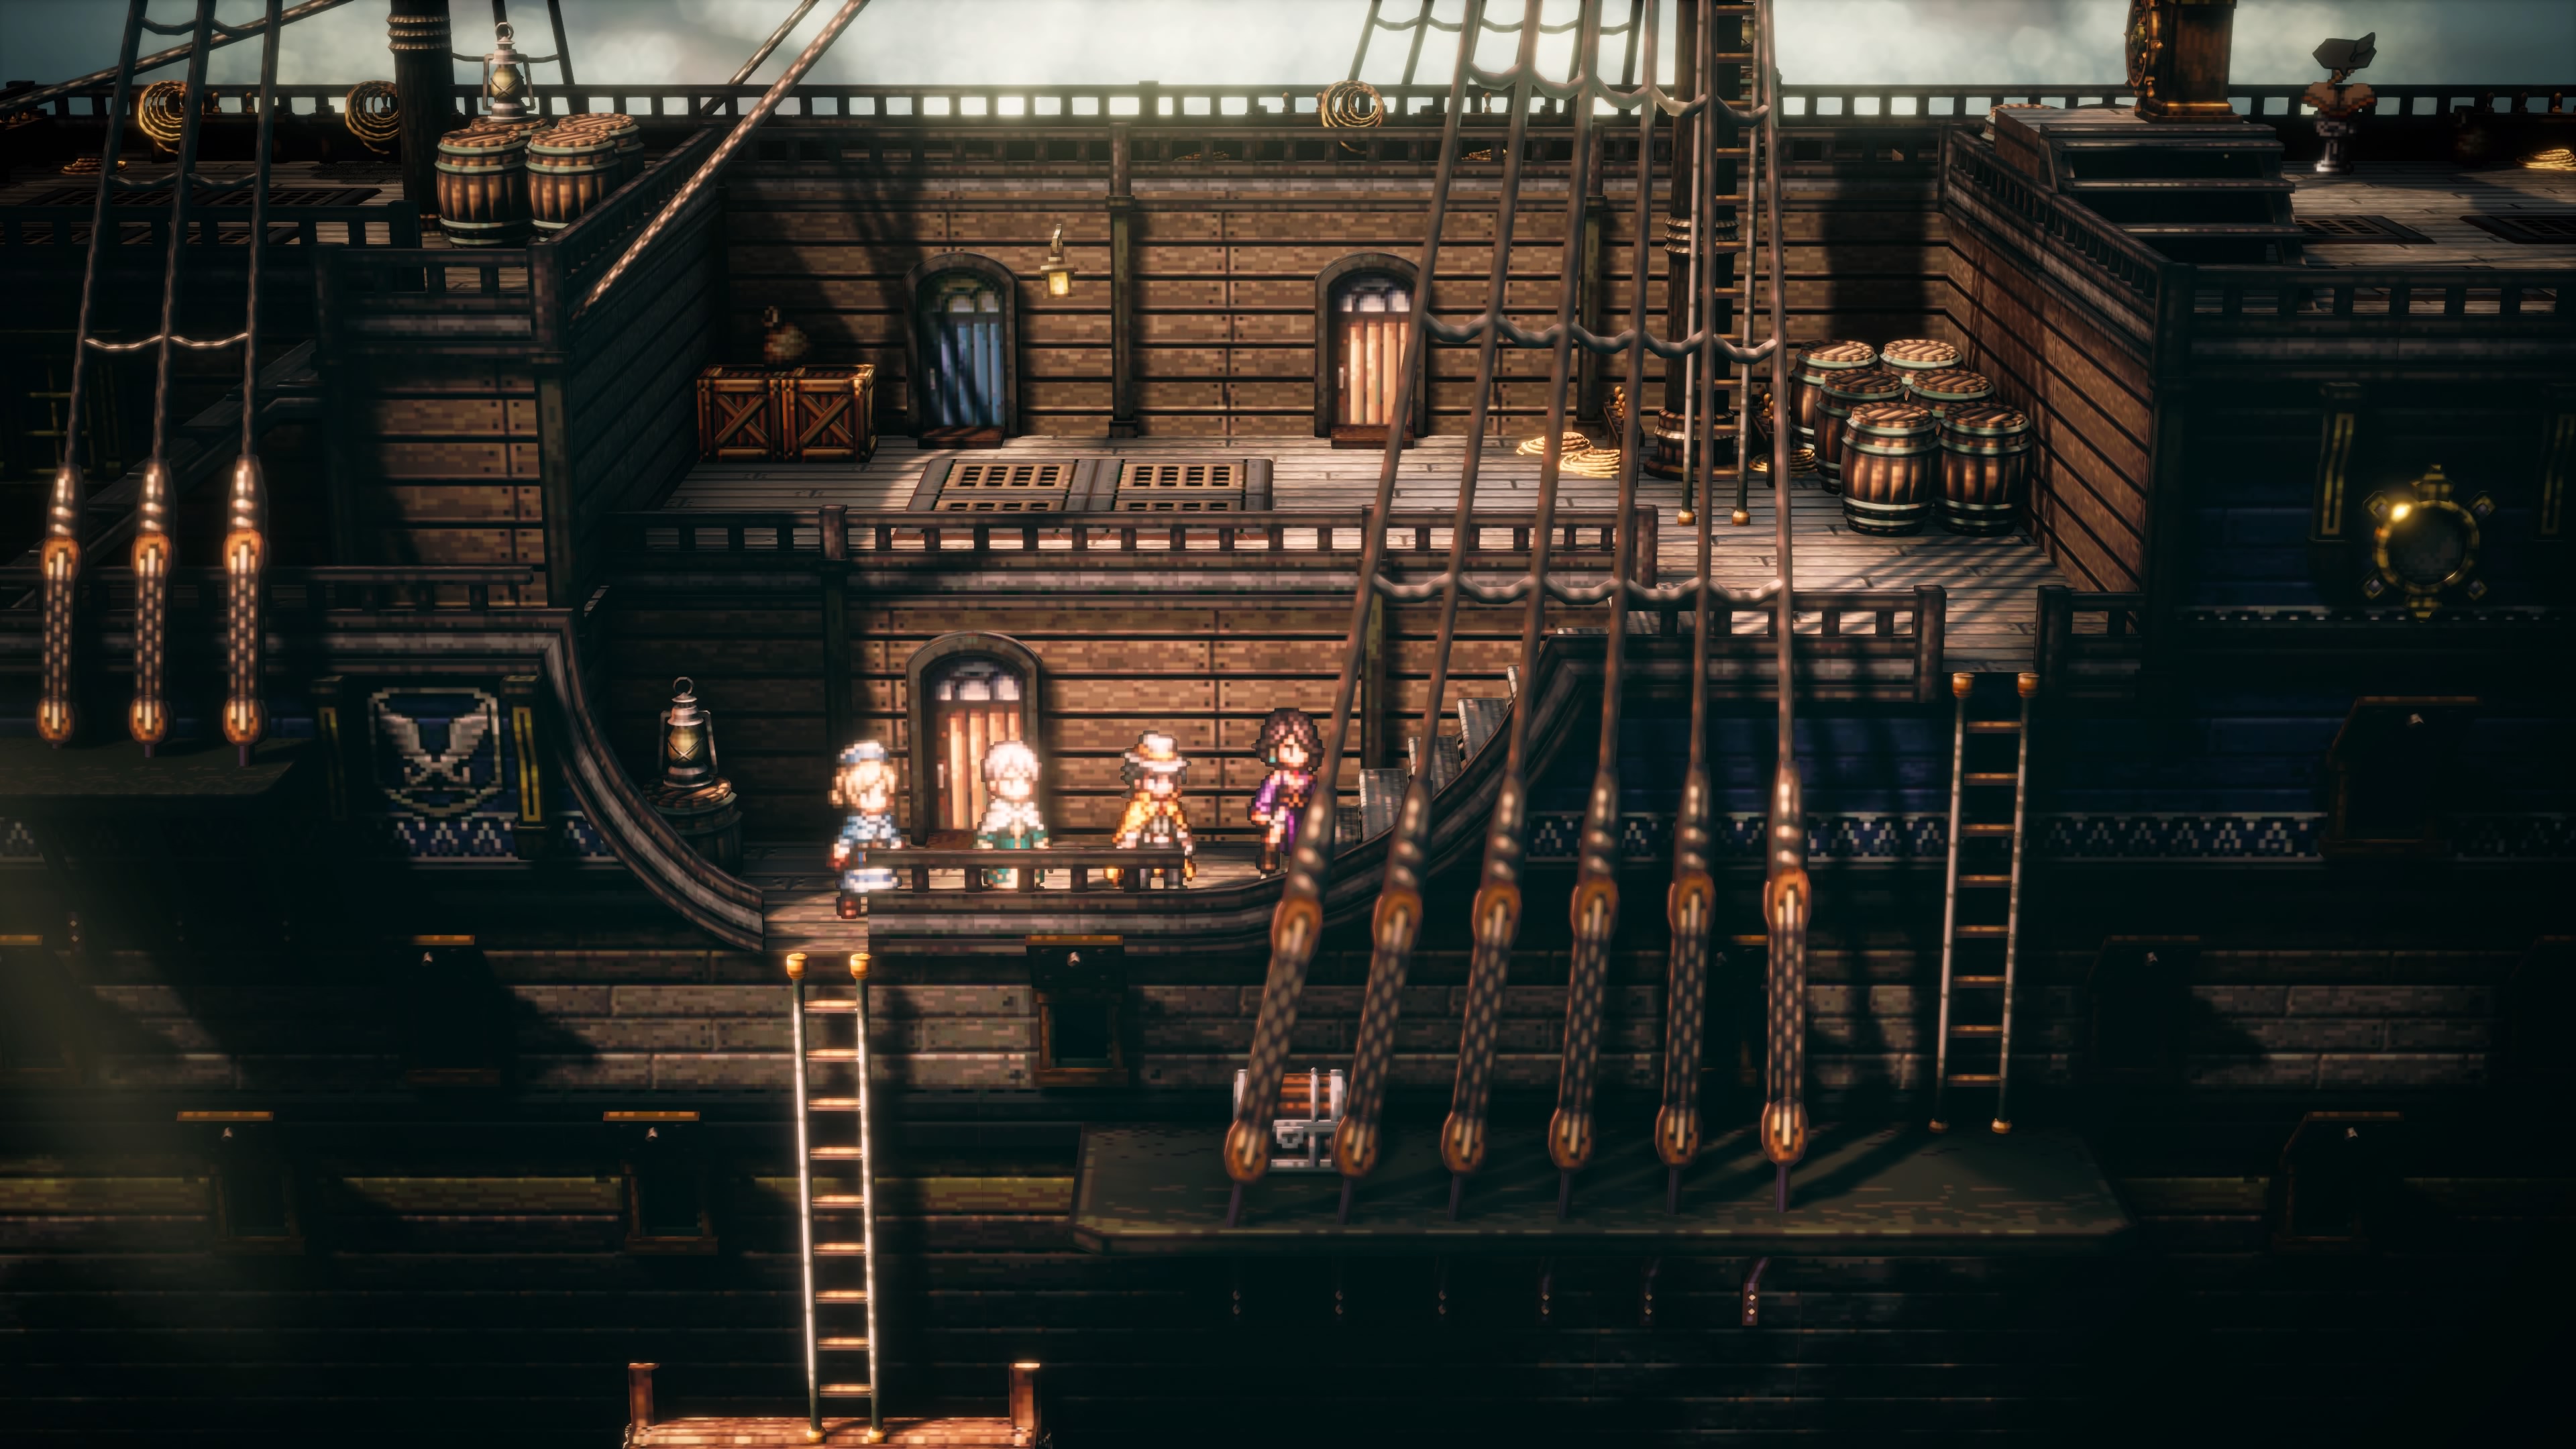
Sacred Guard Ship
Enemies
- Dark Guardian - Weak to Sword, Spear, Dagger, Light - Drop / Steal Shadow Soulstone
- Fire Sentinel - Weak to Spear, Dagger, Axe, Staff, Ice - Drop / Steal Fire Soulstone
- Fire Wisp - Weak to Ice, Lightning, Wind, Dark - Drop / Steal Fire Soulstone
- Flame Guardian - Weak to Sword, Spear, Dagger, Ice - Drop / Steal Fire Soulstone
- Sailfish - Weak to Spear, Dagger, Ice, Light - Drop / Steal Warding Leaf
- Wind Curator - Weak to Spear, Dagger, Staff, Lightning - Drop / Steal Wind Soulstone
- Wind Wisp - Weak to Lightning, Light - Drop / Steal Wind Soulstone
Yes, the ship itself is the dungeon. You'll start out in a small area with three doors and two ladders to choose from. Start with the ladders. If you climb the ship's mast you'll find a chest containing 5,600 leaves at the top. Climb down the side of the ship and you'll find a chest containing an Inspiriting Plum (M).
Now for the doors. The bottom door, closest to the entry ladder, leads to a chest containing a Mace. The door on the right on the upper deck leads to a kitchen, while the door on the left leads into a dining hall and barracks of sorts. Check between the bunk beds in the northwest corner of this room to find a chest containing a Dark Amulet. There's an exit in the southwest of the room.
You're now at the rear of the ship. Pop open the chest at the very back to receive an Empowering Lychee (M), then head east, onto the main deck. There's a save point ahead, and beyond that...

Vados the Architect
Weaknesses:
- Spear, Dagger, Ice, Light (Vados the Architect)
- Axe, Staff, Lightning, Light (Black Wisp, Black Elemental)
- Sword, Bow, Ice, Lightning (Red Wisp, Red Elemental)
Steal: Energizing Pomegranate (L)
Ever wonder why that guy in the first chapter had a unique sprite? This is why. Apparently the servant of a dark god, Vados won't go down without a fight, and he has plenty of backup thanks to his elemental magic. You can expect the following attacks in this battle:
- I Summon Thee, Elementals!, which summons Black Wisps and Red Wisps to fight for Vados
- Fear My Elemental, which sacrifices one of Vados's Wisps to inflict heavy damage on one character
- Taint with Darkness, a Dark attack on one character
- Darkness Wave, a Dark attack on your whole party
- Fire of Condemnation, a Fire attack on your whole party
- Elemental Invigoration, which buffs the spell strength of Vados and his Wisps
- For my Lord, a charging attack which summons a Black Elemental and a Red Elemental if Vados isn't broken before it goes off
This fight doesn't change a whole lot as it goes along, but it does become more intense. Vados starts out by summoning one Black Wisp and one Red Wisp, and they will pepper your party with attacks. Once Vados gets tird of one or the other he'll use Fear My Elemental to launch it at one of your characters, potentially knocking them out. Break Vados and he'll summon three Wisps next time. When he's not summoning Wisps Vados is either buffing their attacks or using his own elemental spells on your party.
Break Vados enough times and he'll give up on Wisps, instead charging himself up for an attack called For my Lord. He'll also block off his weakness to Spears and Light, forcing you to use Daggers and Ice if you want to break him in time. If For my Lord goes off Vados will summon a pair of Elementals, which are larger and more dangerous than the Wisps. You absolutely want to stop this from happening, as AOE attacks from all three enemies at once can wipe out your party very quickly.
Temenos would be very hard pressed to handle this on his own, so bring in anybody with Daggers or Spears, namely Throné, Agnea, Hikari, and / or Partitio. All of them can target Vados's weaknesses. Having a Scholar along to bombard the enemy team with targeted spells or Elemental Barrage can also prove quite effective. For his part Temenos should spend most of the battle healing the rest of the party, though if anyone is susceptible to spells he can also use Prayer to the Flame to reduce any elemental damage. (There's a lot of that going around in this fight.) Save your BP for the final phase of the fight, where possible, so you can quickly break Vados and prevent him from summoning Elementals. Do that and the rest of the fight should be easy enough.

After the battle Vados will be arrested by Captain Kaldena, head of the Sacred Guard. She appoints Crick to escort Vados back to the order's headquarters, where he can be interrogated by Temenos. The cleric has somewhere else he wants to go, as well, so now he has a choice for the next chapter: Go to Crackridge, north of Canalbrine, or go to Stormhail, in the north of the western continent. Decisions, decisions. Either way, chapter complete!