

Get your own copy of Breath of Fire III on Amazon! As an Amazon Associate I earn from qualifying purchases, at no extra cost to you.
A fixture of the Breath of Fire series that began in the third instalment, the Faerie Village is the most expansive and time-consuming side quest in the game, aside perhaps from fishing. Undertake this project and you'll get to, effectively, grow your own little village from the bottom up, and unlock a series of useful services in the process. The Faerie Village requires fairly little effort on your part, and is absolutely worth the time.
(Thanks again to slivers7's Secrets FAQ. It helped me with a few lists.)
Unlocking the Faerie Village
Shortly after your arrival in Rhapala the party will need to fix a nearby lighthouse, and in doing so they'll run afoul of a smarmy, angry faerie named Cadis. Cadis will demand Ryu and friends deal with a monster, and will give them the Faerie Tiara needed to travel back and forth between the normal world and the realm of the faeries. Use the flower rings on the world map to teleport to the faerie's home and you can fight and defeat the creature.
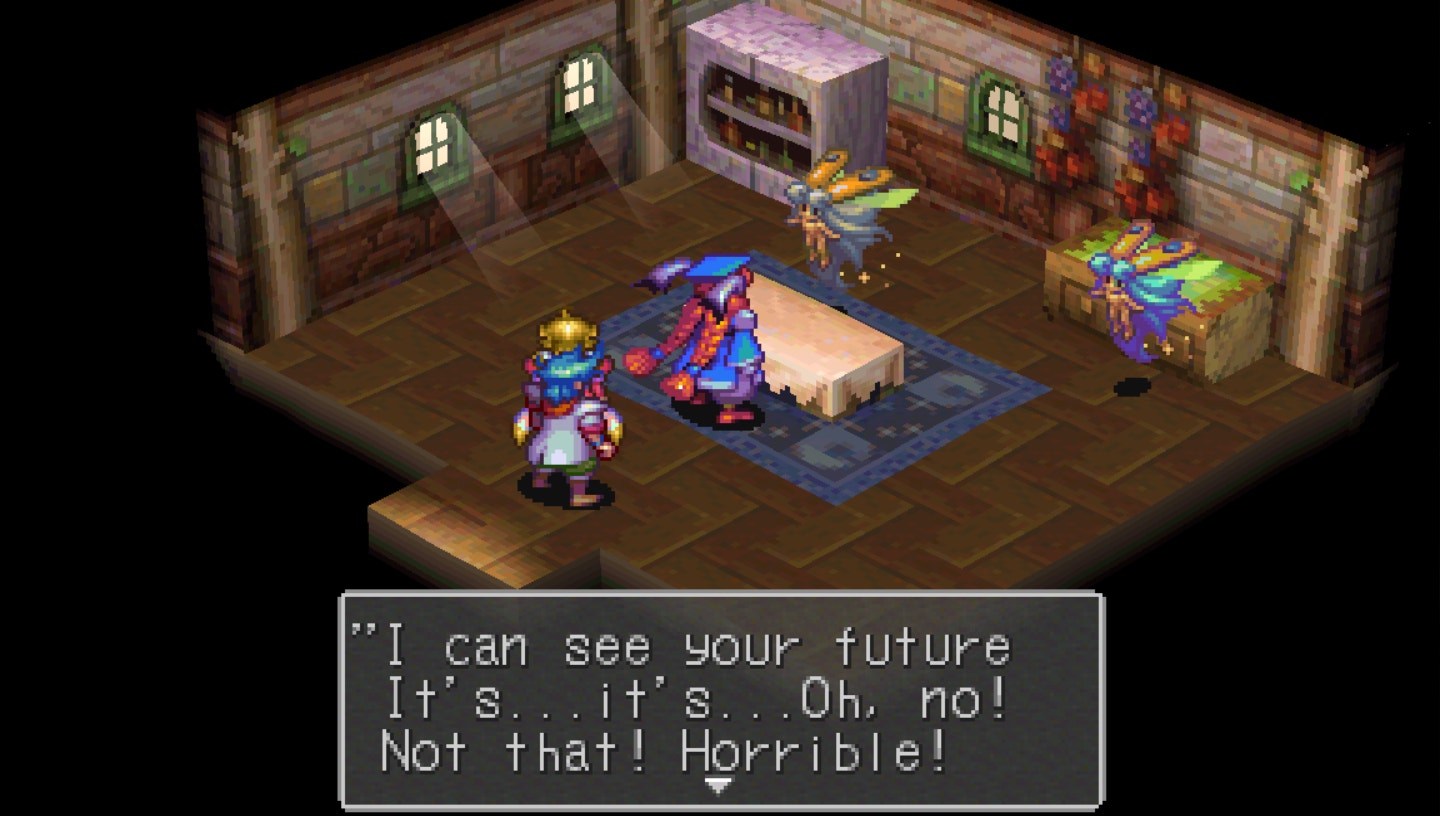
When you return to the Faerie Village later in the game, once Ryu has grown up, Cadis will demand he work with the faeries to make the place thrive. At this point you gain control of the village, and can begin building it up. Speak to Cadis, near the original tiny cottage in this area, to issue commands to the faeries.

Faerie Stats
When you speak to Cadis you'll be taken to the Faerie Village menu. The faeries are represented as little people on the menu, and you can move them around to perform different tasks. Each faerie has four bars which determine how good a faerie is at a particular activity. The bars are as follows:
- Red (top bar) - Measure of faerie's physical aptitude, and determines how good the faerie will be at hunting and exploring
- Green (second bar from top) - Measure of faerie's aptitude at manual labor, and determines how quickly they will clear land and build a larger settlement
- Dark Blue (third bar from top) - Measure of faerie's business skills, and determines how quickly the faerie will acquire new items for sale when employed as a merchant
- Light Blue (bottom bar) - Measure of faerie's mental aptitude, and determines how quickly the faerie will perform research tasks

Faerie Village Basics
When you first start out you'll have a small handful of faeries that you can boss around, and limited options. As you grow the village your options will expand, but at first you have one home and four activities for your faeries. They are as follows:
- Hunt. Your faeries need to eat for the village to grow, so you need to put Hunters on the job. The food they collect is displayed in the top-left of the menu, and maxes out at 99. If the food count reaches zero your faeries will start to die off, so always make sure that you have at least a few faeries Hunting. (I usually start out with two faeries Hunting, then as the population swells I have about a third of them out Hunting.) A faerie's aptitude at Hunting is determined by the red bar in their stats.
- Clear. In order for your faeries to construct more rooms for their village they need to Clear more land. The more faeries you set to this task, the faster the Clearing goes - though at first this job should fall to one faerie, at most. Clearing is pointless once the faeries have constructed all eight available rooms. A faerie's aptitude at Clearing is determined by the green bar in their stats.
- Build. Once your faeries have cleared enough land you can set them to constructing new rooms. The little mansion they Build can have a maximum of seven rooms, for eight rooms in total. Once all eight rooms are built Building is, like Clearing, rendered pointless. A faerie's aptitude at Building is determined by the green bar in their stats.
- Develop. You can assign faeries to Scholar jobs, which will allow them to build the village's Culture and think up new jobs. More on Develop below. You should start off with one faerie Developing Culture early, and another can work on Jobs once you have a second room.
And that, really, is... it. Maintaining the Faerie Village is very easy, and once the faeries start constructing new rooms and discovering new Jobs the real fun begins. Before we get to that, though, we need to discuss the passage of time.

Time
Time, insofar as the faeries are concerned, does not pass while you're in the Faerie Village. Everything pauses when you enter the realm of the faeries, and it starts up again for the faeries once you leave. This means that changes only occur in the Faerie Village when you're exploring the rest of the game.
Events in the Faerie Village are determined by the number of battles your team fights in the normal world. Each time you get into a fight the Faerie Village keeps track of this, moving Hunting, Clearing, Building, Developing, item acquisition, and other factors forward a tiny bit. How much progress the faeries make depends on the skill levels of the faeries involved, how many are helping out, and the Culture level of the village.
That said, new faeries are always born every ten battles. If you want to make the most of the Faerie Village early on, find a location with lots of weak enemies (the Yraall Region works nicely for this purpose) and just slaughter monsters until you've maxed out your population. Remember to check in often if you do this, and reassign faeries to Hunting so the village doesn't starve.
Regardless of what happens when time passes, you can get a rough idea of what has happened since your last visit by checking the bulletin board near the entrance of the village.

Jobs
- Culture. The village's Culture level is indicated at the top of the Faerie Village menu, and can rise to a maximum of seven. The higher this number, the more quickly faeries complete their tasks. (Culture also seems to have an effect on the upper limits of which items Merchants put in their shops, as well as when Jobs unlock, though I'm not 100% positive on the correlation. Other guides don't seem to mention this fact.)
- Jobs. Have a faerie research Jobs and they will unlock new roles for your faeries over time.

- A Weapons shop, which sells primarily weapons and armor
- An Items shop, which sells primarily items
- A Handyman shop, which sells a mixture of equipment and items


- 1 battle - Healing Herb
- 2 - 3 battles - Antidote
- 4 - 6 battles - Vitamin
- 7 battles - Fish-head
- 8 - 10 battles - Vitamin
- 11 - 15 battles - Panacea
- 16 - 20 battles - MultiVitamin
- 21 - 25 battles - Firecracker
- 26 - 30 battles - Icicle
- 31 - 40 battles - Life Shard
- 41 - 50 battles - Magic Shard
- 51 - 60 battles - Power Food
- 61 - 70 battles - Protein
- 71 - 76 battles - Swallow Eye
- 77 battles - Coupons
- 78 - 80 battles - Swallow Eye
- 81 - 90 battles - Fish-head
- 91 - 200 battles - Wisdom Fruit
- 201 - 499 battles - Shaman's Ring
- 500+ battles - Spirit Ring

- AP Shells
- Artemis' Cap
- Beads
- Breastplate
- Clay Vase
- Demonsbane
- Dirty Rags
- Dragon Tear
- Fish-head
- Flame Shield
- Force Armor
- Ghostbuster
- Hawk's Ring
- Hidden Dagger
- Ice Shield
- Ivory Charm
- Ladon Icon
- Lacquer Helm
- Life Shard
- Lithograph
- Magic Shard
- Magma Armor
- Marbles
- Mind Shield
- Mithril Helm
- Moldy Vase
- Moon Tears
- Moxa
- Myria Icon
- Old Painting
- Power Food
- Protein
- Rare Book
- Ring of Fire
- Spirit Ring
- Swallow Eye
- Tea Cup
- Wisdom Fruit
- Wisdom Seed


- One Guess - Cupid's Lyre, GooKingSword (only from the second faerie, once you've beaten the game), Shaman's Ring, Spirit Ring
- Two Guesses - Divine Helm, Lifestealer, Moon Tears, ShotgunShell, Speed Boots, Wisdom Fruit
- Three Guesses - Ascension, Light Bandle, Wisdom Fruit
- Four Guesses - Soul Gem, Vitamins, Wisdom Fruit
- Five Guesses - MultiVitamin, Panacea, Vitamins
- Six Guesses - Healing Herb, Vitamin
- Seven Guesses - Green Apple, Rice Ball
- Eight Guesses - Croc Tear, Rice Ball

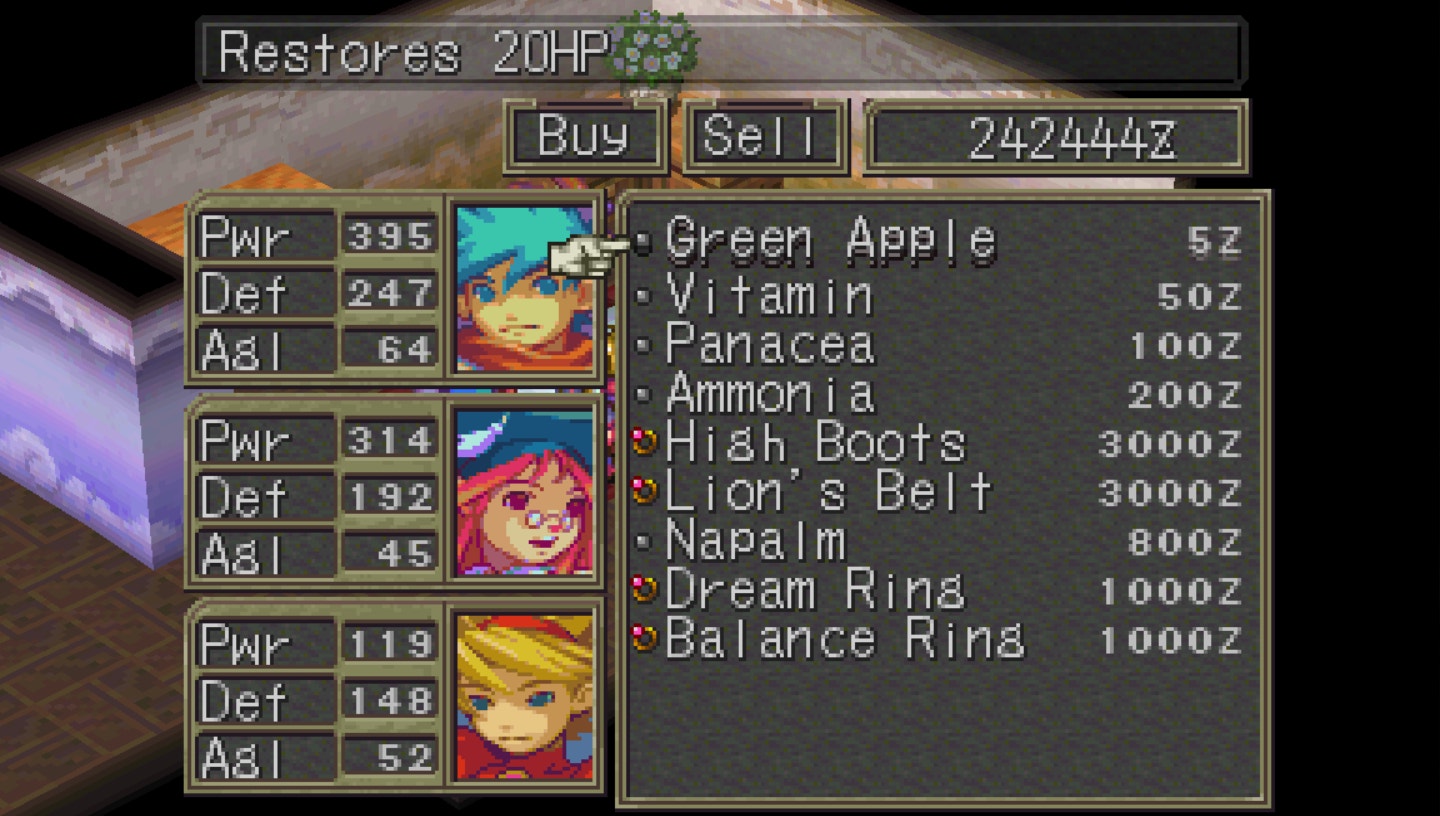
Merchant Stock Lists
- Pointed Stick
- Waistcloth
- Bronze Sword
- Buckler
- Wind Cutter
- Crepe Cape
- Flame Talons
- Laurel
- Royal Dagger
- Spiked Gauntlets
- Ice Halberd
- Pointed Stick
- Waitscloth
- Bronze Sword
- Crepe Cape
- Flame Talons
- Amber Breastplate
- Piercing Pike
- Katzbalger
- Protectors
- Tiger's Cap
- Ouroboros
- Green Apple
- Vitamin
- Panacea
- MultiVitamin
- Ammonia
- Talisman
- Life Sandals
- High Boots
- Titan Belt
- Dream Ring
- Balance Ring
- Green Apple
- Vitamin
- Panacea
- Ammonia
- High Boots
- Lion's Belt
- Napalm
- Dream Ring
- Balance Ring
- Barrier Ring
- Diamond Ring
- Berries
- Beef Jerky
- Clothing
- Flame Chrysm
- Napalm
- Bell Collar
- Angling Rod
- Belladonna
- Royal Dagger
- Holy Mantle
- Soul Gem
- Berries
- Beef Jerky
- Taser
- Tiger Claws
- Angling Rod
- Lion's Belt
- Bell Collar
- Soul Gem
- Holy Mantle
- Molotov
- Hidden Dagger