Route 10: Menhir Trail Pokémon
- Eevee - Rare (Tall Grass) / Uncommon (Flowers)
- Electrike - Rare (Tall Grass) / Uncommon (Flowers) - Pokémon Y only
- Electrike (Horde) - Rare - Pokémon Y only
- Emolga - Rare, Tall Grass / Flowers
- Golett - Uncommon (Tall Grass) / Rare (Flowers)
- Hawlucha - Uncommon (Tall Grass) / Rare (Flowers)
- Houndour - Rare (Tall Grass) / Uncommon (Flowers) - Pokémon X only
- Houndour (Horde) - Rare - Pokémon X only
- Nosepass (Horde) - Common
- Sigilyph - Uncommon (Tall Grass) / Rare (Flowers)
- Snubbull - Rare (Tall Grass) / Common (Flowers)
- Yanma (Horde) - Uncommon
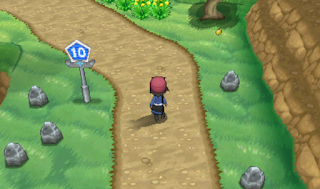
Two Badges down. Time to go for number three. Head north out of Cyllage City and you'll find your next destination, Route 10, across a bridge. You'll know you're on the right track if you start seeing shaped stones (menhirs) along the path. On the right side of this northbound trail you'll find a tree that drops Iapapa Berries.
Keep going north, through the flowers and off of the main path. There's a boulder to move with Strength ahead, and beyond that is a small maze keeping you from another boulder that must be moved to the right. Push this second boulder down twice, right three times, up twice, right three times, up once, and then right to the hole. Beyond is TM73 Thunder Wave.
Return to the maze of menhirs. Check the two menhirs in the bottom-left corner of the flower field for a Revive. That done, head back to the main path. You'll run into your first trainer as you veer west, and another is pacing further down the trail.
Psychic Robert
Tourist Fumiko
- Solosis, level 22
Tourist Fumiko
- Skiploom, level 19
- Azumarrill, level 19
- Dunsparce, level 19
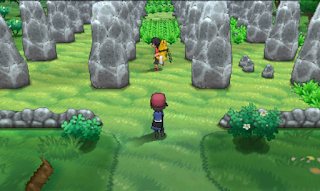
North of Fumiko is a huge field filled with menhirs. Check the bottom-right corner of the area for a Mind Plate, then trek to the small barrier wall partway through the field. West of here you'll find an X Accuracy, in the top-left corner of the first area. Run to the right side of this same field, before crossing the barrier, and face down one square. Search to find a hidden Paralyze Heal.
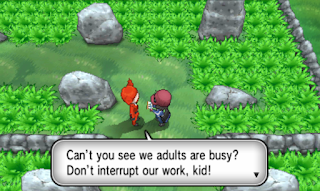
As you try to enter the second portion of the field a Team Flare Grunt will stop you. Revenge!
Team Flare Grunt
- Houndour, level 21
- Golbat, level 23
Take a right once you enter the second section of the menhir field. There's a small gap in the grass next to the corner of the surrounding wall. You'll find a Burn Heal hidden here. Further north in the second field you'll see a trainer running around to your left. North of his patrol route is a Thunder Stone, tucked against the next separating wall.
Psychic Sayid
- Meditite, level 19
- Kirlia, level 21
Make your way northeast. Another Grunt will stop you as you try to pass into the final section of the menhir field.
Team Flare Grunt
- Electrike, level 23
- Croagunk, level 21
Follow the cleared path to the west and, yep, another Grunt. North through the grass from this Grunt you'll hit a normal trainer.
Team Flare Grunt
Tourist Tomoko
Continue north from Tomoko. You'll soon reach the end of the menhir fields and arrive at Geosenge Town, the next waypoint on your journey.
- Gulpin, level 24
Tourist Tomoko
- Drifloon, level 19
- Pachirisu, level 19
- Hippopotas, level 19
Continue north from Tomoko. You'll soon reach the end of the menhir fields and arrive at Geosenge Town, the next waypoint on your journey.


