Part 10: Route 8 and Ambrette Town
Route 9 Pokémon
- Helioptile - Uncommon, Rough Ground
- Hippopotas - Common, Rough Ground
- Sandile - Common, Rough Ground
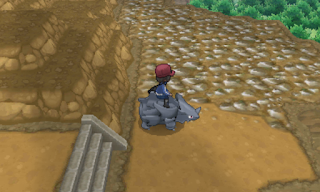
Route 9 is a bit of a unique experience in that you don't walk it yourself. Hinted at way back in Vaniville Town, you need to hop onto a Rhyhorn at the entrance of Route 9 and trek across a landscape of small, sharpened rocks. These rocks function similarly to tall grass, so you'll be running into Pokémon the whole way.
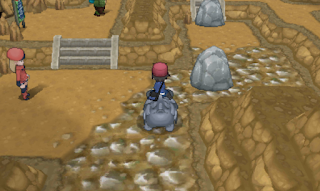
Waddle along until you run into some rocks. Rhyhorn can smash through these. Do so, then walk off the beaten path and use the Rhyhorn to bash through the stone blocking off an X Defense. Hit the B button to dismount the Rhyhorn so you can get at the item. Head back to the main path and carry on north until the path splits. Take the right path and you'll find a Paralyze Heal. You can also edge around the side of the cliff to find a Fire Stone behind some rocks.
Head northwest along the main path and you'll eventually come across some people. Ignore them and keep bashing rocks to the northeast. You'll find a Dusk Ball and an opportunity to have a Sky Battle. Sky Battles are exclusive to Flying-type Pokémon or Pokémon with the Levitate Ability. If neither of those apply to any of your team members then you can't fight. Keep in mind that any Pokémon who don't fulfill those requirements won't participate in the battle.
Sky Trainer Orion
Ledian, level 20
Reward: 2,100 P
Backtrack to the people you saw earlier and hop off of your Rhyhorn. The woman straight ahead will fully restore the health of your Pokémon. Check the rock up and to the right of her for a Super Repel. This will put you in front of your next destination, Glittering Cave.
Glittering Cave Pokémon
- Cubone - Uncommon, Walking
- Dwebble - Common, Rock Smash
- Ferroseed - Rare, Ceiling Drop
- Kangaskhan - Rare, Walking
- Lunatone - Rare, Walking
- Machop - Common, Walking
- Mawile - Rare, Walking
- Onix - Rare, Walking / Rock Smash
- Rhyhorn - Rare, Walking
- Solrock - Rare, Walking
- Woobat - Common, Ceiling Drop
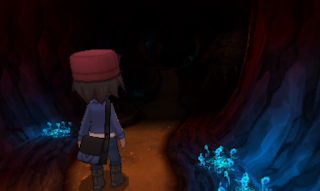
- Walk straight ahead to a split in the path. To the right is a dead-end, so continue forward.
- Keep walking to the next split. Take a left to find a Hard Stone and another dead end. Turn back and walk straight, into the depths of the cave.
- There's another split ahead. Take a left and you'll find your way to TM65 Shadow Claw.
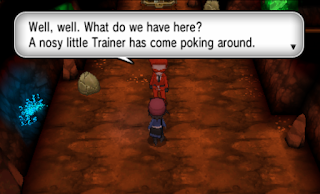
- Return to the path and turn left to continue deeper into Glittering Cave. Eventually you'll wind up in an open area... and you'll meet the inevitable evil trainer. Team Flare!
- Houndour, level 18
- Zubat, level 18
You will run into Team Flare Grunts for the majority of the game past this point, and they tend to share similar Pokémon. Get used to fighting Houndours and Zubats, and have counters ready for them.
If you picked up Rock Smash in Ambrette Town you can use it to smash the light grey rocks in this section of the tunnel. Sometimes you'll find items, sometimes Pokémon, sometimes nothing. Follow the mine cart tracks east and you'll run into more members of Team Flare.
Team Flare Grunt
- Gulpin, level 18
- Electrike, level 18
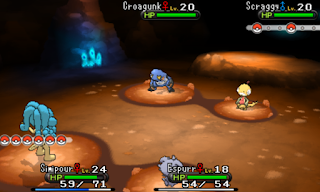
Head north after this battle. Yet more Grunts will get in your way, though Calem / Serena will show up to help you out in a Multi Battle.
Team Flare Grunt and Team Flare Grunt
- Scraggy, level 20
- Croagunk, level 20
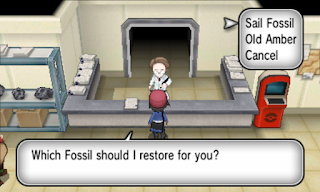
Follow the path. You'll find an Escape Rope along the way, and at the end of it, a Scientist from Ambrette Town. He'll offer you one of two fossils: The Jaw Fossil or the Sail Fossil. The Jaw Fossil will bring back Tyrunt, a Rock- and Dragon-type Pokémon, while the Sail Fossil will revive Amaura, a Rock- and Ice-type Pokémon. You only get one of them, so choose wisely.
This area is a great place to look for Old Ambers, Skull Fossils, Cover Fossils, Armor Fossils, and Plume Fossils by Rock Smashing the many small boulders in the final passage. You can also find Root Fossils and Claw Fossils in Pokémon X, and Dome Fossils and Helix Fossils in Pokémon Y. Smashing a few rocks is highly recommended, as you're about to revisit the Fossil Lab anyway.
Return to the Fossil Lab in Ambrette Town. The Escape Rope you just found will make leaving Glittering Cave a piece of cake. Talk to the Scientist behind the desk and he'll zap the Fossil he gave you back into a Pokémon. If you find any other Fossils on your travels (you will), you can bring them here and exchange them for an ancient Pokémon made modern. Speak to the Scientist on the right side of the lab to receive Aerodactylite before you leave.
Return Trip - Glittering Cave
Enter the cave between 8 and 9 p.m. after upgrading your Mega Ring. Take the first right to hit a dead end. You'll find Kangaskhanite.

