

Relic Passage Pokémon
- Boldore - Common, Walking, Any Season - Driftveil City entrance only
- Drilbur - Common, Dust Clouds, Any Season
- Gurdurr - Uncommon, Walking, Any Season - Driftveil City entrance only
- Onix - Rare, Walking / Dust Clouds, Any Season
- Raticate - Rare, Walking, Any Season - Driftveil City entrance only
- Rattata - Rare, Walking, Any Season - Castelia City entrance only
- Roggenrola - Common, Walking, Any Season - Castelia City entrance only
- Timburr - Uncommon, Walking, Any Season - Castelia City entrance only
- Woobat - Common, Walking, Any Season

Backpacker Eileen
- Sandslash, level 32
Go east from here. The bottom path near the stairs is impassable right now thanks to a hole, so take the upper path and go north the first chance you can. Up here is a trainer on patrol.
Backpacker Randall
- Raticate, level 32
After beating him, check the east end of the path for a Protein, then backtrack to the south. Take a right and challenge the nearby trainer.
Hiker Keith
- Drilbur, level 31
- Roggenrola, level 31
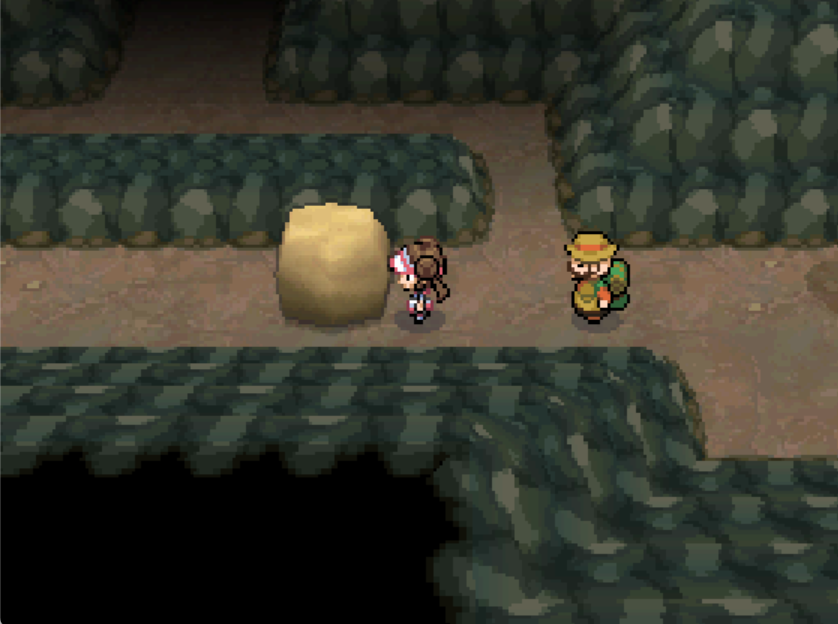
If you want, you can push the rock into the hole back to the west using Strength to create a very minor shortcut. Either way, continue east and through the door. Go south to find a small lake, and by it a trainer.
Hiker Tobias
- Roggenrola, level 31
- Timburr, level 31
If you came here after visiting Route 6, you'll have Surf. You can use Surf to go across this lake and find a Big Pearl. If not, no big deal - Big Pearls are only worth money, and you should not be in short supply of that.
The path splits at the Hiker. Go south, and check the small rock just south of the lake for a Blue Shard. Sweep east to the small dead end and check the stain on the floor for a hidden Max Repel. Go back north, then head down the east tunnel.

The path splits several times here. Begin by fighting the trainer to the south of you.
Psychic Tully
- Swoobat, level 33
The rock slightly south of the trainer hides a Green Shard. Grab it, then head back north to push the boulder into the hole using Strength. Go east, then south, then take the eastern path that abruptly heads north. Up here is another trainer.
Psychic Ena
- Baltoy, level 32
- Yamask, level 32
Beside Ena is a rock containing a Red Shard. Grab it, then move the boulder near here into the hole to create a path. This door leads into Relic Castle, a location we'll visit in the next article.

Head south. When the path branches into three, take the west-most path. At the end of a short hike is a trainer.
Backpacker Annie
Backpacker Annie
- Watchog, level 32
Snag the Yellow Shard from the rock beside the trainer. Carry on south, then east, then up the stairs and into another area. Follow the path here to find a rock you can push to create another path, then follow it north. At the end you'll find a small room containing an Ultra Ball, a Rare Candy, a Rocky Helmet and, hidden on the ground (Dowsing Machine time) a Rock Gem.
Return to the rock you shoved into the ground and follow the path easy until you see a ledge. Hop off of it to find a Max Repel, then keep hopping and go east to find a backpacker. (Warning: If you already explored the Relic Tunnel's first portion, don't bother with these ledges unless you really want that Max Repel.)
Backpacker Kendall
- Herdier, level 18
Level 18? Seems a bit low. That's because you're now in the Castelia Sewers portion of the Relic Passage. Carry on east to find a Scientist you can challenge.
Scientist Terrance
- Grimer, level 18
Near him is an Escape Rope. Grab it, then follow the path until you come to a doorway. This leads back to the Castelia Sewers. Before you go through, however, follow the skinny path to the north. Here you'll be challenged by a trainer.
Scientist Lumina
- Venipede, level 17
- Koffing, level 17
Almost done. Go north and west of the scientist to find a Hard Stone. After, sweep back east and check to the south of the scientist. If you check the ground near the dead end you'll find an Escape Rope.
All done! If you're tired of spelunking, you can use the Escape Rope you just found to trek back to Driftveil City. First, though, you might want to check out Relic Castle, the side area we skipped earlier.