

Route 6 Pokémon
- Audino - Common, Rustling Grass, All Seasons
- Azumarill - Rare, Rustling Grass, All Seasons
- Castform - Rare, Rustling Grass, All Seasons
- Deerling - Uncommon, Tall Grass, All Seasons (form changes depending on the season)
- Dunsparce - Rare, Rustling Grass, All Seasons
- Emolga - Uncommon, Rustling Grass, All Seasons
- Foongus - Common, Tall Grass, All Seasons
- Karrablast - Rare (Black 2) or Common (White 2), Tall Grass, All Seasons
- Leavanny - Rare, Rustling Grass, All Seasons
- Marill - Rare, Tall Grass, All Seasons
- Shelmet - Common (Black 2) or Rare (White 2), Tall Grass, All Seasons
- Swadloon - Uncommon, Tall Grass, All Seasons
- Tranquill - Uncommon, Tall Grass, All Seasons
- Unfezant - Rare, Rustling Grass, All Seasons
Cross the bridge and go through the grass. The first chunk of Route 6 has three trainers as you weave your way north. North of the Breeder, the first trainer you run into, you'll find a Hidden Grotto tucked into the trees.
Pokémon Breeder April
- Minccino, level 27
- Deerling, level 27
Parasol Lady Nicole
- Castform, level 28
School Kid Mara
- Deerling, level 27
- Shelmet, level 27
As you're walking north towards the second two trainers you'll see a pair of ledges that lead back to Driftveil City. If you try to hop off of them - and you've picked up the Dropped Item in Nimbasa City - you'll receive an Xtransceiver call from your mystery friend.
Near Mara are two item balls. This may seem like a 'Score!' moment, but if you approach the top one you'll discover it's actually a Foongus. An easy way to catch these tough little guys, perhaps, but nonetheless annoying if you wanted an item instead. (Fortunately, the lower ball is an Elixir.)

Cross the bridge and, rather than another trainer itching for a fight, you'll find Cheren. He'll lead you into a nearby building, the Season Research Lab. Cheren will chat a bit about sudden drops in temperature - very worrying - and conclude by handing you HM03 Surf, possibly the best HM in any Pokémon game. Not only does it allow your Pokémon to ferry you around over water, it's a powerful Water-type attack. Fantastic. Talk to the scientist near the top of the lab for a rare Deerling, then head back out onto the route.
Just outside the lab you'll run into two scientists who want to do battle.
Scientist Jacques
- Deerling, level 28
Scientist Marissa
- Shelmet, level 27
- Karrablast, level 27
Check the yard beside the lab for a Moonstone, then check the plot of fenced-in grass to the south of the lab for a hidden - but very obvious - TinyMushroom. Run across the bridge to the west and engage the trainer in front of the water.
School Kid Alvin
- Foongus, level 27
- Karrablast, level 27
To the left of him is another trainer, this one playing in the water.
Parasol Lady Tihana
- Castform, level 28
Now you have a dilemma. There are three item balls nearby. Which are items? Easy answer: The Ultra Ball to the right of the Parasol Lady is an item. The other two are Foongus. Grab the Ultra Ball then hoof it north, across the final bridge in the area. You'll get halfway across -

- and then be abruptly interrupted as a legendary Pokémon leaps out at you. This is Cobalion, and, as Rood explains seconds later (yes, Rood suddenly shows up - that's how everybody operates in this game), it seems to sense something is wrong. Perhaps it wants you to catch it? Yes, of course it does.
Once the interruptions are done, check the grass in front of you for a hidden Protein, then go east to find a small house. The woman will restore your Pokémon to full health, which is handy if any Foongus used their Effect Spore Ability on your team. You can also talk to the child for a Shiny Stone. Back outside, check the east end of the dark grass for an encounter with a Ranger.
Pokémon Ranger Richard
- Whirlipede, level 28
- Foongus, level 28
Now that the trainers are out of the way, you're done with the Route... right?
Wrong. Before you enter Chargestone Cave to the north, assuming you used Surf on a Pokémon, you should explore the waterways. Hop into the water beside the ranger and go east. You'll see an item behind the Seasons Research Lab. Grab it for TM56 Fling. A short ways east of here you'll find the entrance to Mistralton Cave, which we'll explore next, though not just yet.
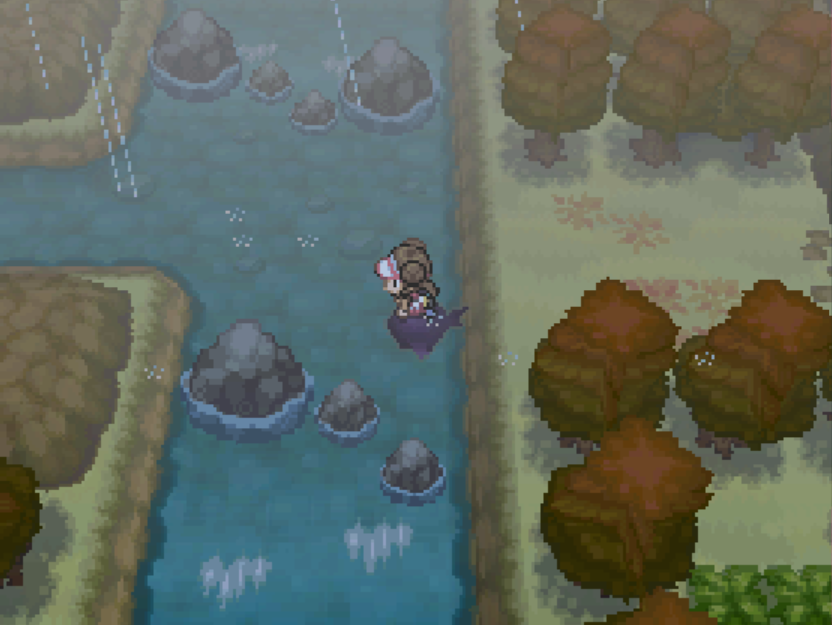
Sail and walk back to the front of the Lab, then Surf off the east bank. A short hop away you'll find a PP Up, and hidden in the grass to the south of the PP Up is a Big Mushroom. Then head back to the bridges and sail off of them, towards the south, to find a Heart Scale on the west bank of the river.
All done. Head back north, heal up at the house again, and choose your destination: Mistralton Cave or Chargestone Cave. The next leg of the walkthrough will head to Mistralton Cave first, though it's purely optional if you'd rather get on with the story.