

H'aanit's story begins with a flashback to her master, Z'aanta, who heads off on a hunting trip - and is gone for a long, long time. Jump back to the present and you'll receive control of H'aanit, and can explore S'warkii a bit. It's not huge, but there are still a few things of note:
- Right near the northern entrance of S'warkii is the Inn. H'aanit obviously doesn't need it yet, but if you look on the right side of the front door, beside the hanging bearskin, you'll find a chest containing a Healing Grape.
- Near the center of the village is the General Store. You can get both equipment and healing items here. H'aanit is not a healer, so grabbing a few more Healing Grapes can't hurt, and upgrading her weapons and armor a bit isn't a terrible idea either.
- On the east side of S'warkii is a Tavern. Check to the right of the Tavern and you'll find a chest containing an Inspiriting Plum.
- On the west side of S'warkii is an empty house, a save point, and the Village Headman. Speak to the Headman to trigger the next step of H'aanit's quest. He'll point you to a pair of Fledgling Hunters in the center of the village who are in need of some training.

Provoke
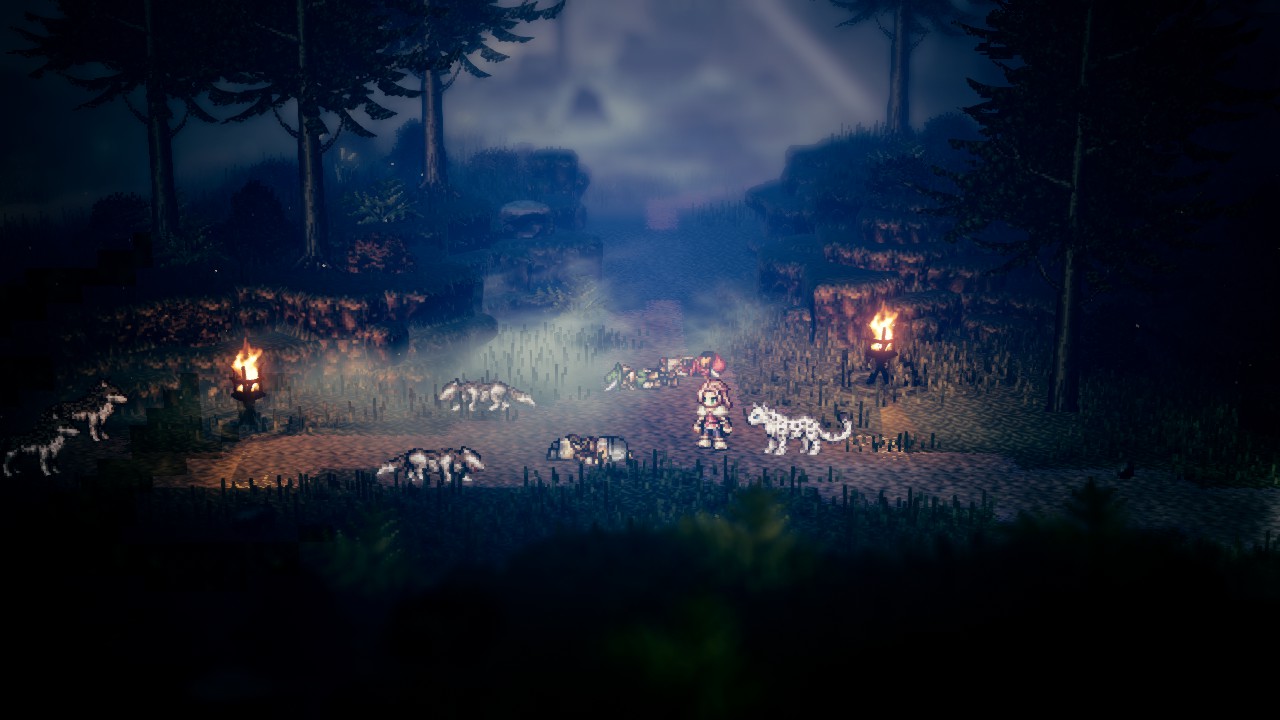
H'aanit's Path Action, Provoke is a combat-oriented skill. Whenever you use Provoke on a character it will pit the NPC against H'aanit's captured beasts (a mechanic we'll discuss soon) in combat. The Strength of the challenge will vary based on H'aanit's level and the area she's in. If H'aanit is successful the NPC will be knocked down, sometimes granting access to new areas of completing quests, and otherwise just earning H'aanit some experience and money.
The two Fledgling Hunters in S'warkii are pushovers, and will fall with minimal difficulty. Using Linde twice will swiftly end both battles. This is not true of targets later in the game, however, so be careful whom you Provoke. Losing a fight will lower your reputation in the settlement where the challenge took place.
Defeat the two Fledgling Hunters and H'aanit will be called back to the Headman to undertake a hunt for a Lord Ciaran. Lord Ciaran's Herald will speak to her and task her with hunting down a fearsome beast in the Whisperwood. It's found just west of the village.
The Whisperwood
The dungeon of Haanit's first chapter, the Whisperwood is full of beasties that would do your team ill. You'll run into the following monsters trekking through the woods:
- Forest Ratkin I - Weak to Dagger, Axe, Lightning, and Light. Uses normal attacks and Strong Shot. Pretty straightforward.
- Forest Ratkin II - Weak to Dagger, Axe, Lightning, and Light. A slightly tougher Ratkin that can use Double Shot for double the damage. Still no big deal.
- Forest Fox - Weak to Sword, Dagger, Bow, and Staff. Their Blinding Claw attacks can mess with your accuracy, but they're otherwise fairly weak enemies.
- Gabbrodillo - Weak to Sword, Axe, and Light. A hefty beast that can do a lot of damage with its Roll Attack. Keep stunning it with boosted attacks from H'aanit's axe so it can't attack too often.
Of note here is not so much the monsters but what H'aanit can do with them. One of her skills in battle is Capture Monster, and if it's used successfully on a monster H'aanit will place it into her inventory, gaining a single-use move with effects that vary based on the monster she uses. The more damage the monster takes in battle, the easier it is for H'aanit to capture. Capture monsters often and you'll greatly increase H'aanit's versatility in battle. H'aanit's Mercy Strike Skill, which you can learn at 30 JP, will make capturing monsters much easier.
Follow the initial path west until you hit an intersection. Take a right off the path and you'll find a dead end with a purple chest containing 500 leaves. Unless you have a man named Therion in your party you can't open purple chests, so file this away for later if H'aanit is your first party member.
Return to the intersection and run west until you hit a dead end with a chest. It contains an Inspiriting Plum. Backtrack a short ways and head south when the path branches. This road leads you to a save point, and beyond that is a slaughter. After a quick, sad cut scene you'll be back on the trail of H'aanit's prey.

Go north of the bodies to find a chest containing a Healing Grape. West of the bodies the path will take you deeper into the Whisperwood. Keep going west and you'll find a bit of a side path leading to a chest that contains a Shadow Soulstone. Go north towards the torch and the path will branch again. Take a left and you'll find a purple chest that contains 600 leaves when unlocked.
Head north towards the next torch along the path. If you take a right here you can find a hidden path through the trees to another purple chest, this one containing a Bronze Vest. This will give H'aanit a nice defensive boost if Therion is available (and if you didn't buy her something else to wear back in the village). Head back to the torch and walk all the way north to find a chest containing an Energizing Pomegranate.
Backtrack south. You'll no doubt have spotted the save point and the Traveling Peddler on your left and you went north. Purchase wares if necessary - Healing Grapes are always handy, and one or two Inspiriting Plums will make the next battle much easier - then save. Head north and you'll hit a cut scene. H'aanit's quarry has been cornered.

Ghisarma
Weakness: Sword, Bow, Ice, Lightning, Light
This is a nasty fight. Ghisarma can dish out a lot of damage to H'aanit, using several single-target attacks carve away at her health. It will rely on a few normal, strong attacks until you do enough damage, at which point it will 'appear ready to respond to any attack'. Strike it again without breaking an stunning the Ghisarma and it will use Fury and Rage as a counterattack, inflicting a critical amount of damage. If the Ghisarma is preparing to pounce it will use Death from Above on its next action, which also does a ton of physical damage to one target. The Ghisarma's most painful attack is Rampage, which hits a single target multiple times, and it seems to add more hits to the flurry as the battle wears on.
This is a difficult fight, especially for a solo H'aanit, if you can't keep the Ghisarma consistently stunned. At first you can rely on normal and boosted attacks, though once it prepares to counterattack or pounce you'll want to cut it short by stunning it. One of your best weapons for this, short of having H'aanit sufficiently boosted, is her Rain of Arrows attack. So long as you aren't very unlucky she should land enough hits to knock the Ghisarma out of its special stance and into stunned status. You can then keep pinging the thing with H'aanit's bow or summon Linde to assault the Ghisarma while it's dazed. Heal as necessary. A Healing Grape will fully restore H'aanit this early in the game.
You'll earn a Healing Grape Bunch for defeating the Ghisarma. In the aftermath H'aanit will reflect on life in the forest, and head back to the village. Once there the wolfen companion of H'aanit's master will gallop up, and H'aanit will decide to leave S'warkii to search for the missing Z'aanta.