Recommended Level: 18
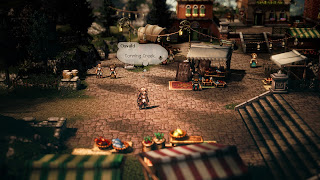
The third chapter of Osvald's story takes place in Conning Creek, which is a long way from Cape Cold, where his second chapter ends. To reach Conning Creek from Cape Cold you'll need to travel south to the Brightlands, to the New Delsta Flats. Head west and catch a boat at the New Delsta Harbor: Anchorage to Toto'haha. Immediately jump back on the boat and sail to Canalbrine. Head west from Canalbrine to Canalbrine Bridge, then veer south. Travel to the Western Conning Creek Coast. Conning Creek is on the east end of this route.
Upon entering Conning Creek with Osvald in the lead you'll be prompted to begin his story. If you'd rather not you can put it off until later, triggering it with a visit to the Tavern. Choose Hear a Tale with Osvald in the party to begin the chapter. The Tavern is northeast of the entrance.
A man on the lam - though in this case the lam probably think he's dead - Osvald returns to Conning Creek, where he once lived with his wife and child. He's immediately angry at the prospect of finding Harvey, the man who ruined his life, somewhere nearby... though he needs some clues to track Harvey down. The first place to look is his old, burned-down home.
Head east through town to the Outskirts. The remains of Osvald's home are on the far east side of the Outskirts. Osvald will reminisce a bit, then decide that Harvey must have checked his study, which was behind the house. Go aroud back, open the chest containing a Fire Soulstone (M) behind the house, and enter the cave on your right.
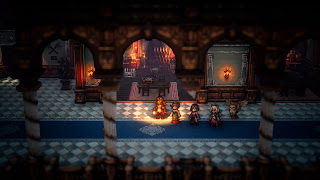
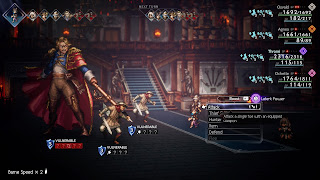
The study is down here, and is still in good condition. As he's looking the place over Osvald will be confronted by Clarissa, his former assistant. She demands proof of his identity. What better way than a battle?
Lady Clarissa
Weakness: Polearm, Dagger, Lightning
Drop: Resistant Nut (M)
- A melee smack
- Pummel, a melee flurry against a single target
- Dazzling Flash, a single-target Light attack that can Confuse a character
- Focused Flash, another single-target Light attack that does more damage
- Mass Flash, an AOE Light attack
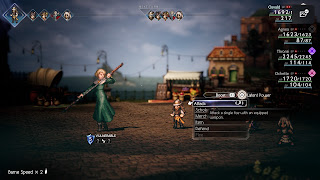
If you're fighting with Osvald alone you'll need to use Lightning Bolt or Elemental Barrage to Break Clarissa. Using Osvald's Latent Power will make these strikes hurt Clarissa quite a bit more. If you have a full team you shouldn't have any trouble taking her out, so long as you treat anyone she Confuses. That status ailment can get annoying.
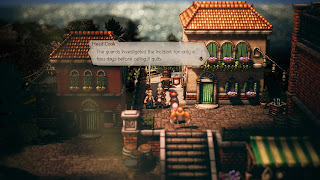
Clarissa is convinced of Osvald's identity after he defeats her, though she seems oddly reluctant to help her master find Harvey. He'll have to ask around. There are several people in Conning Creek that Osvald can speak to:
- A Townsperson outside the largest building, the outpost, on the east side of town
- A Street Vendor in the middle of the marketplace, south of the Tavern
- A Head Cook, standing outside the Tavern
- Guard - Weak to Sword, Polearm, Bow, Fire - Drop / Steal Forbidden Elixir
- Guardian - Weak to Sword, Polearm, Bow, Staff - Drop / Steal Ancient Sentinel Core
- Light Curator - Weak to Polearm, Bow, Staff, Dark - Drop / Steal Light Soulstone
- Shadow Bat - Weak to Sword, Polearm, Bow, Ice - Drop / Steal Inspiriting Plum
- Wind Guardian - Weak to Sword, Bow, Lightning - Drop / Steal Wind Soulstone
- Wind Sentinel - Weak to Sword, Polearm, Axe, Staff, Lightning - Drop / Steal Wind Soulstone
- Sword, Polearm, Bow, Lightning, Dark (Captain Stenvar)
- Axe, Bow, Fire, Wind (Stenvar's Footmen)
- A normal melee attack
- Downward Swing, a hard melee attac against one target
- Destroy Evidence, a Fire attack against one target
- Mass Punishment, a Fire attack against your whole party
- Suppression, which debuffs your whole party's offensive capabilities
- Special Orders, which buffs one of Stenvar's Footmen
- Bluster, which gives the Footmen an extra turn per round
- Get Them, which orders Stenvar's Footmen to target one of your party members in particular
- Summon Guards, which summons more Stenvar's Footmen once you've destroyed the first two
- Beg For Your Life, which gives the party... money, maybe...?
- Condemning Strike, a charged melee strike against the whole party

